|
Home
|
Building a Stripwood Cutter
|
I had a commercial stripwood cutter for years and I never liked it.
The board it was mounted on was thin and eventually distorted. The chopping arm set-up was made
of plastic and flexed from center. The threaded inserts that held the knob screws to hold the stops
fell out. Then the aluminum straight edge was not tight against the board and thin styrene strips
slid under it.
I now want another stripwood cutter and looking over commercially available models, I
decided to build my own. As with a lot of first time builds, I am finding flaws in my
initial design concept but have been able to fix things even though it ain't purdy.
|
Initial Components
|

|
|
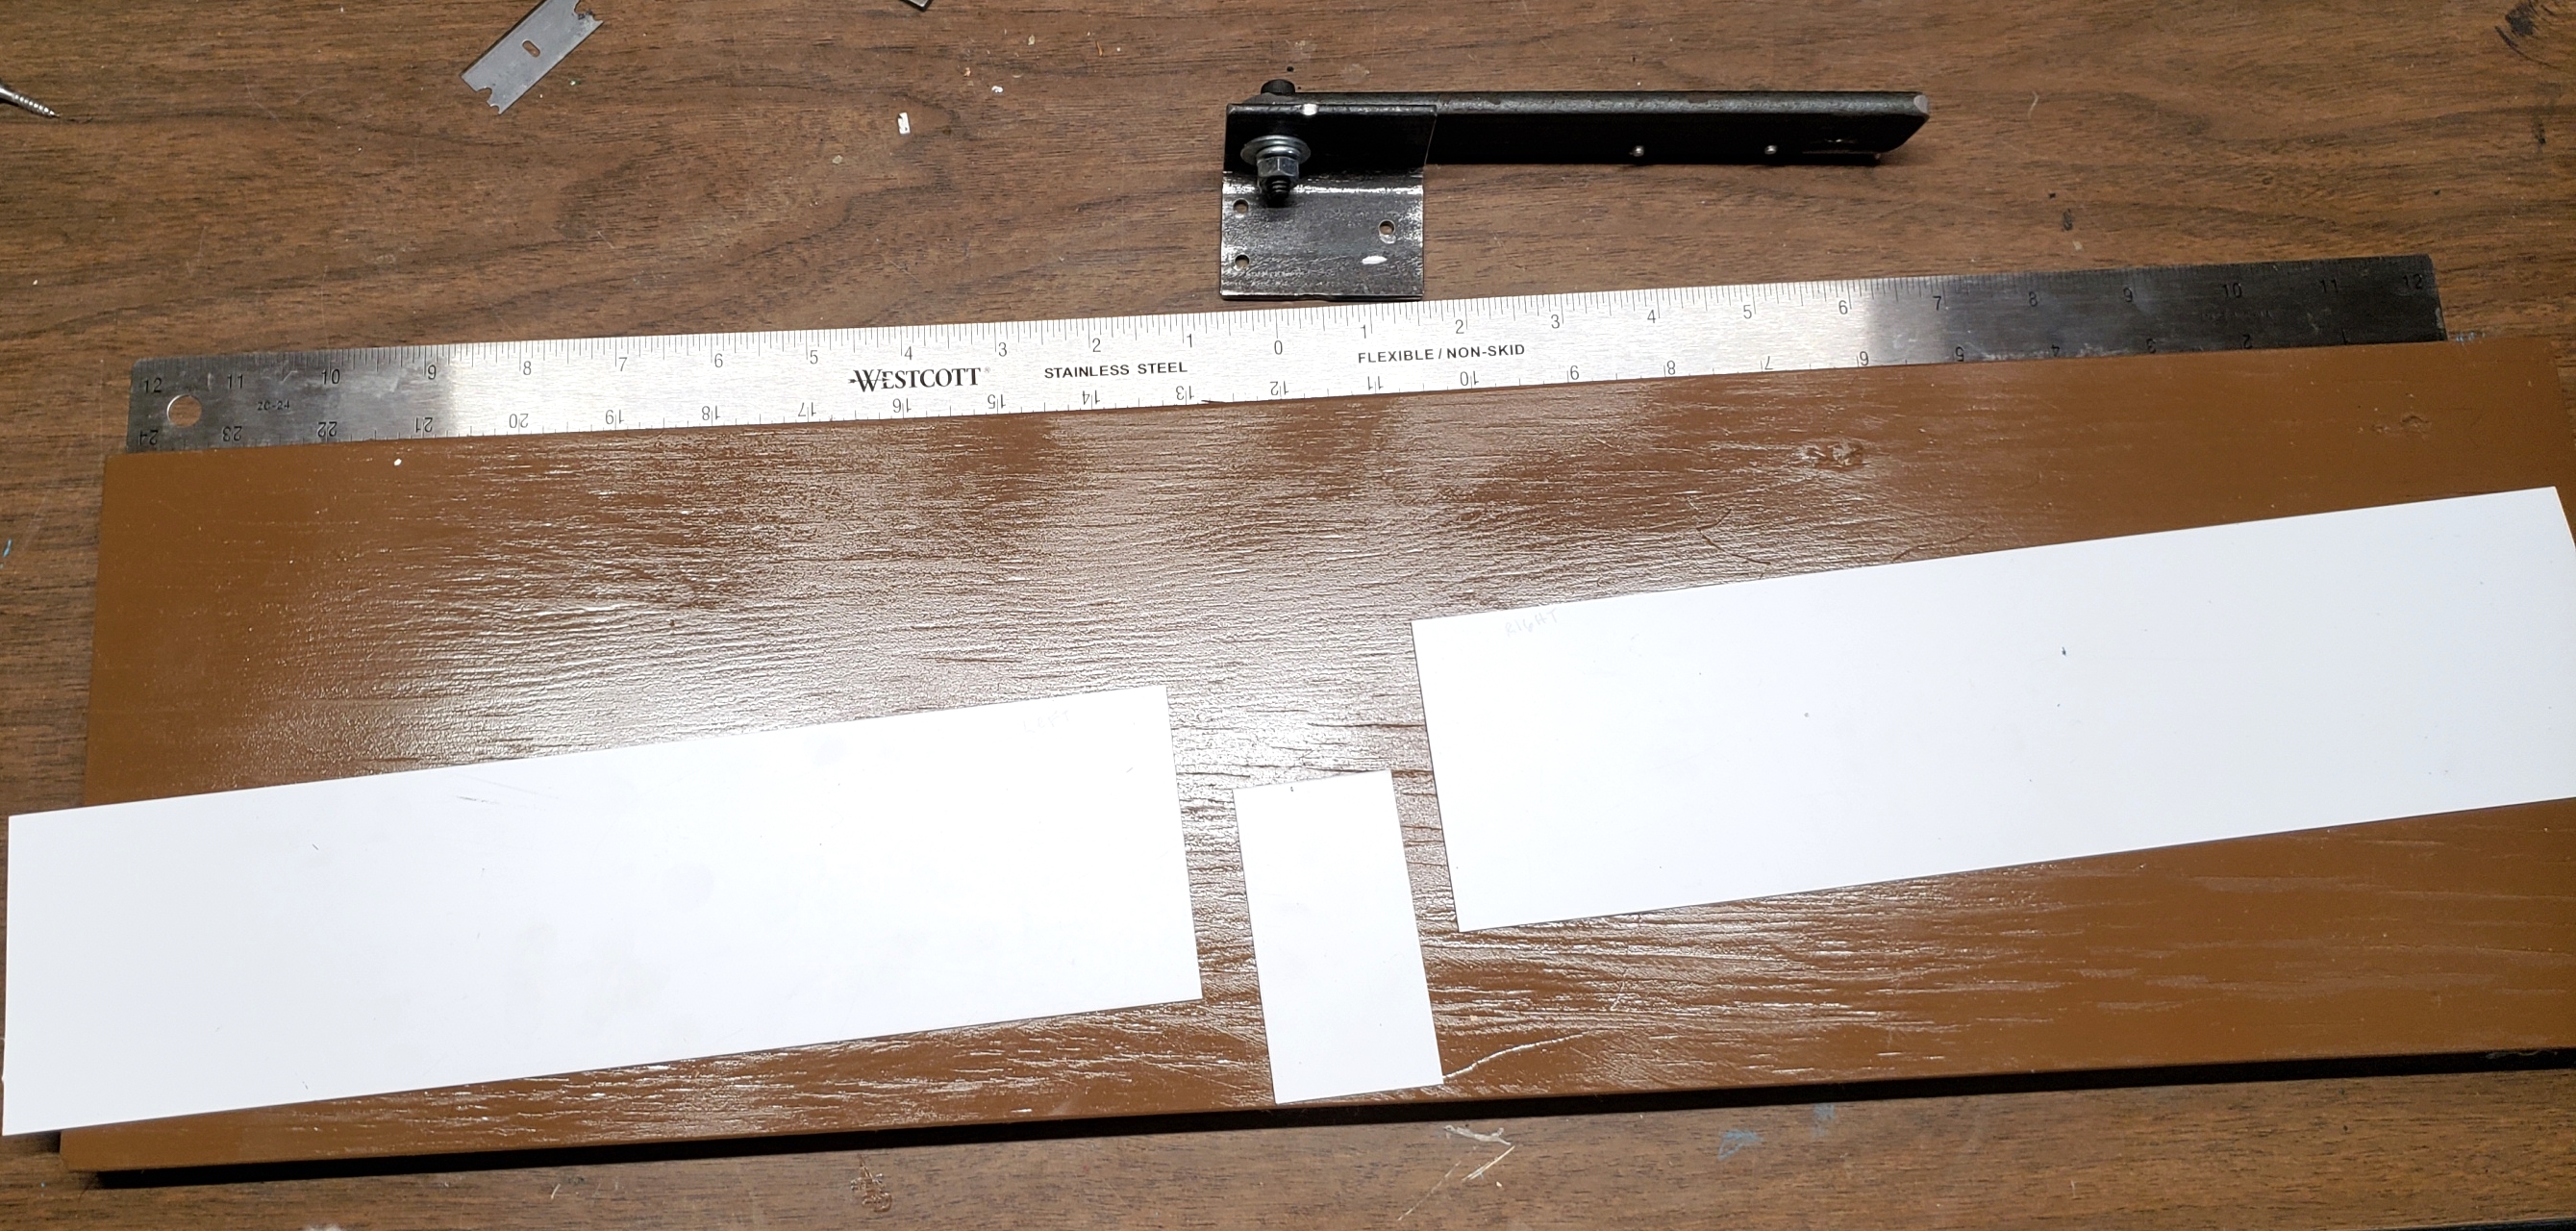
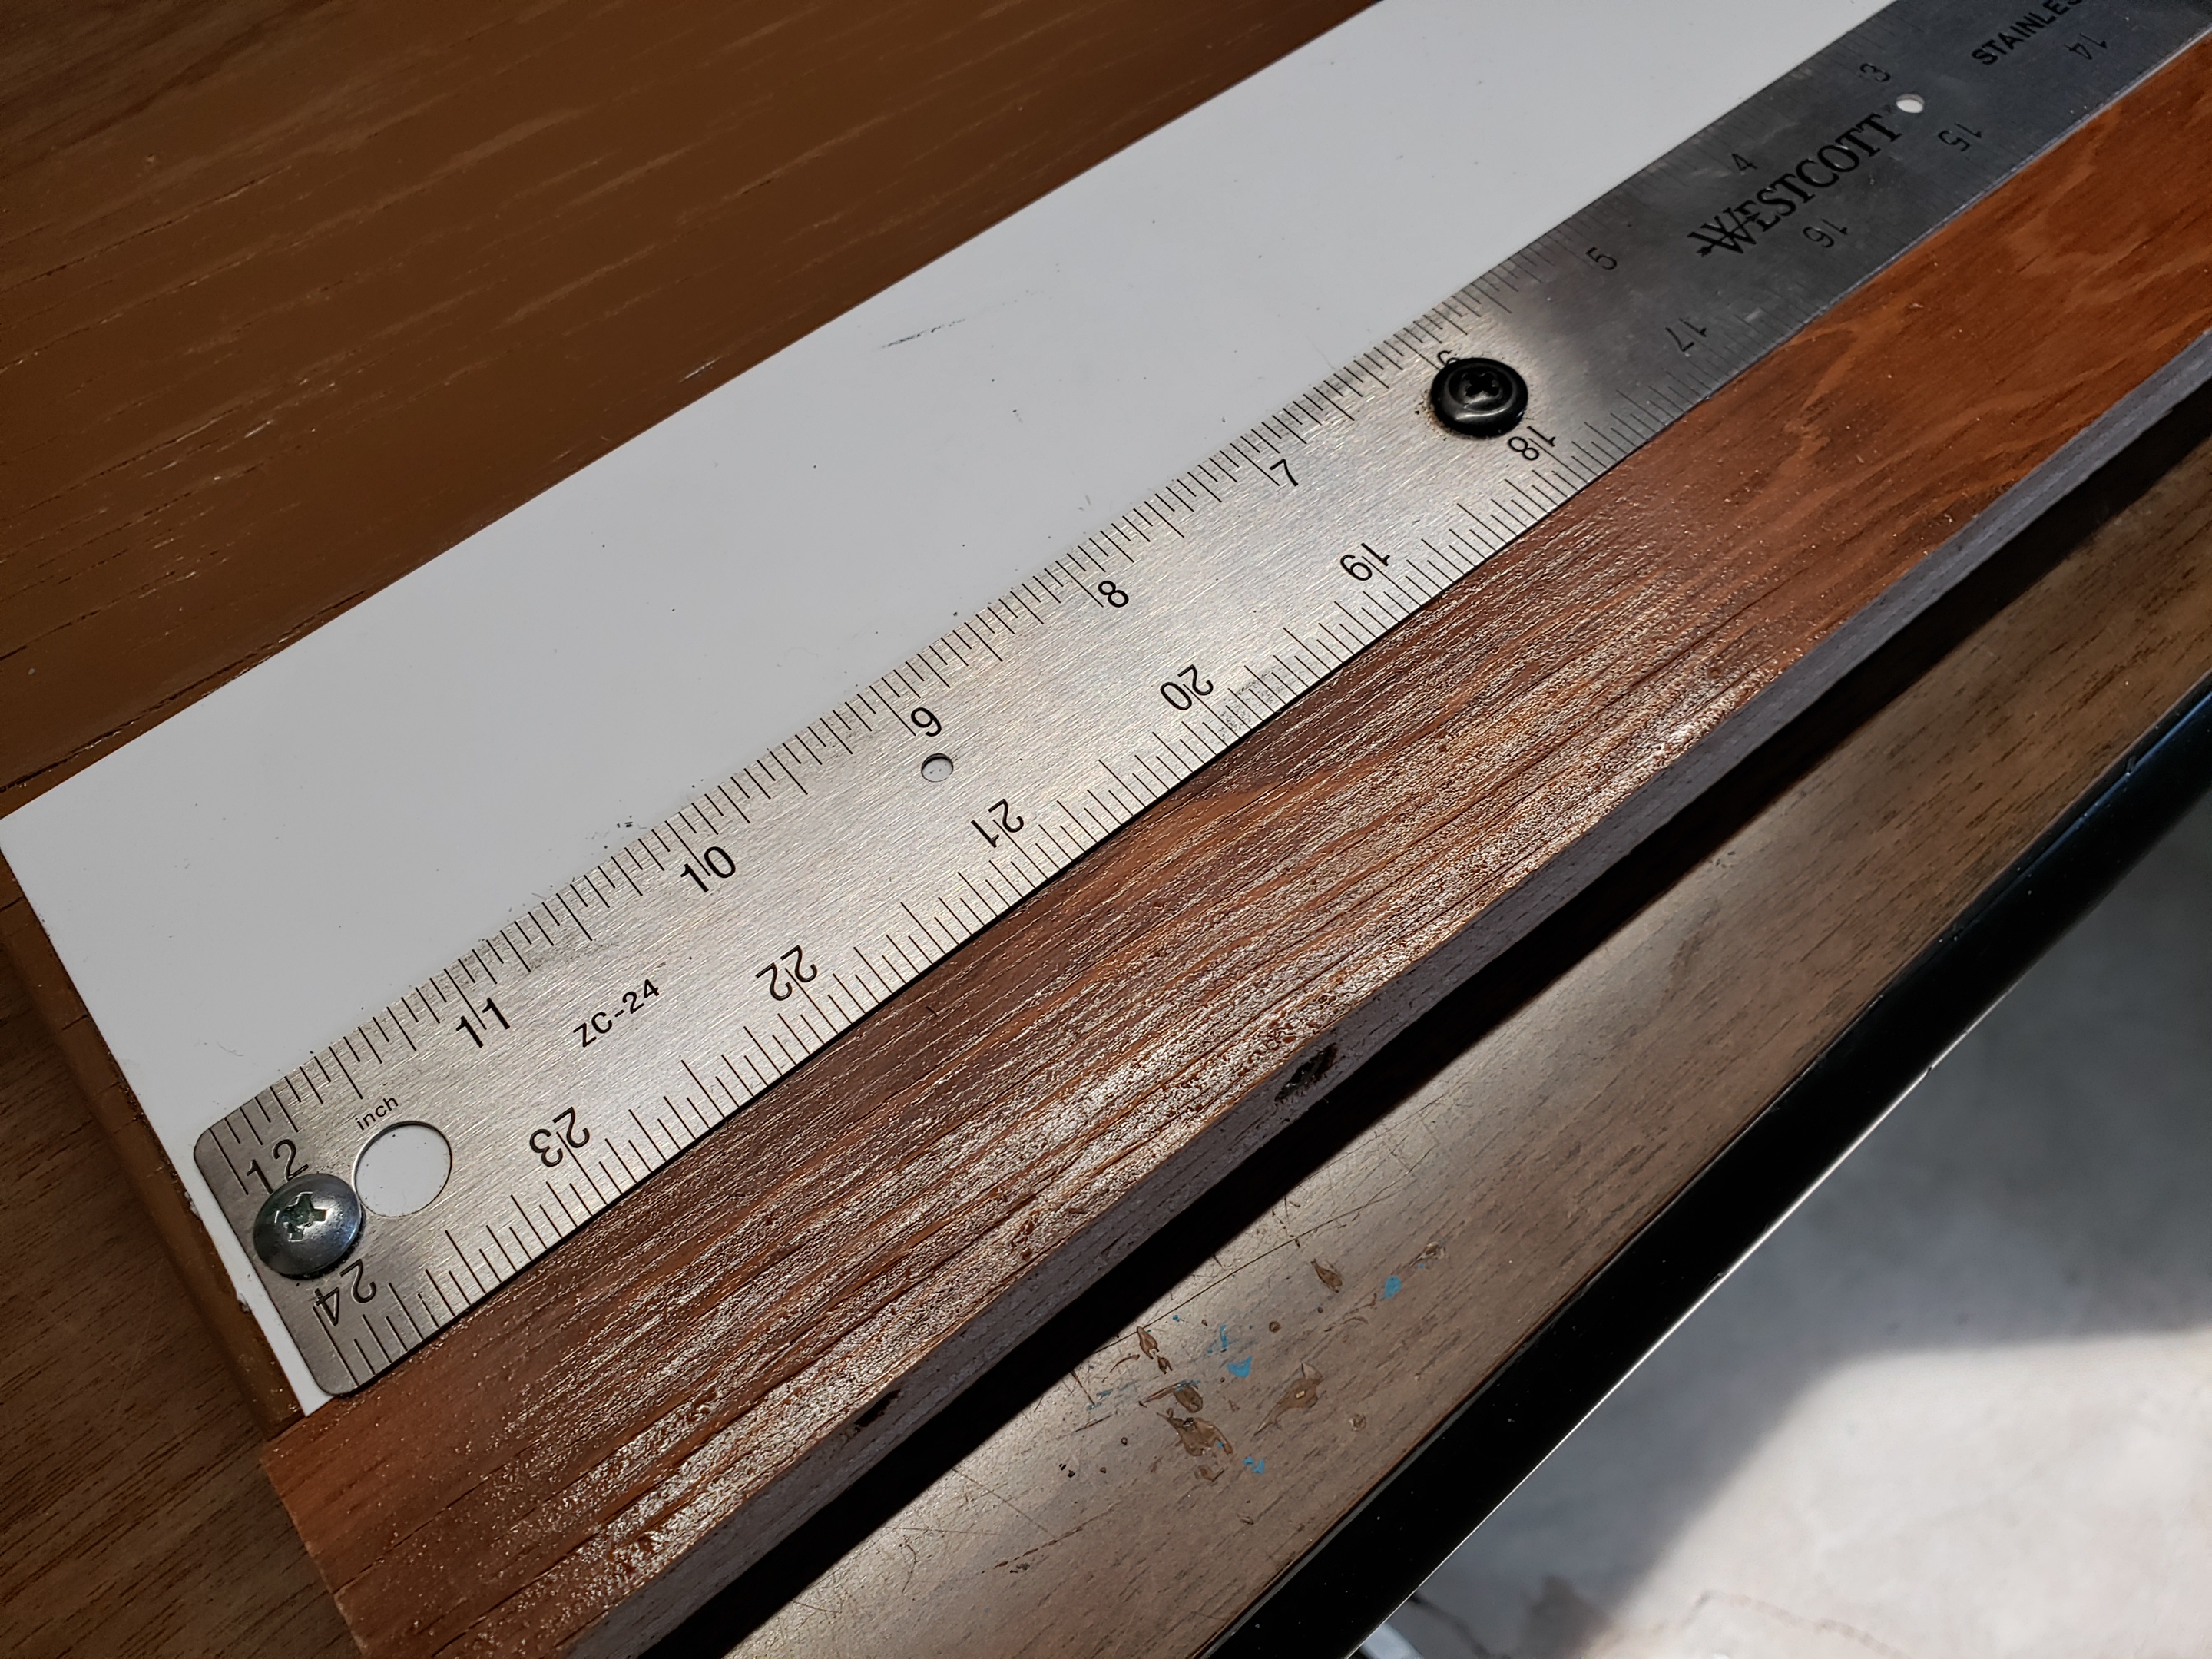
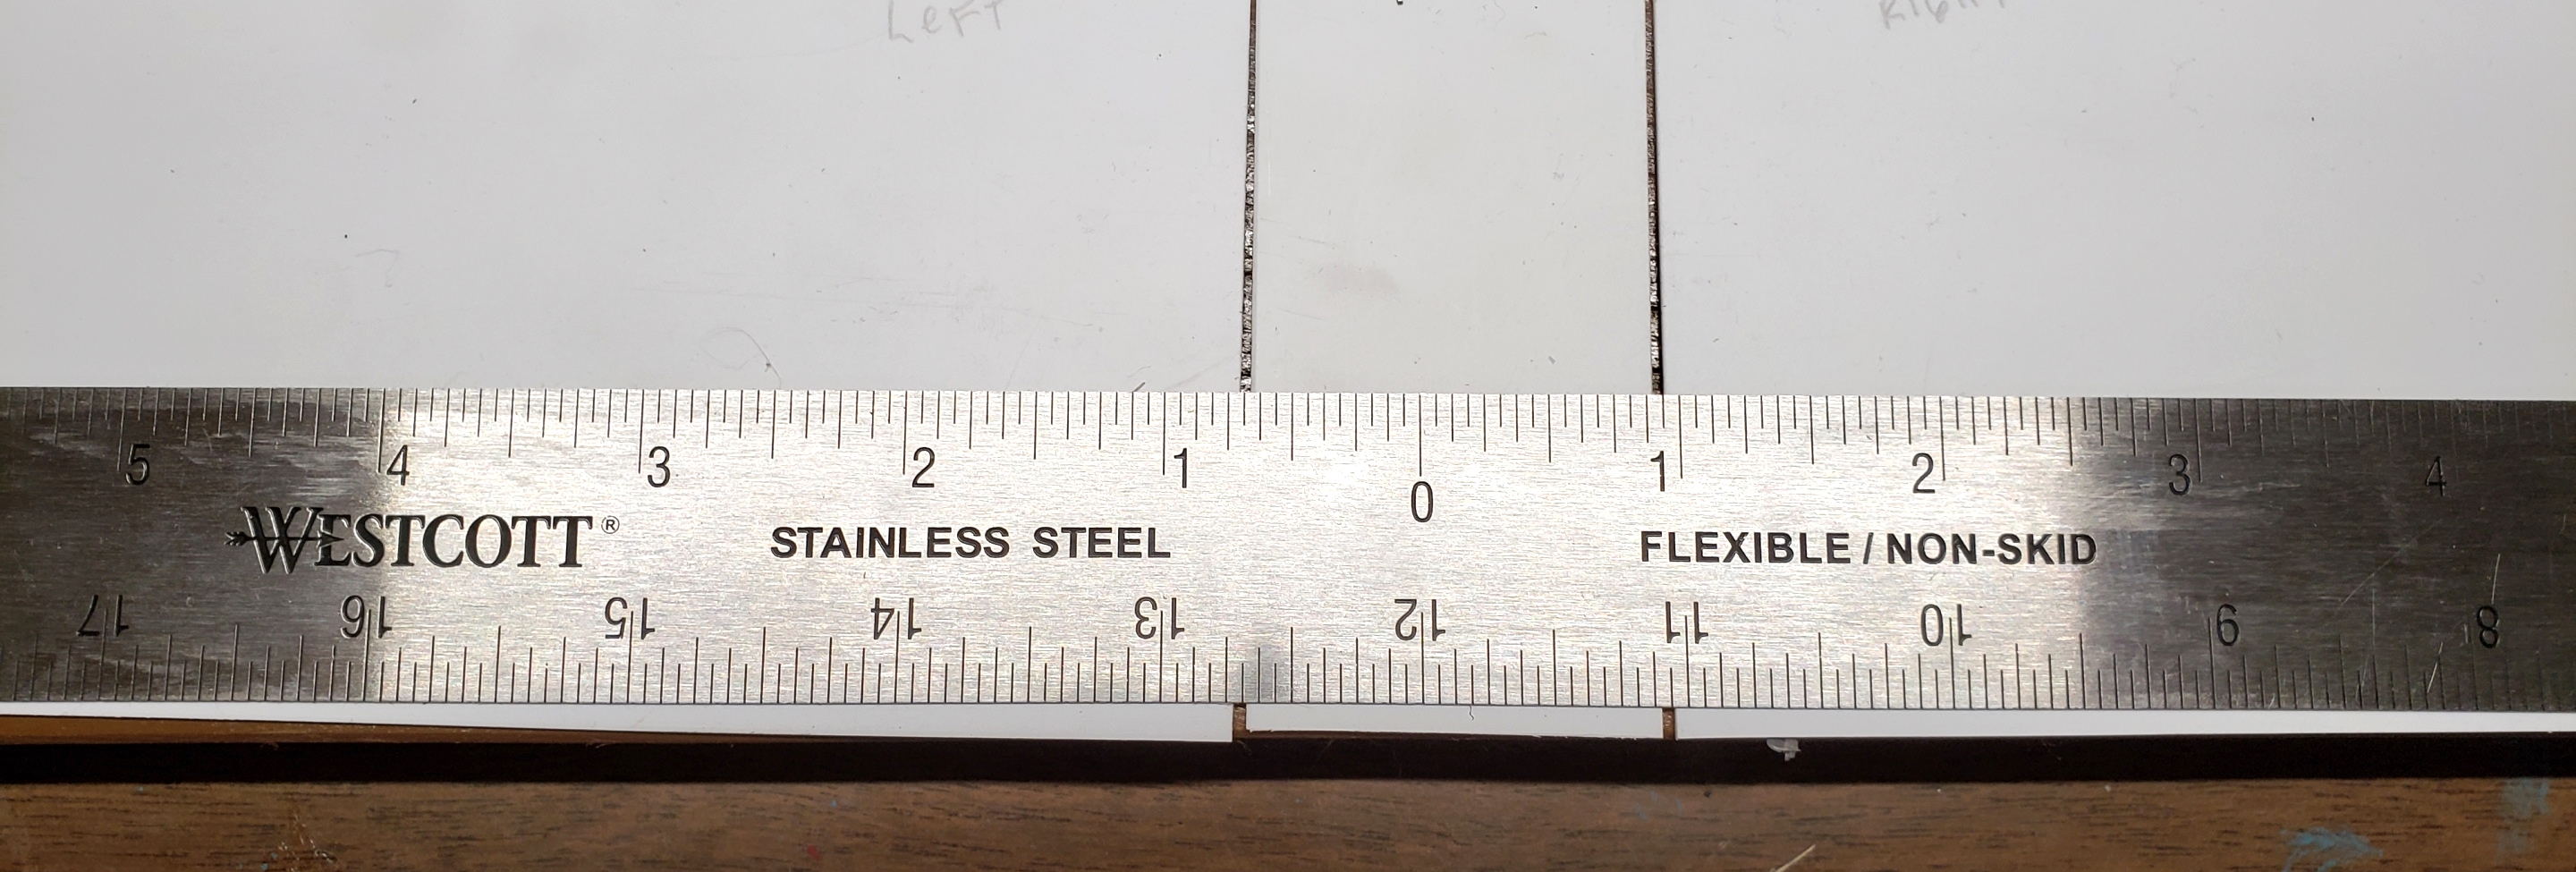
| The major components: the board (7" x 24"), arm/pivot, the styrene
backing sheets and the zero center 24" ruler. A notch was cut in the ruler at the
center point to allow the end of the razor blade to pass.
|
Planning the Build
|

|
I have laid out the board, the .040 styrene pieces, and the constructed arm/pivot
to see how they fit up.
|
|

|
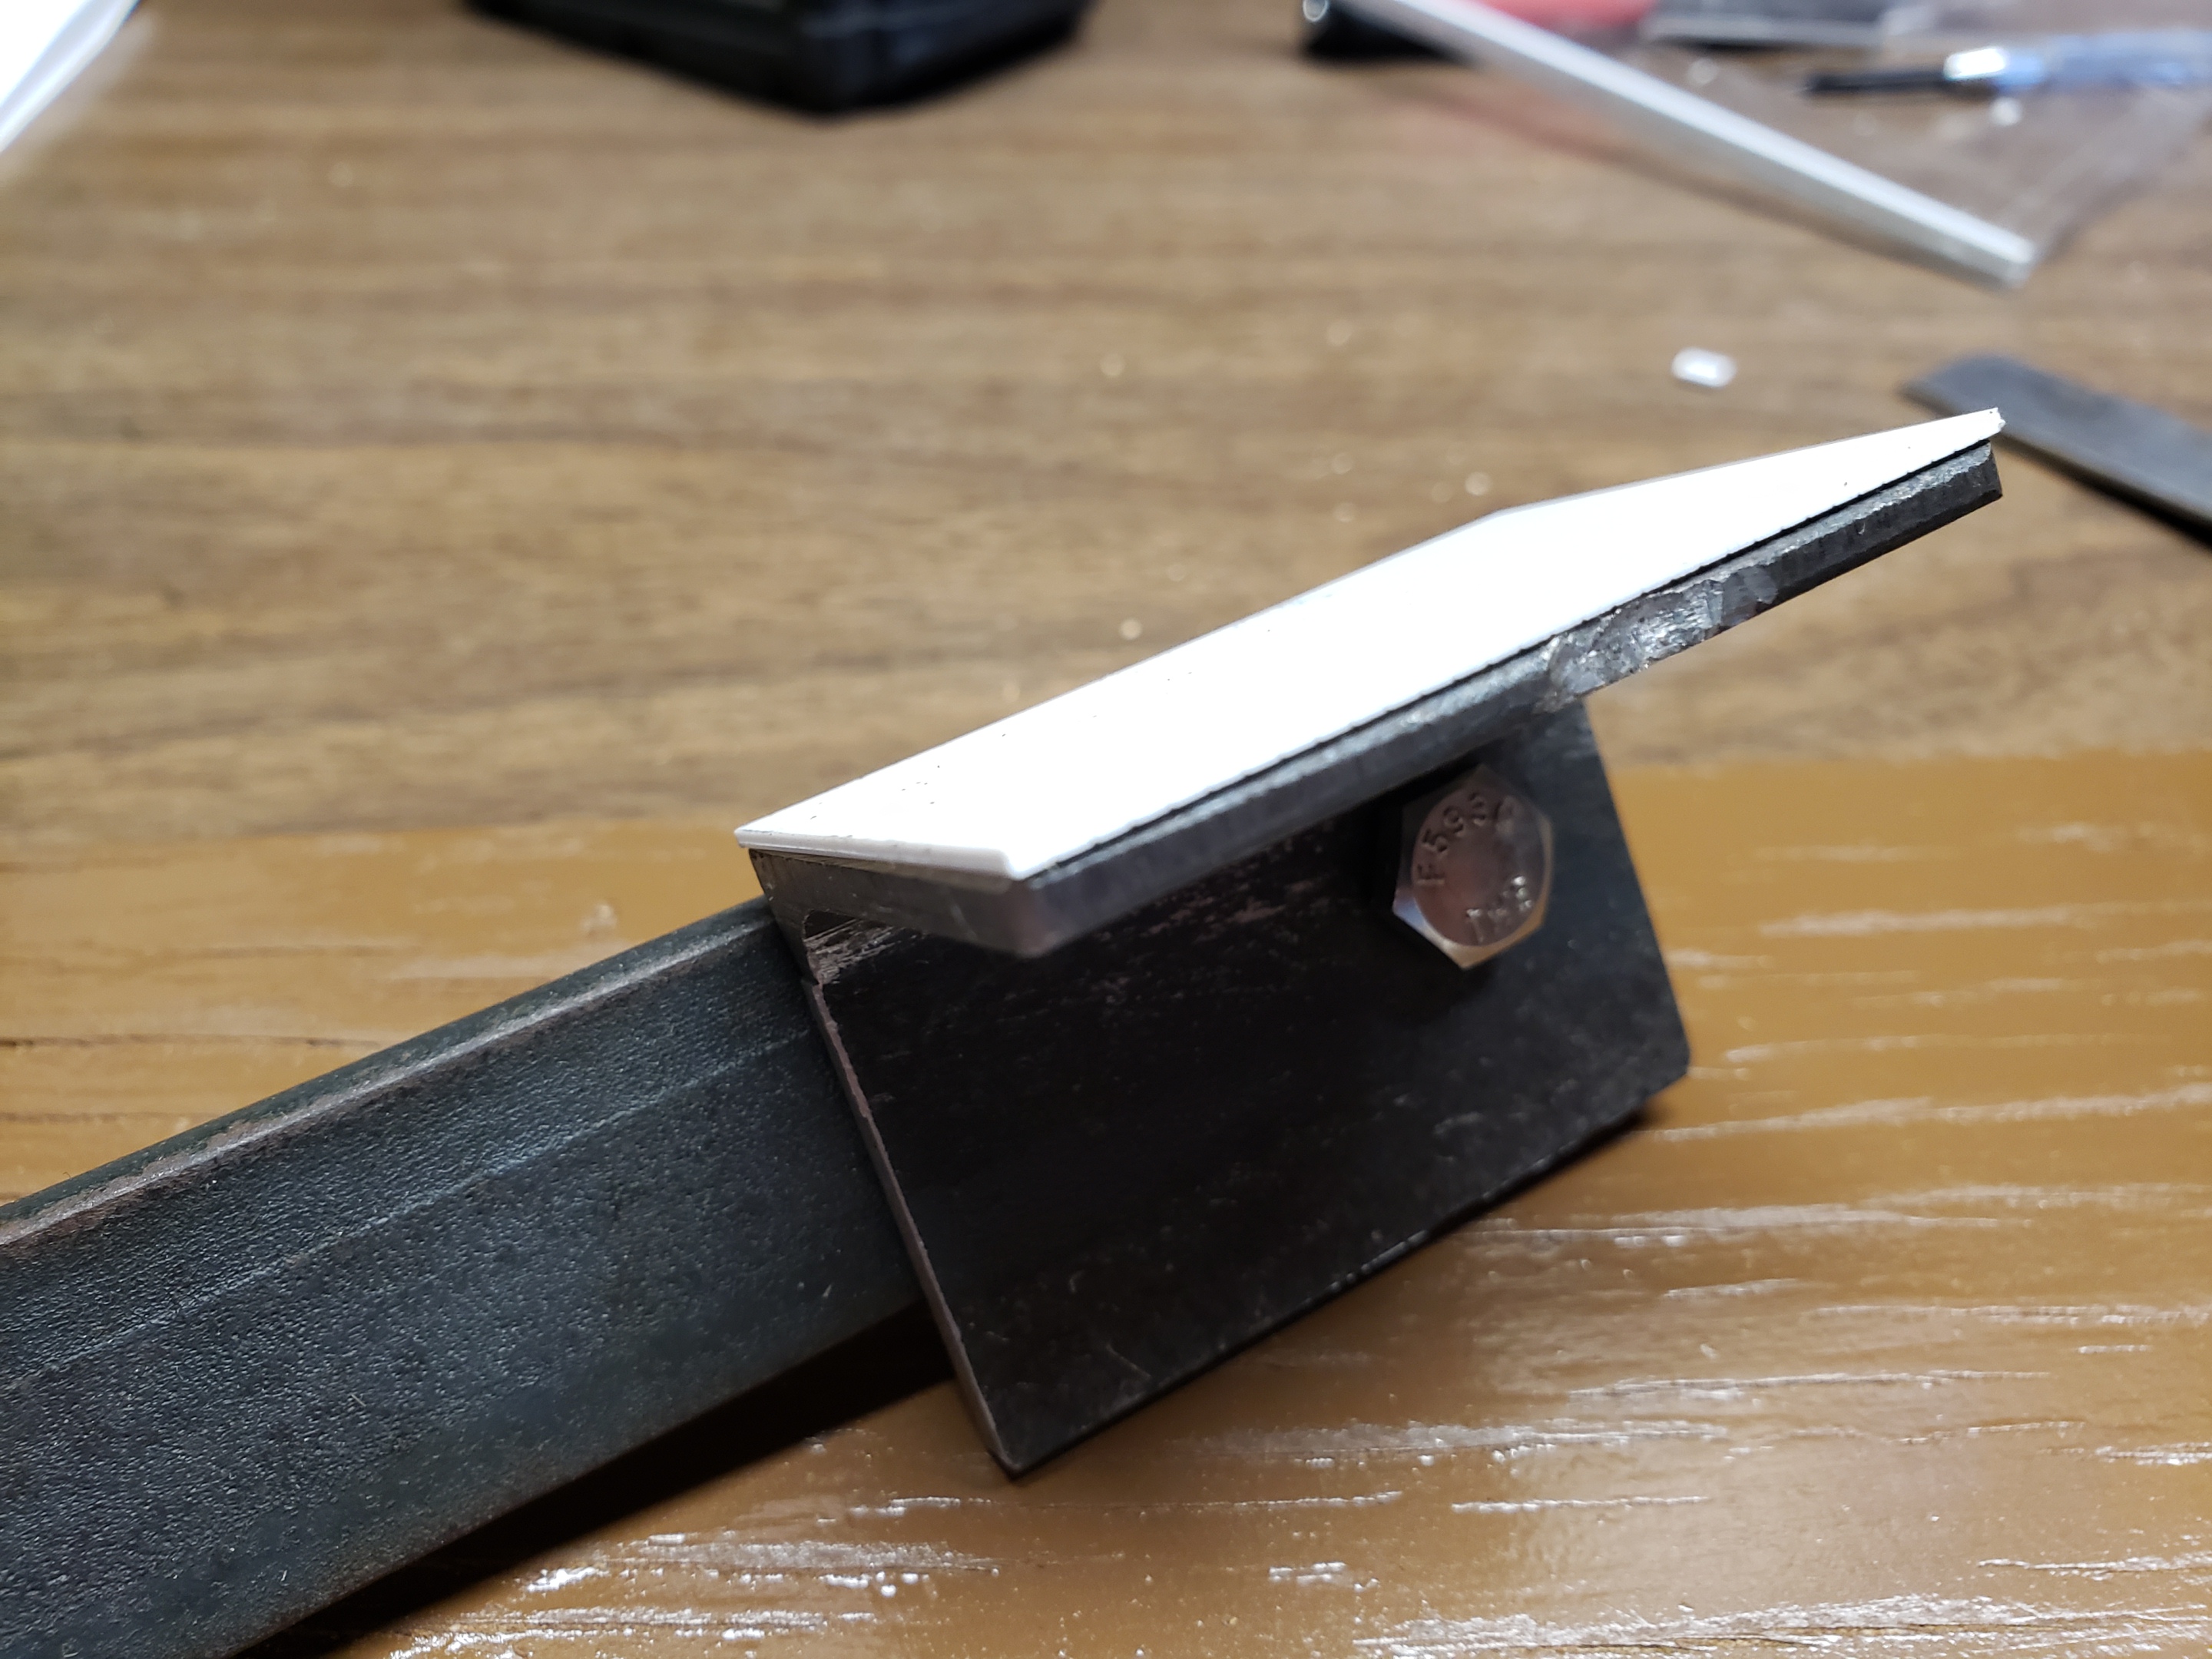
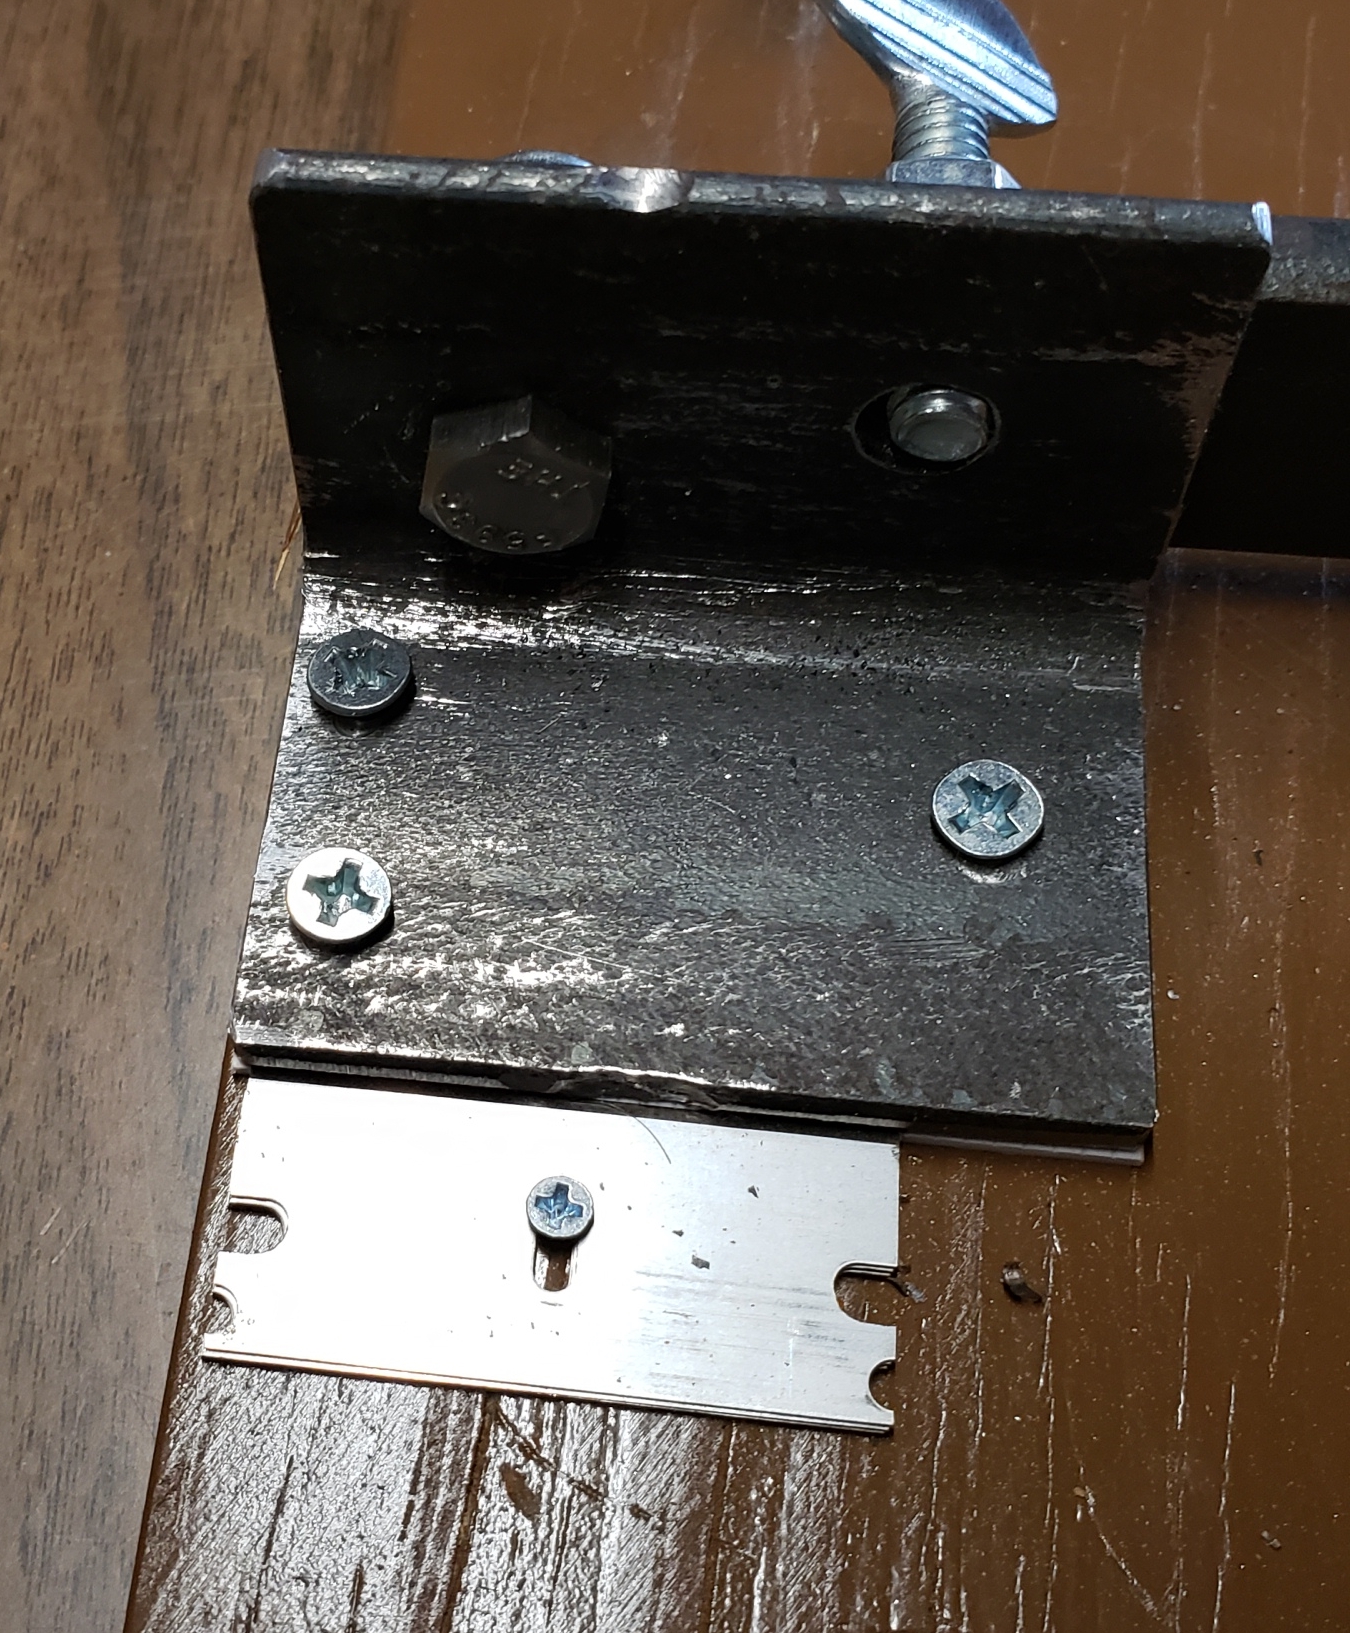
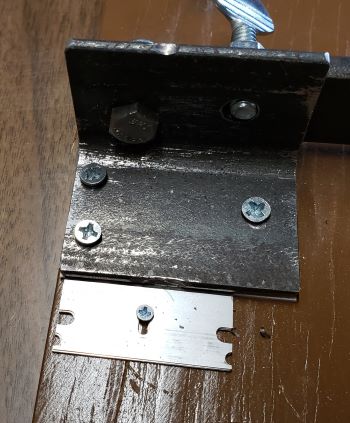
| The arm is made from a piece of 3/16" bar stock, a 2" long
1 1/2" x 1 1/2" angle, a stainless steel 1 1/4" bolt, two washers, and a nylon
insert nut. Three wood screws hold it to the board. A .040 shim is added
so the razor blade sets level on the styrene.
|
|
|
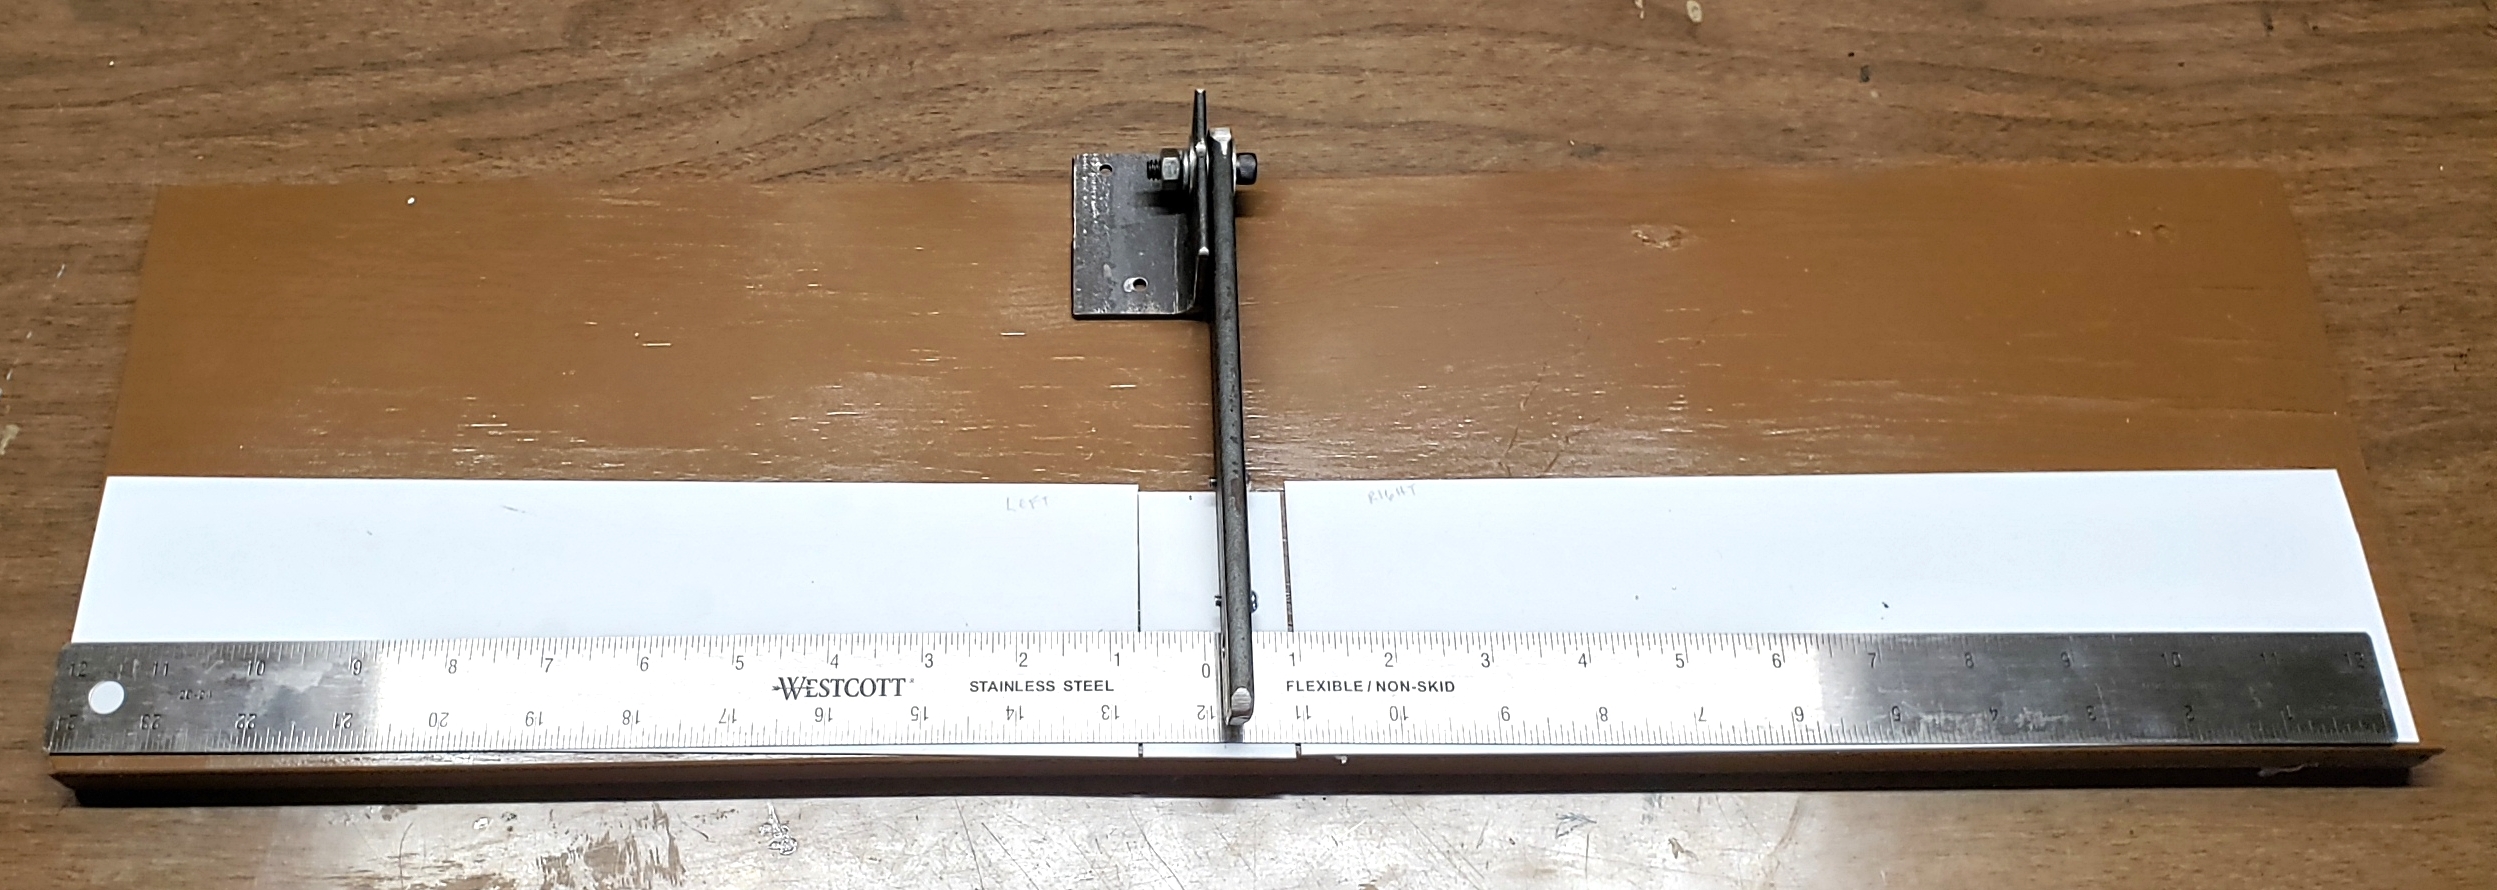
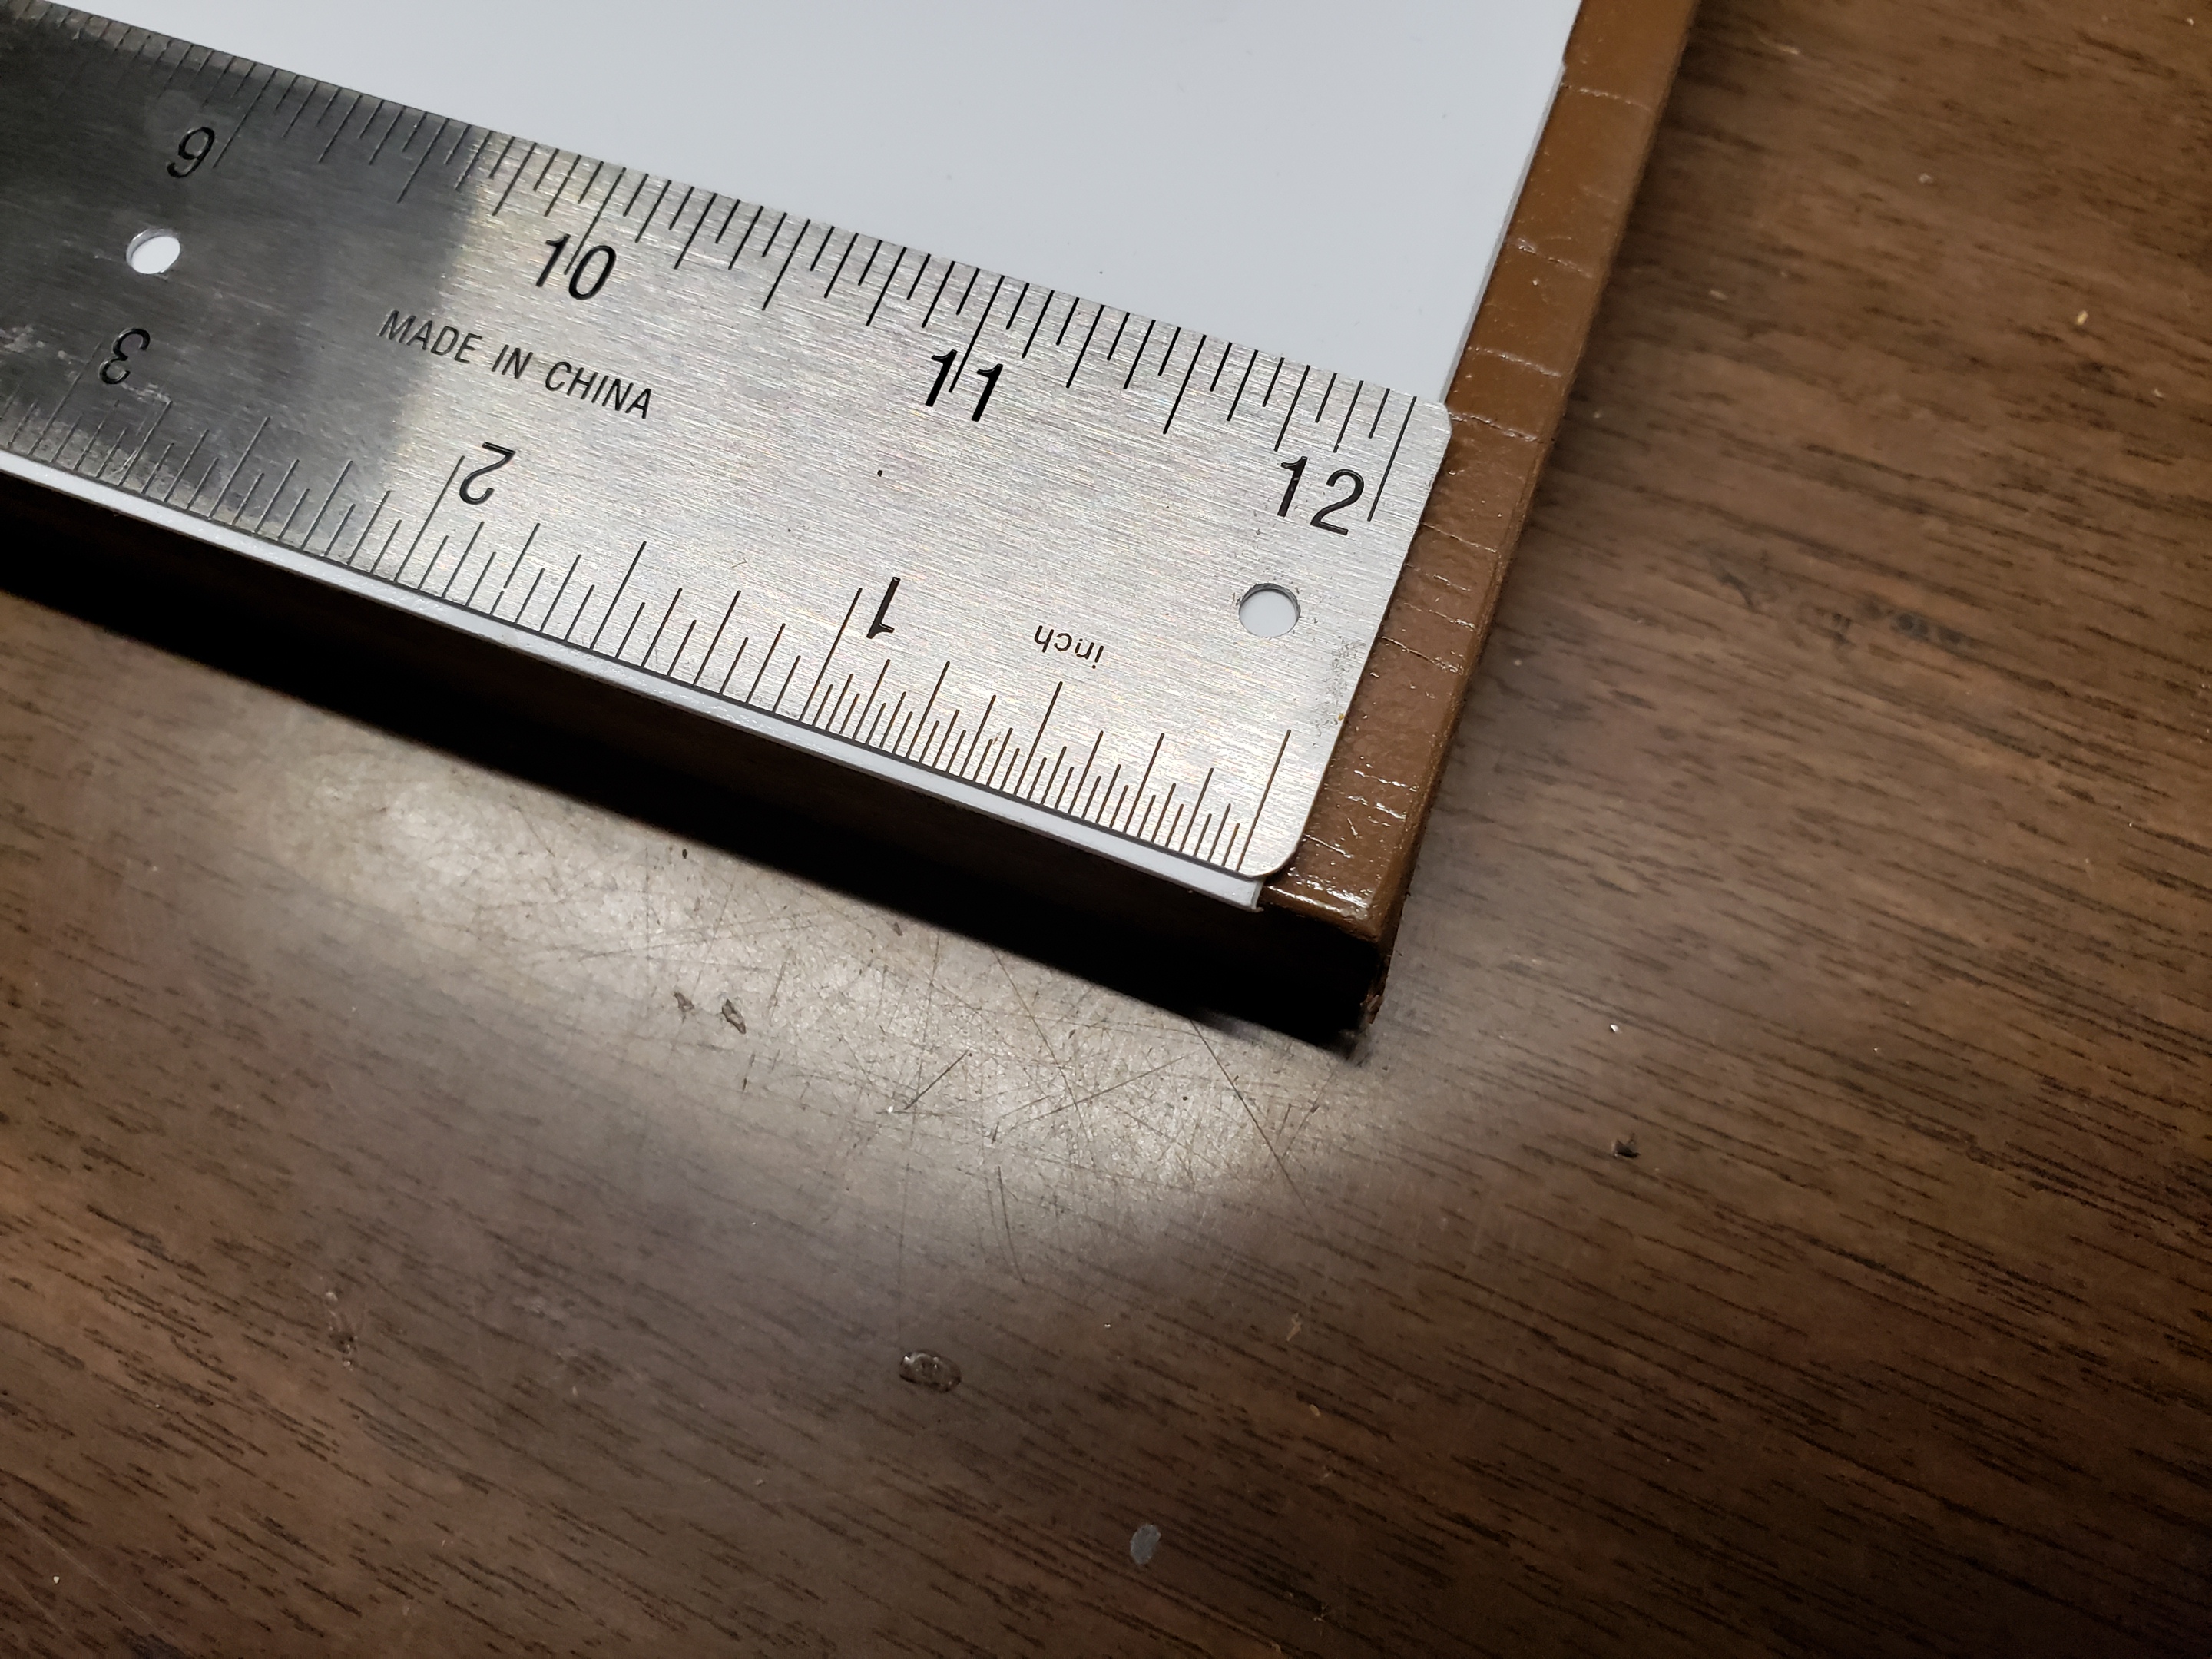
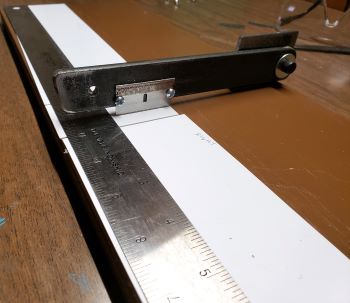
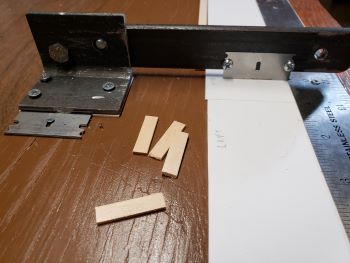
| After checking the square of the ruler to the arm, I found that
it hangs over the edge of the board. I will add a small piece of wood to protect
the ruler.
|
Modifying Razor Blades
|
|
|

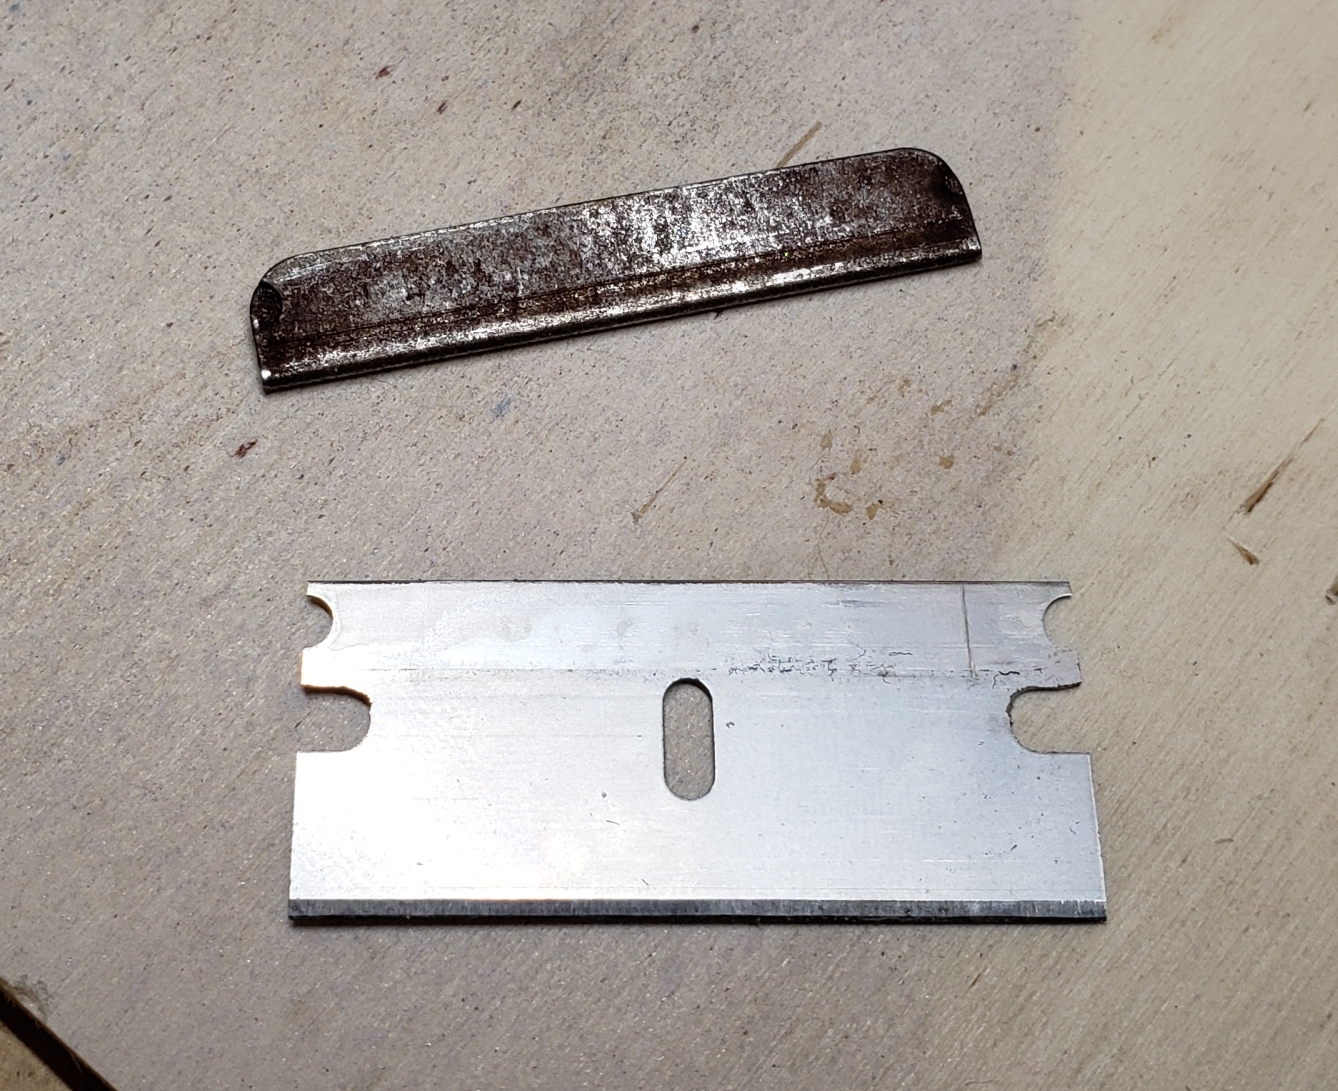
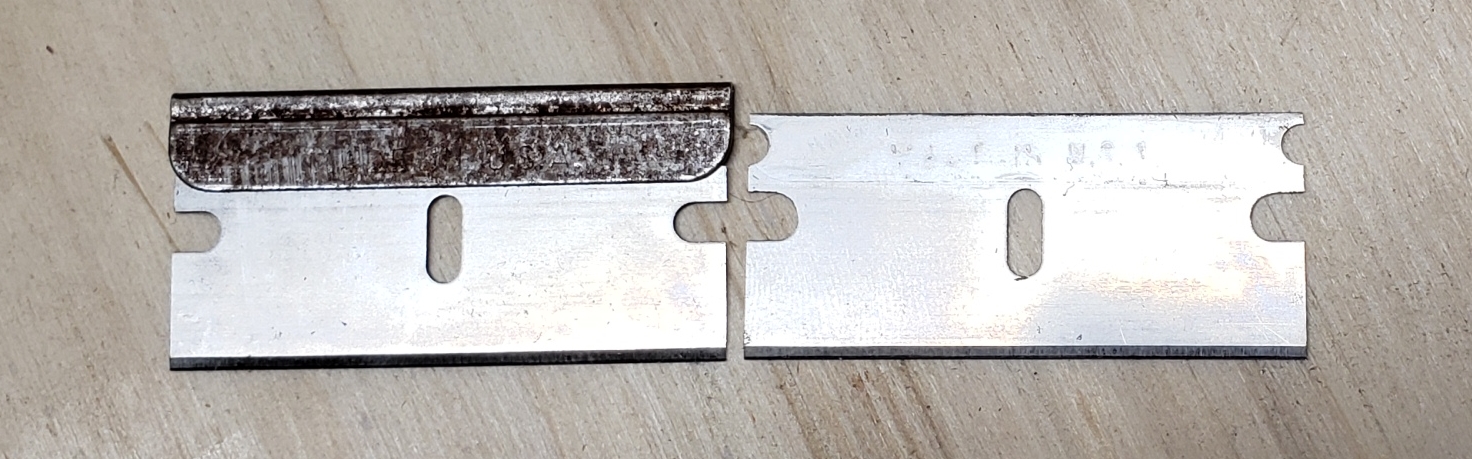
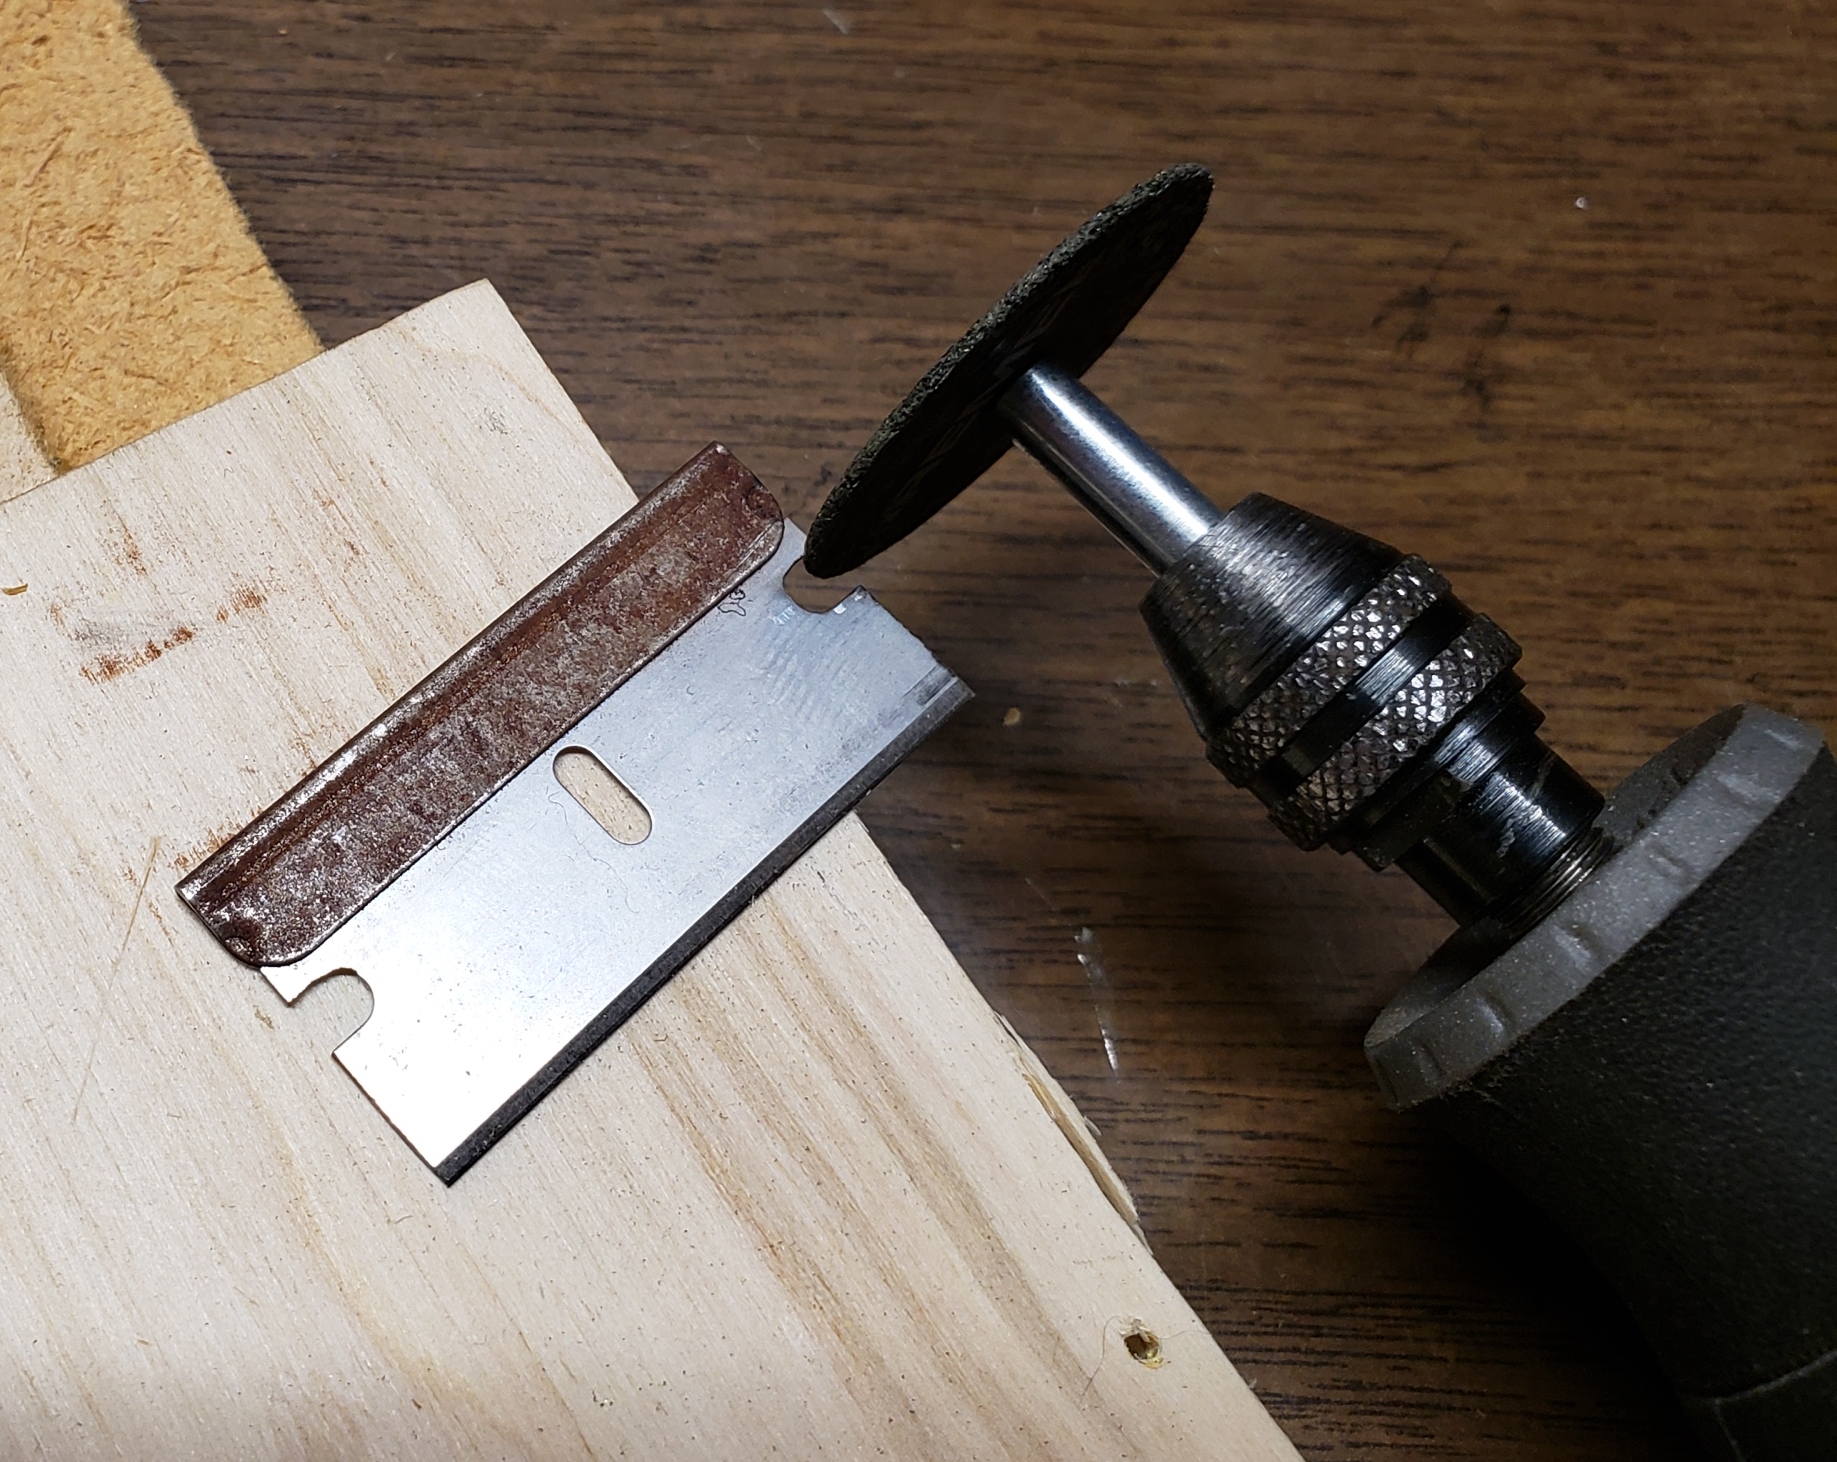
|
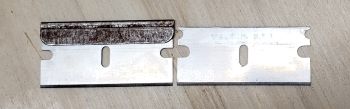
Removing the stiffener from the razor blade.
|
|

|
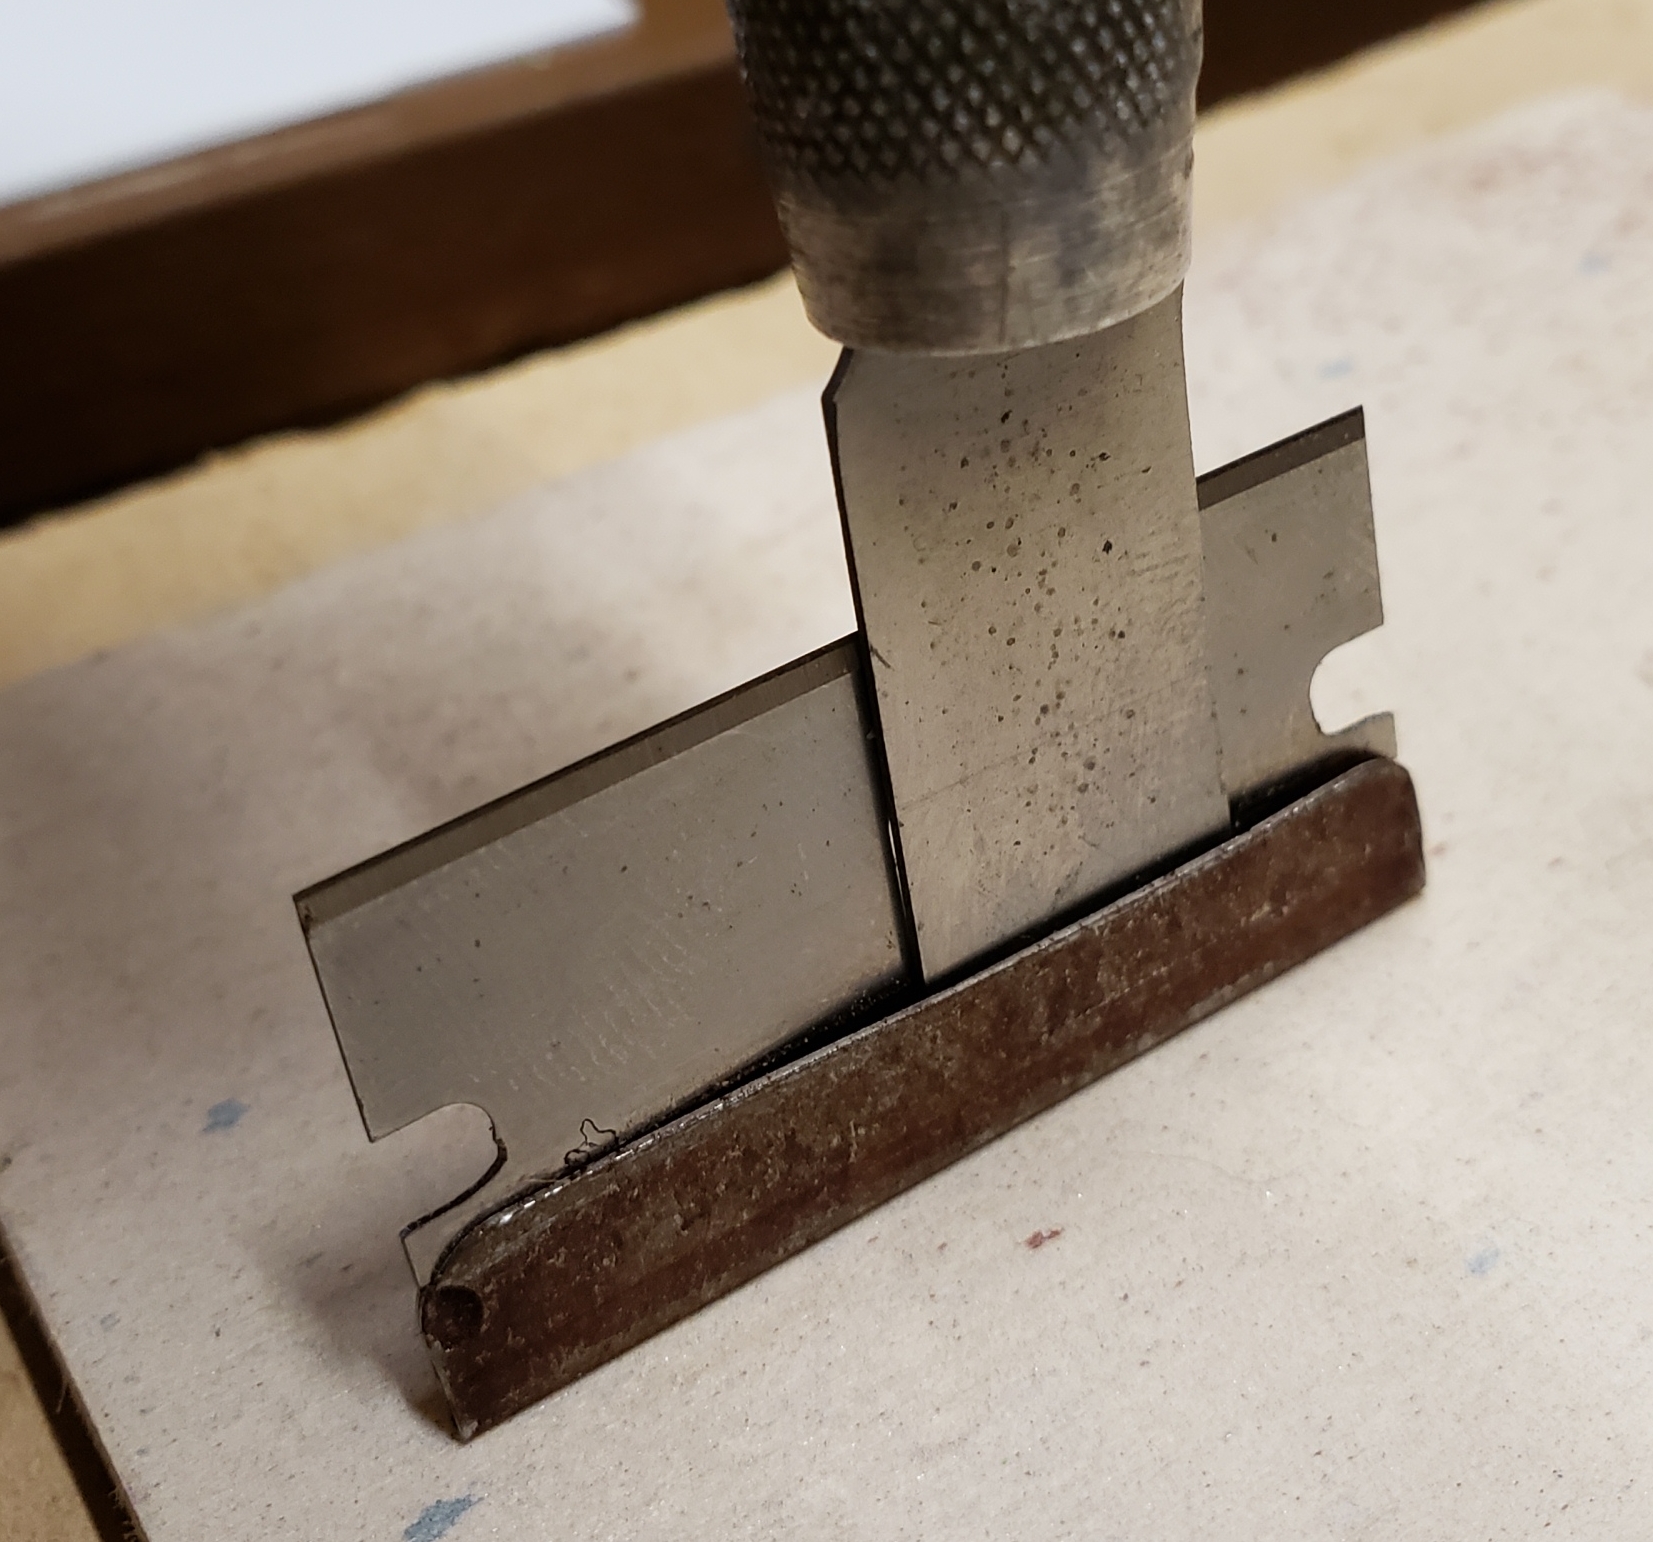
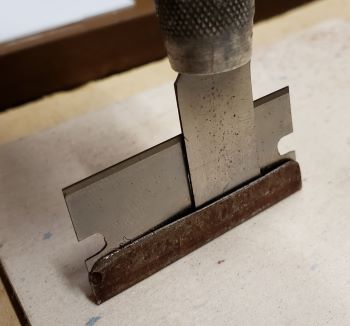
Cutting the hold slots larger to fit on the #6 screws in the arm. Be sure
to cut at the top of the notch and not on the bottom as the bottom determinines
if the blade sets level.
A cut blade is tested to make sure it fits. The hole in this end of the arm has no
function.
|
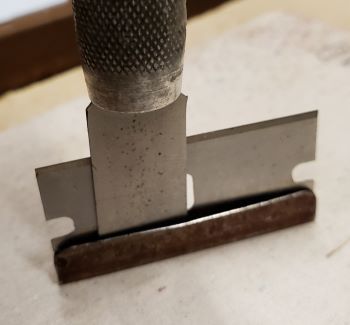
Storing the extra blades on the cutter. The flathead screws do not allow
the arm/pivot to move from its position.
|
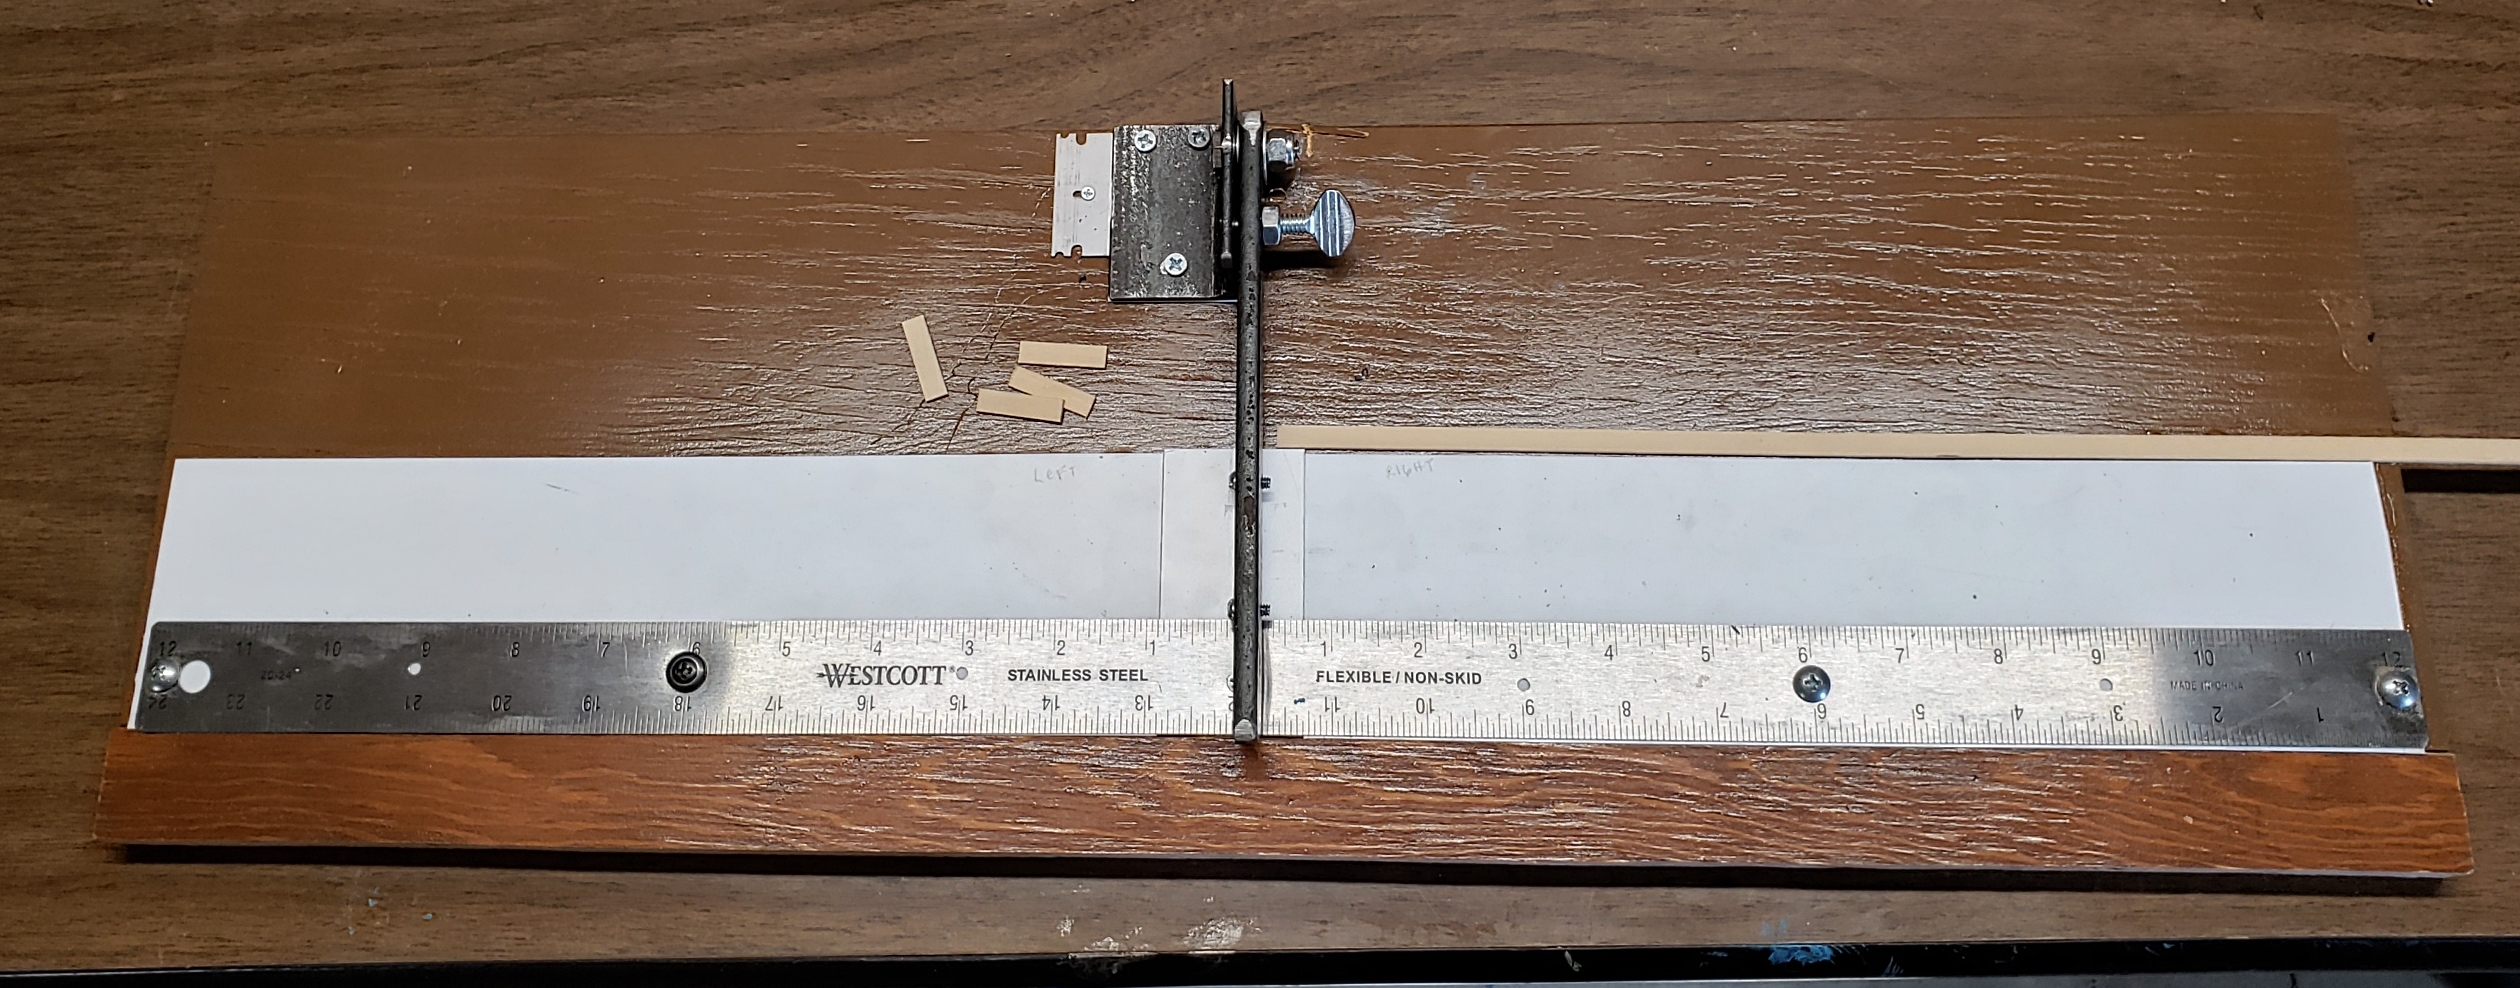
The Build
|

|
The arm/pivot has been attached. The styrene glued with CA glue.
The ruler is squared and has been CA glued at the cutting point and then
large head screws installed.
|

|
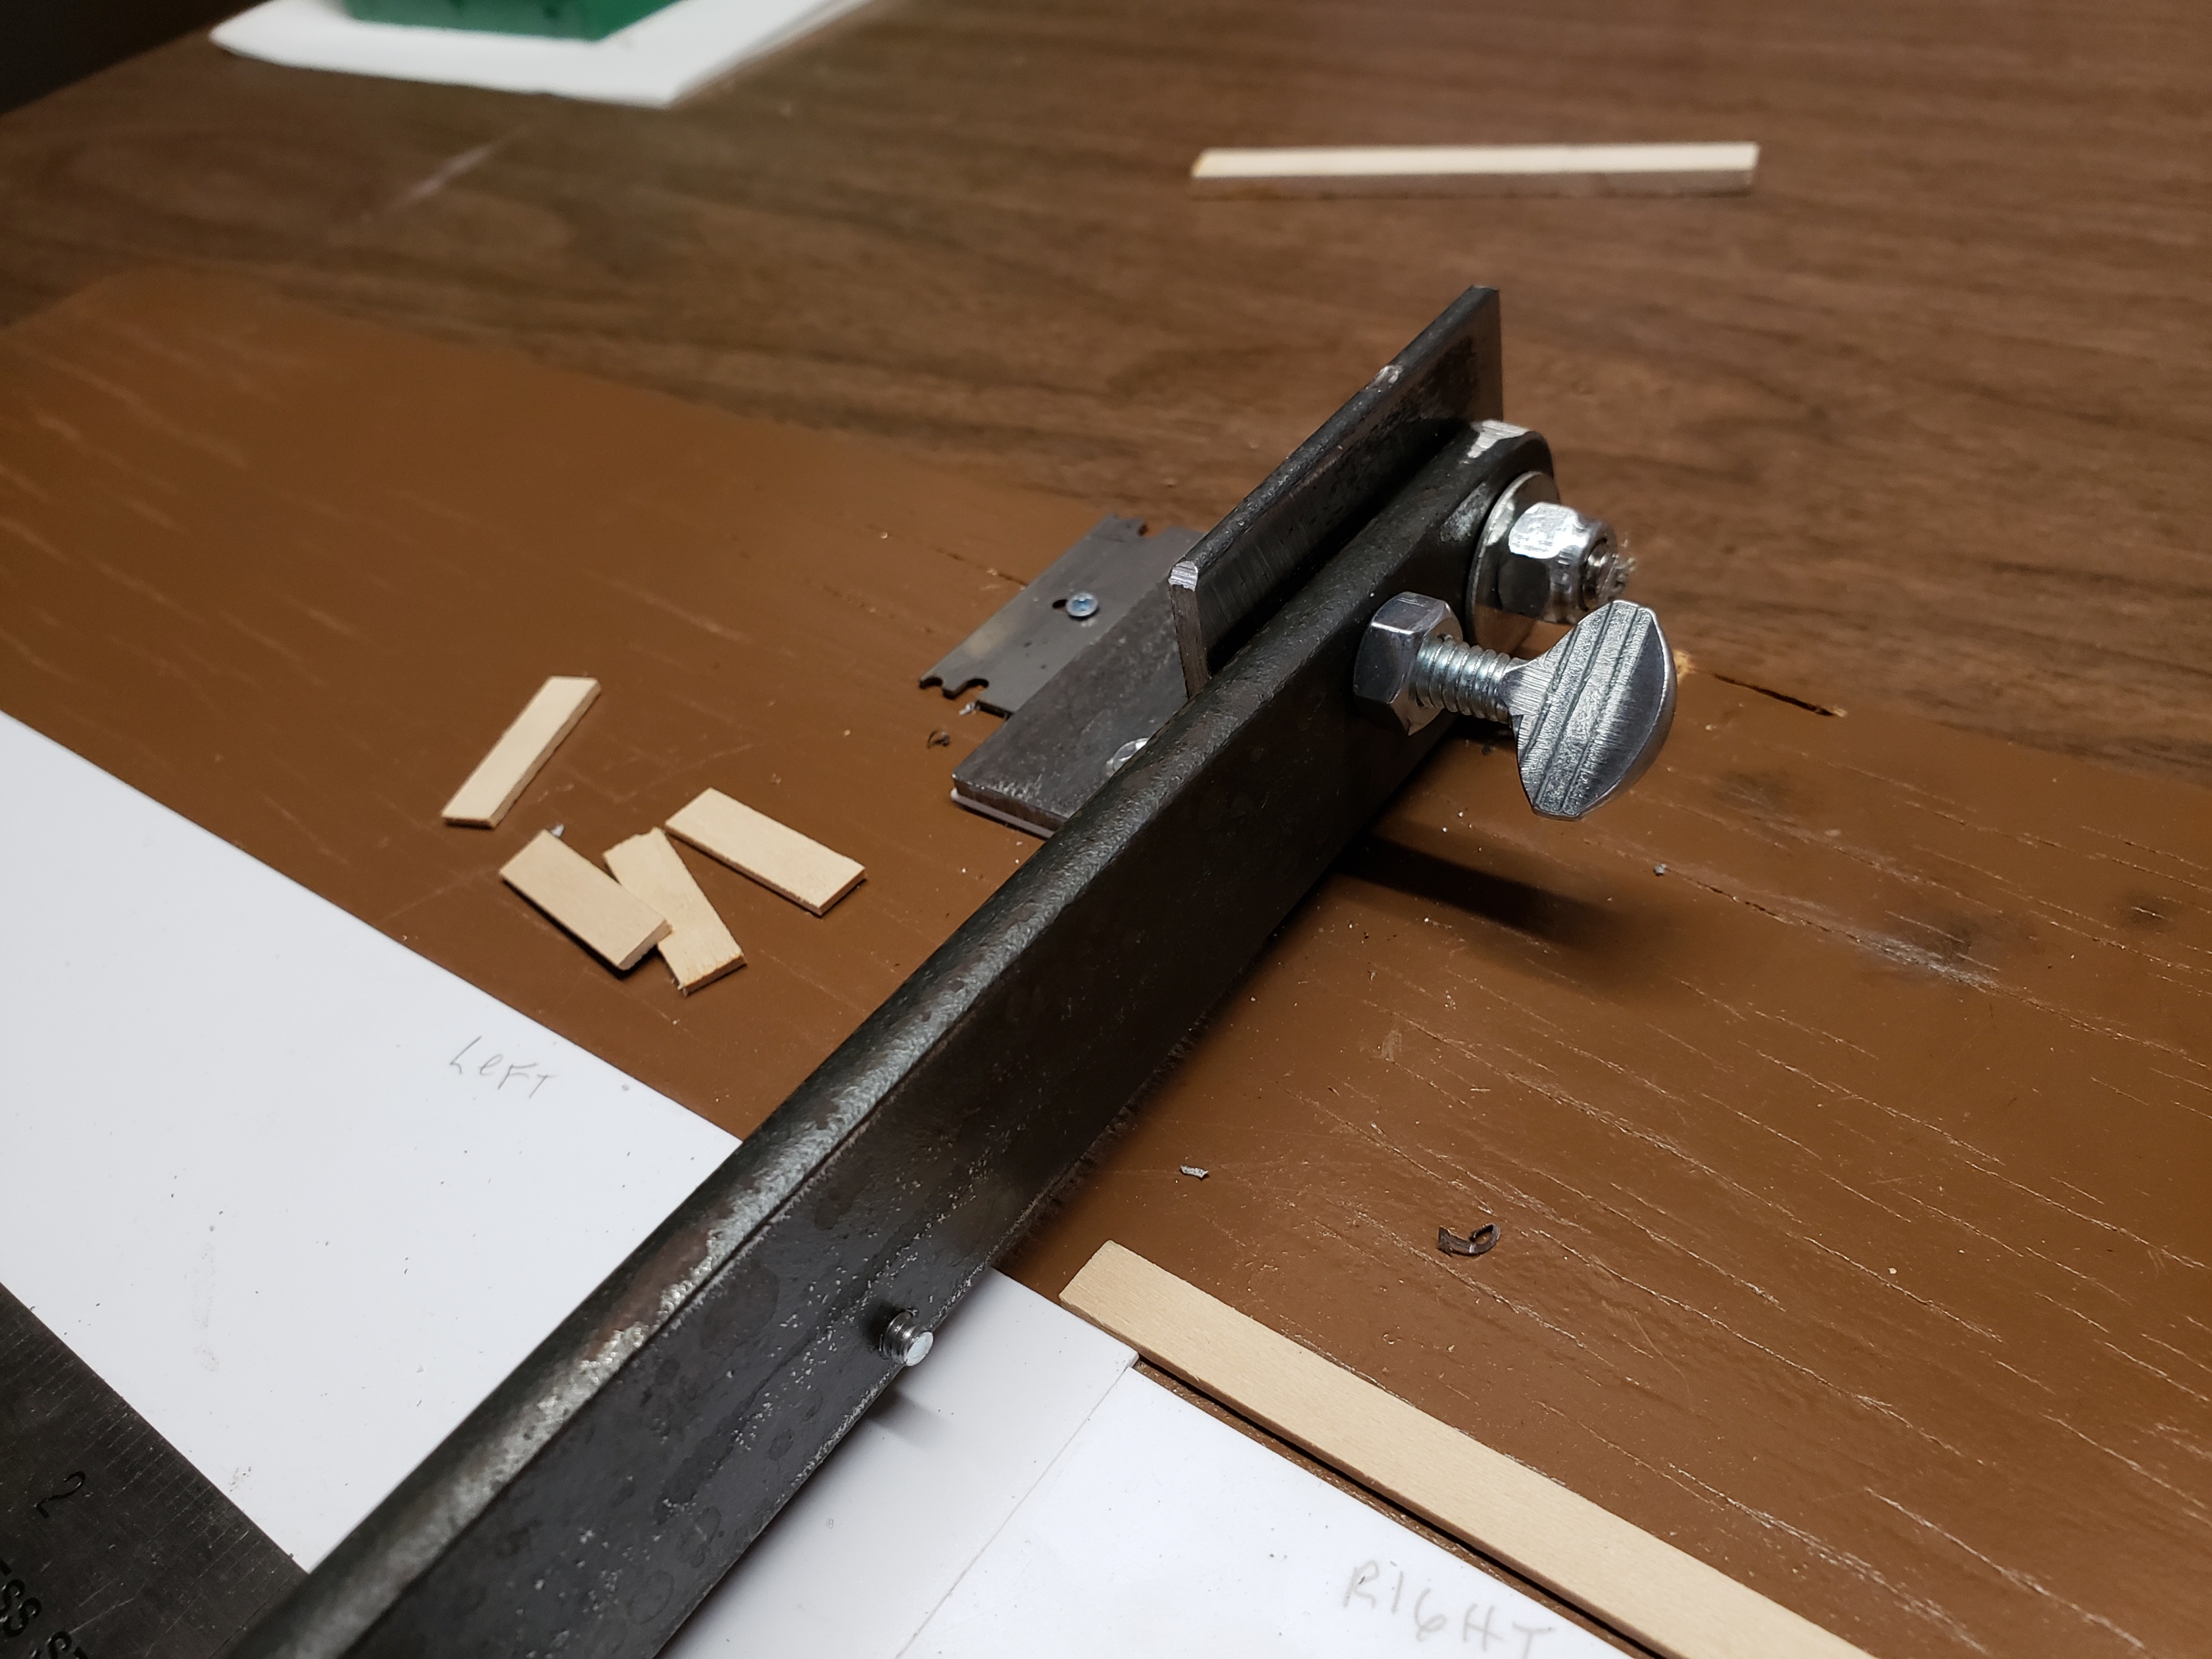
A 1/4" thumbscrew and nut has been installed to allow the arm
to lock down when in storage. Back off the screw and use the nut to
hold it unlocked.
|

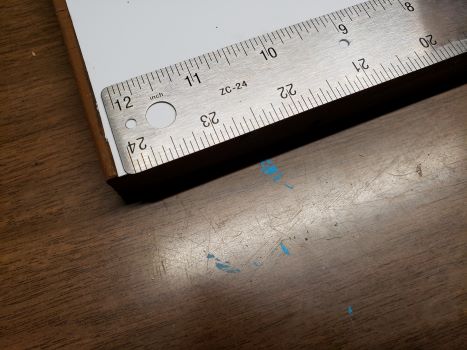
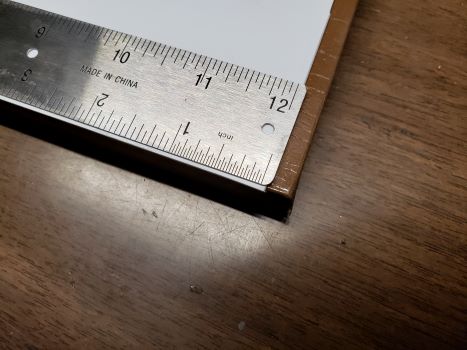
|
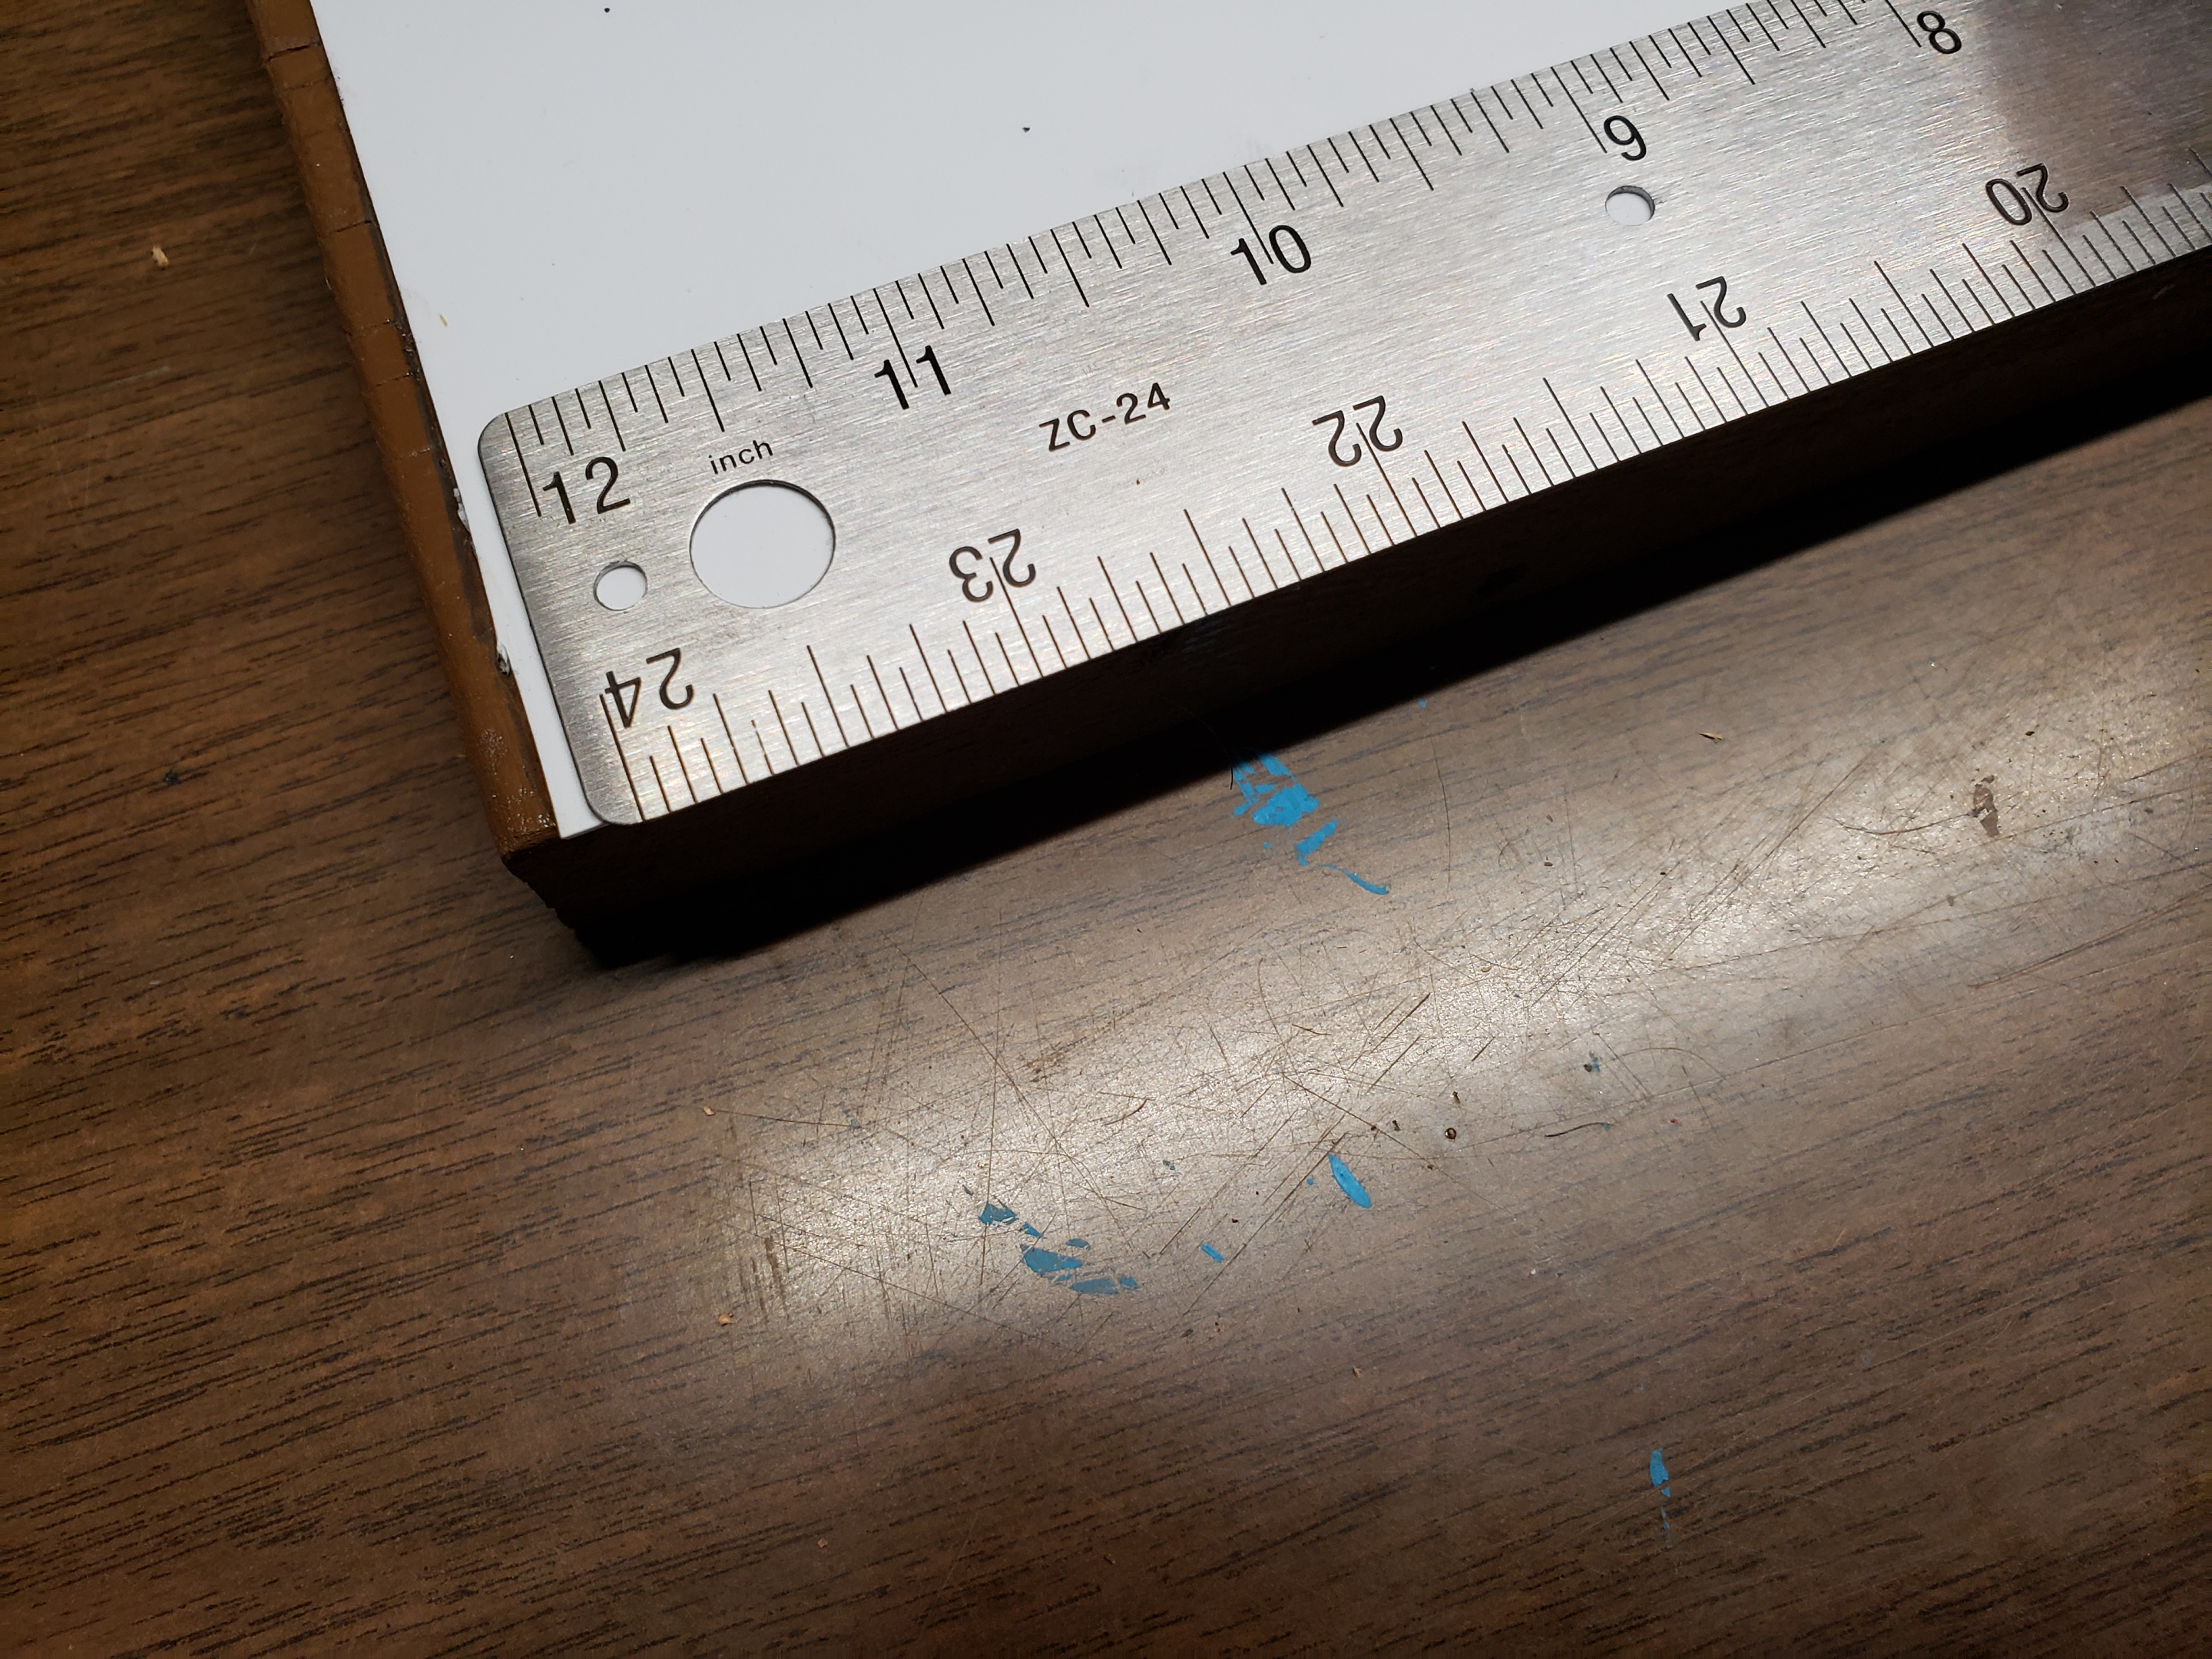
The added front board to protect the ruler edge.
|
|
Test strips cut.
|
Adding the Clamps
|

|

|
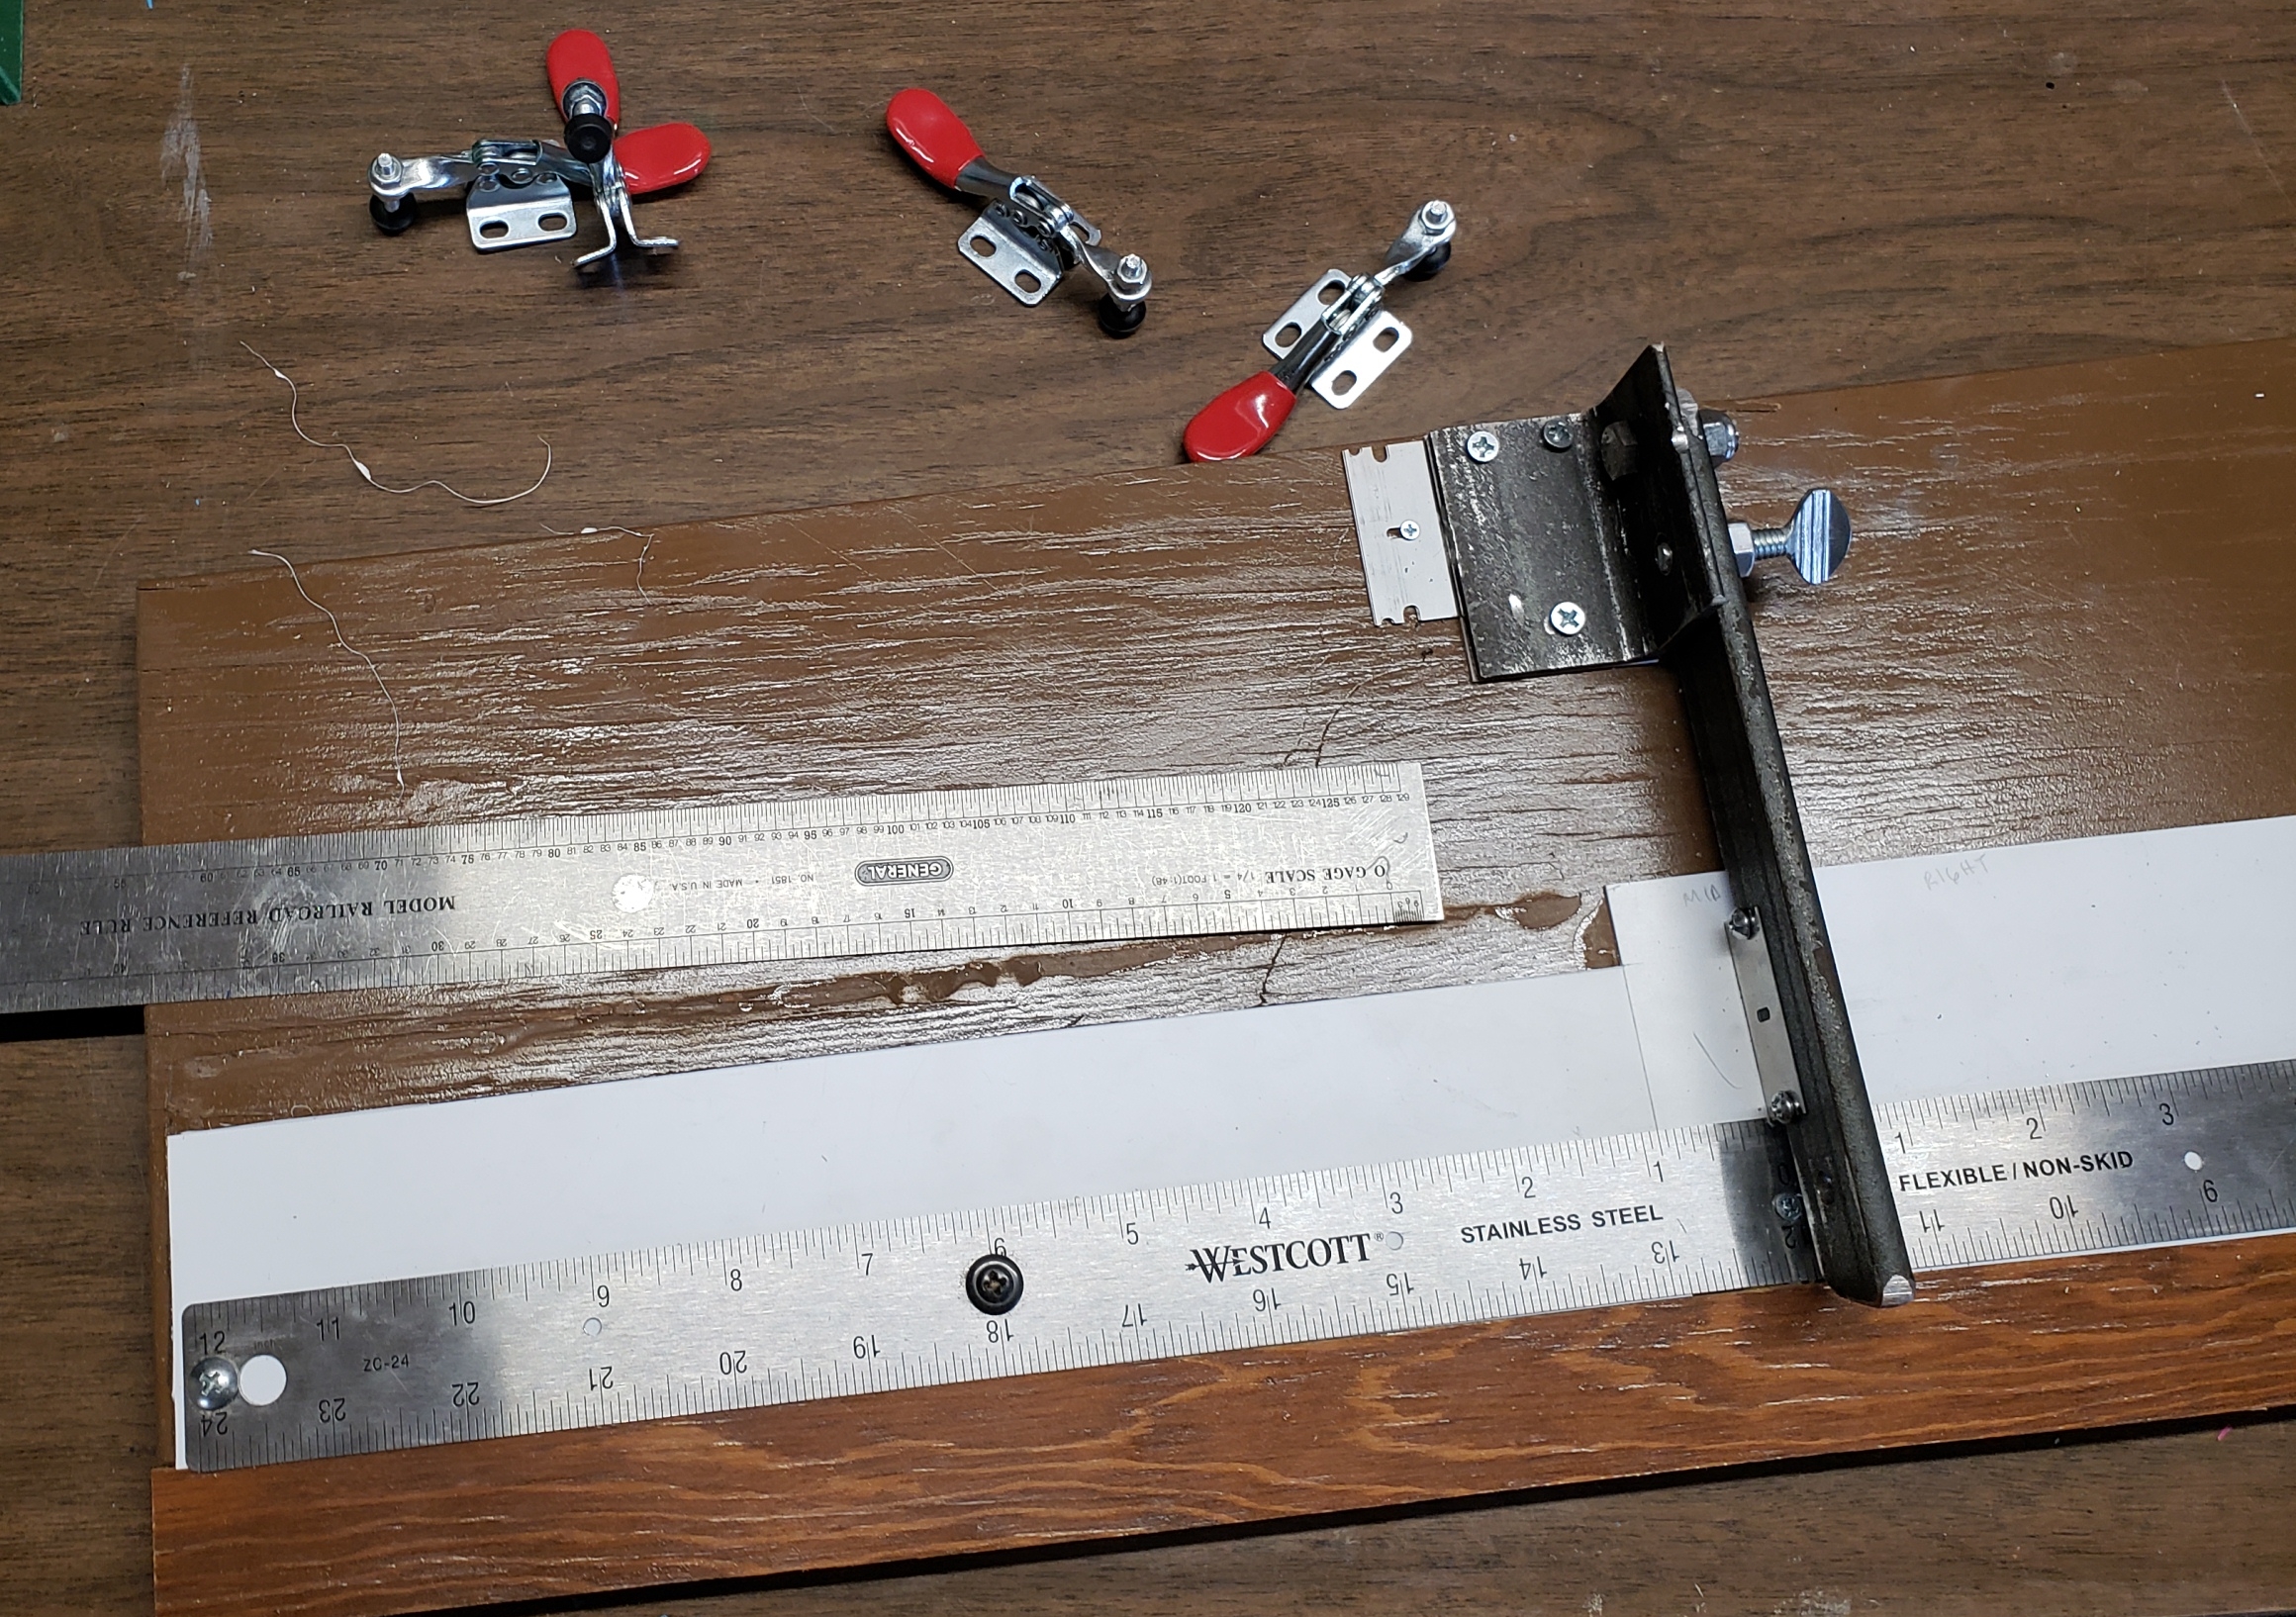
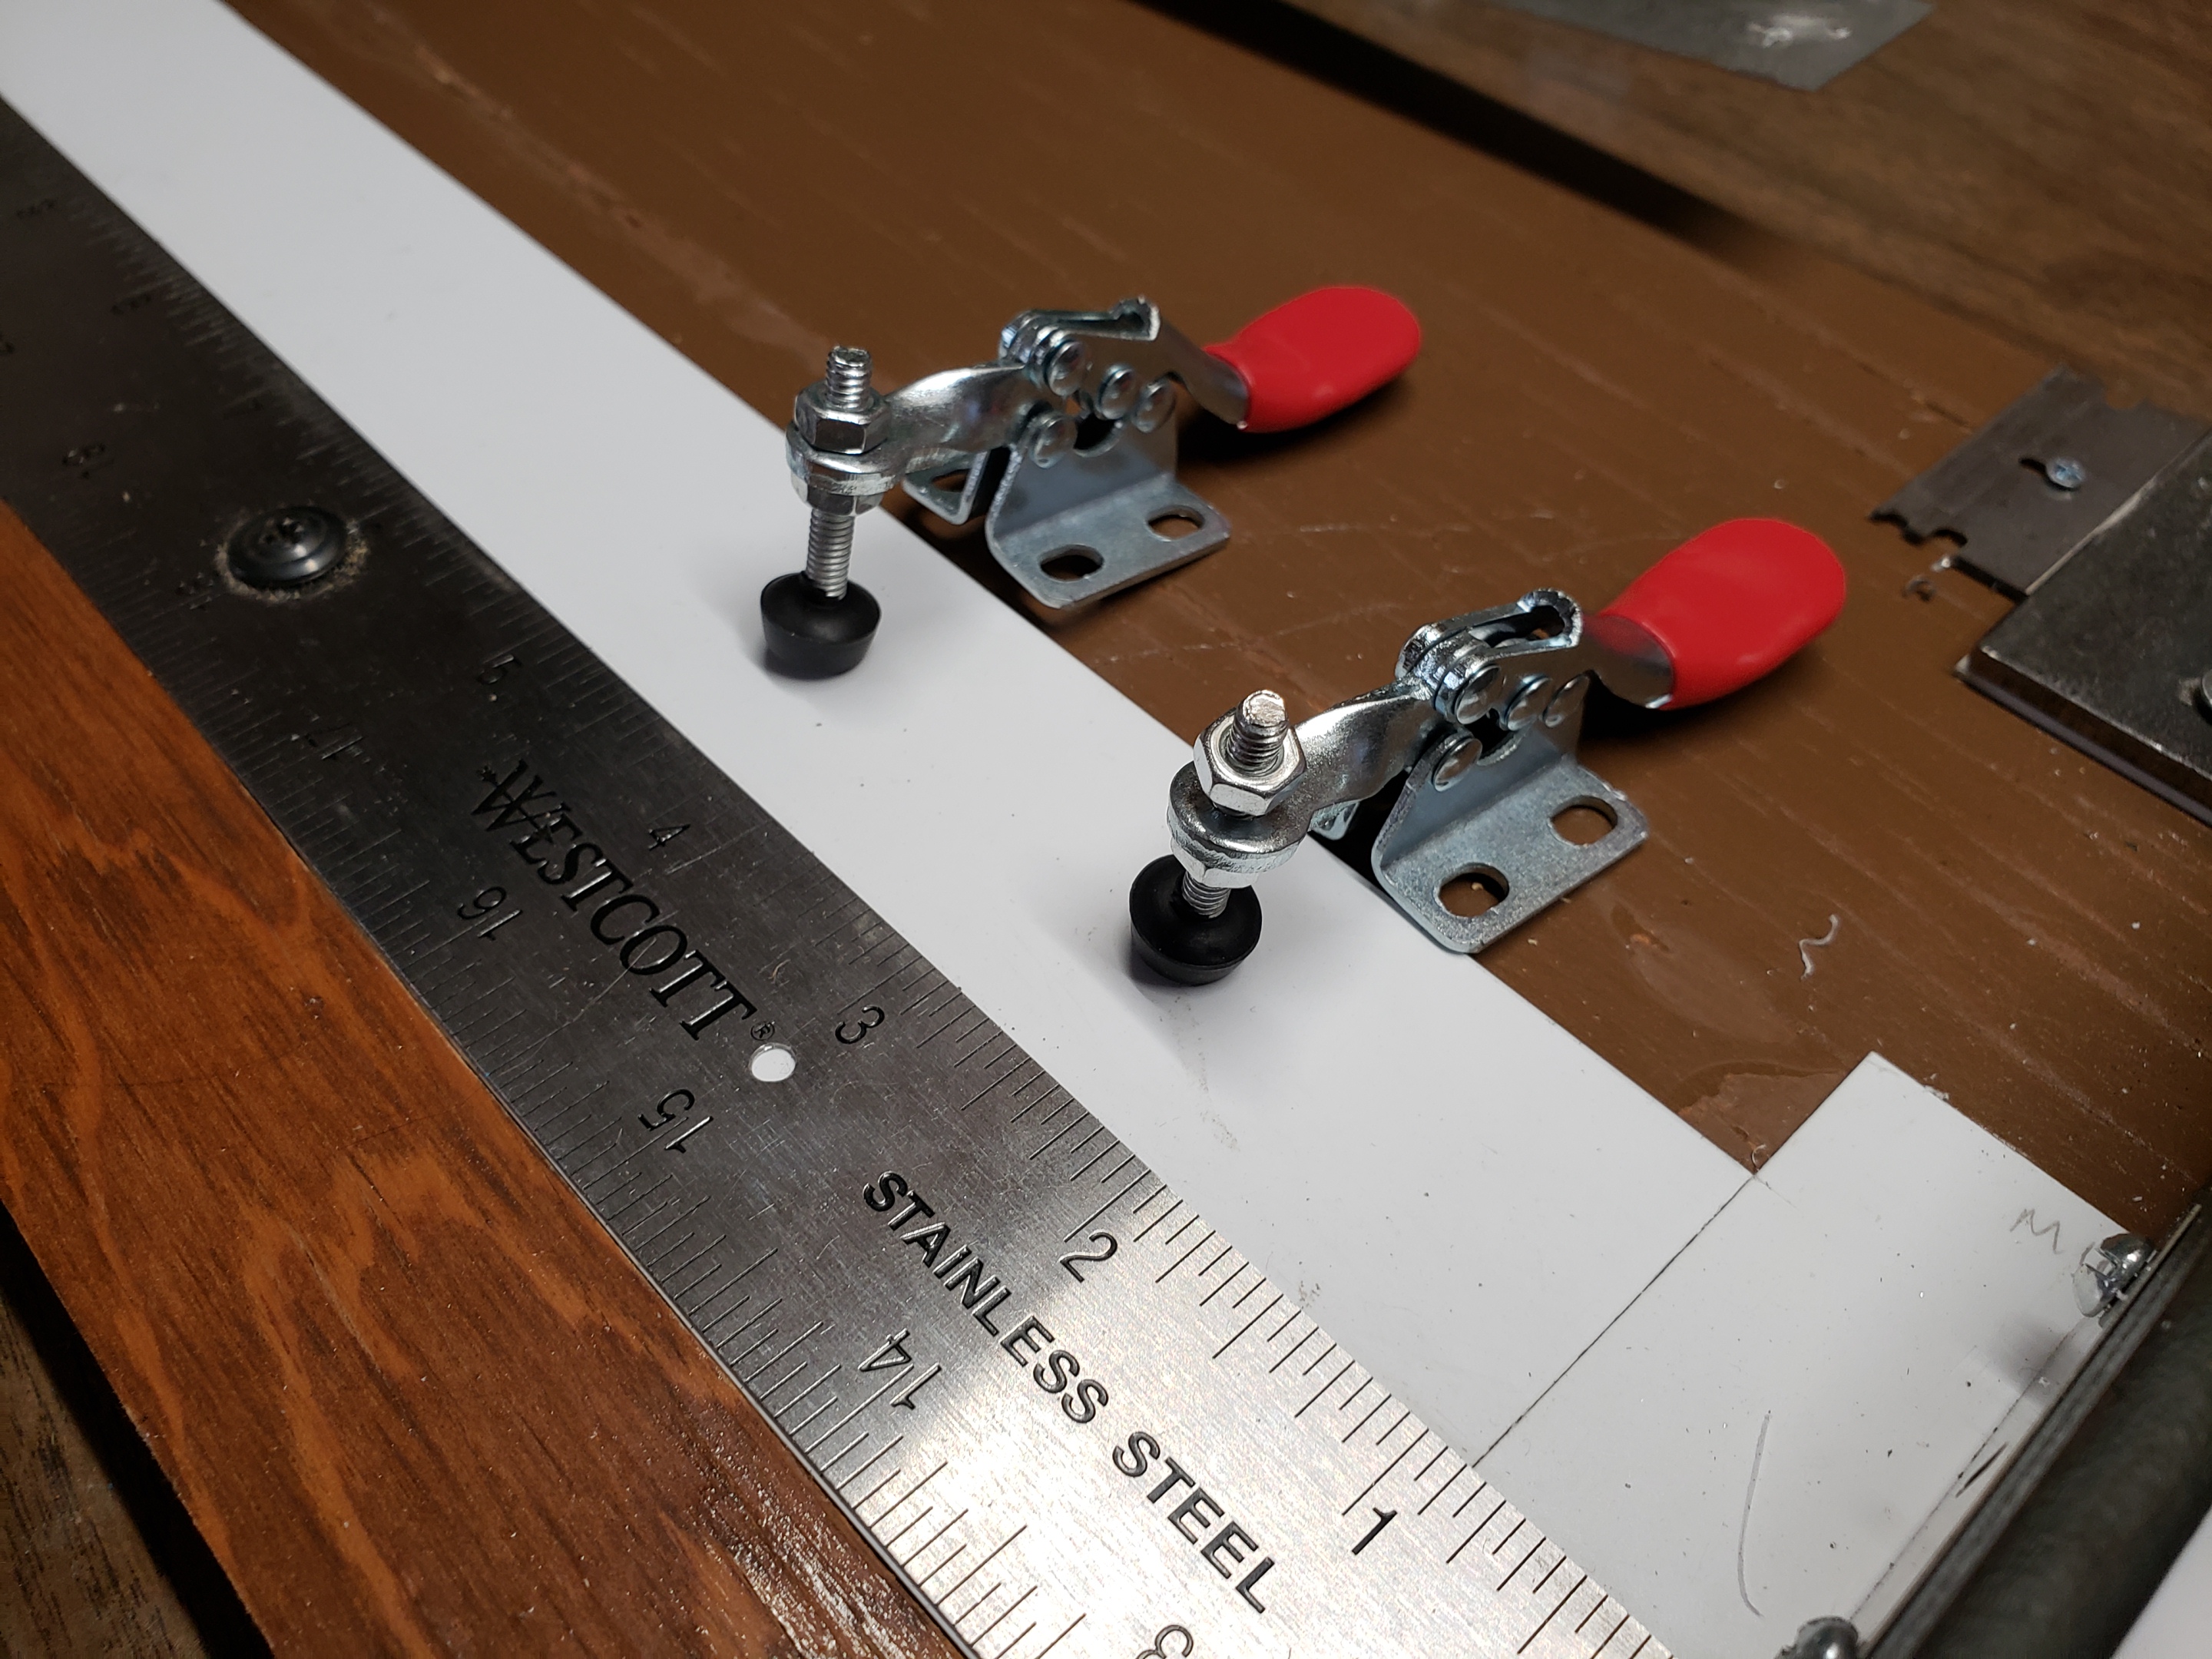
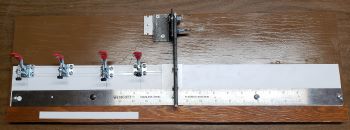
| I ordered small hold down clamps and their location is being determined.
|
|
|
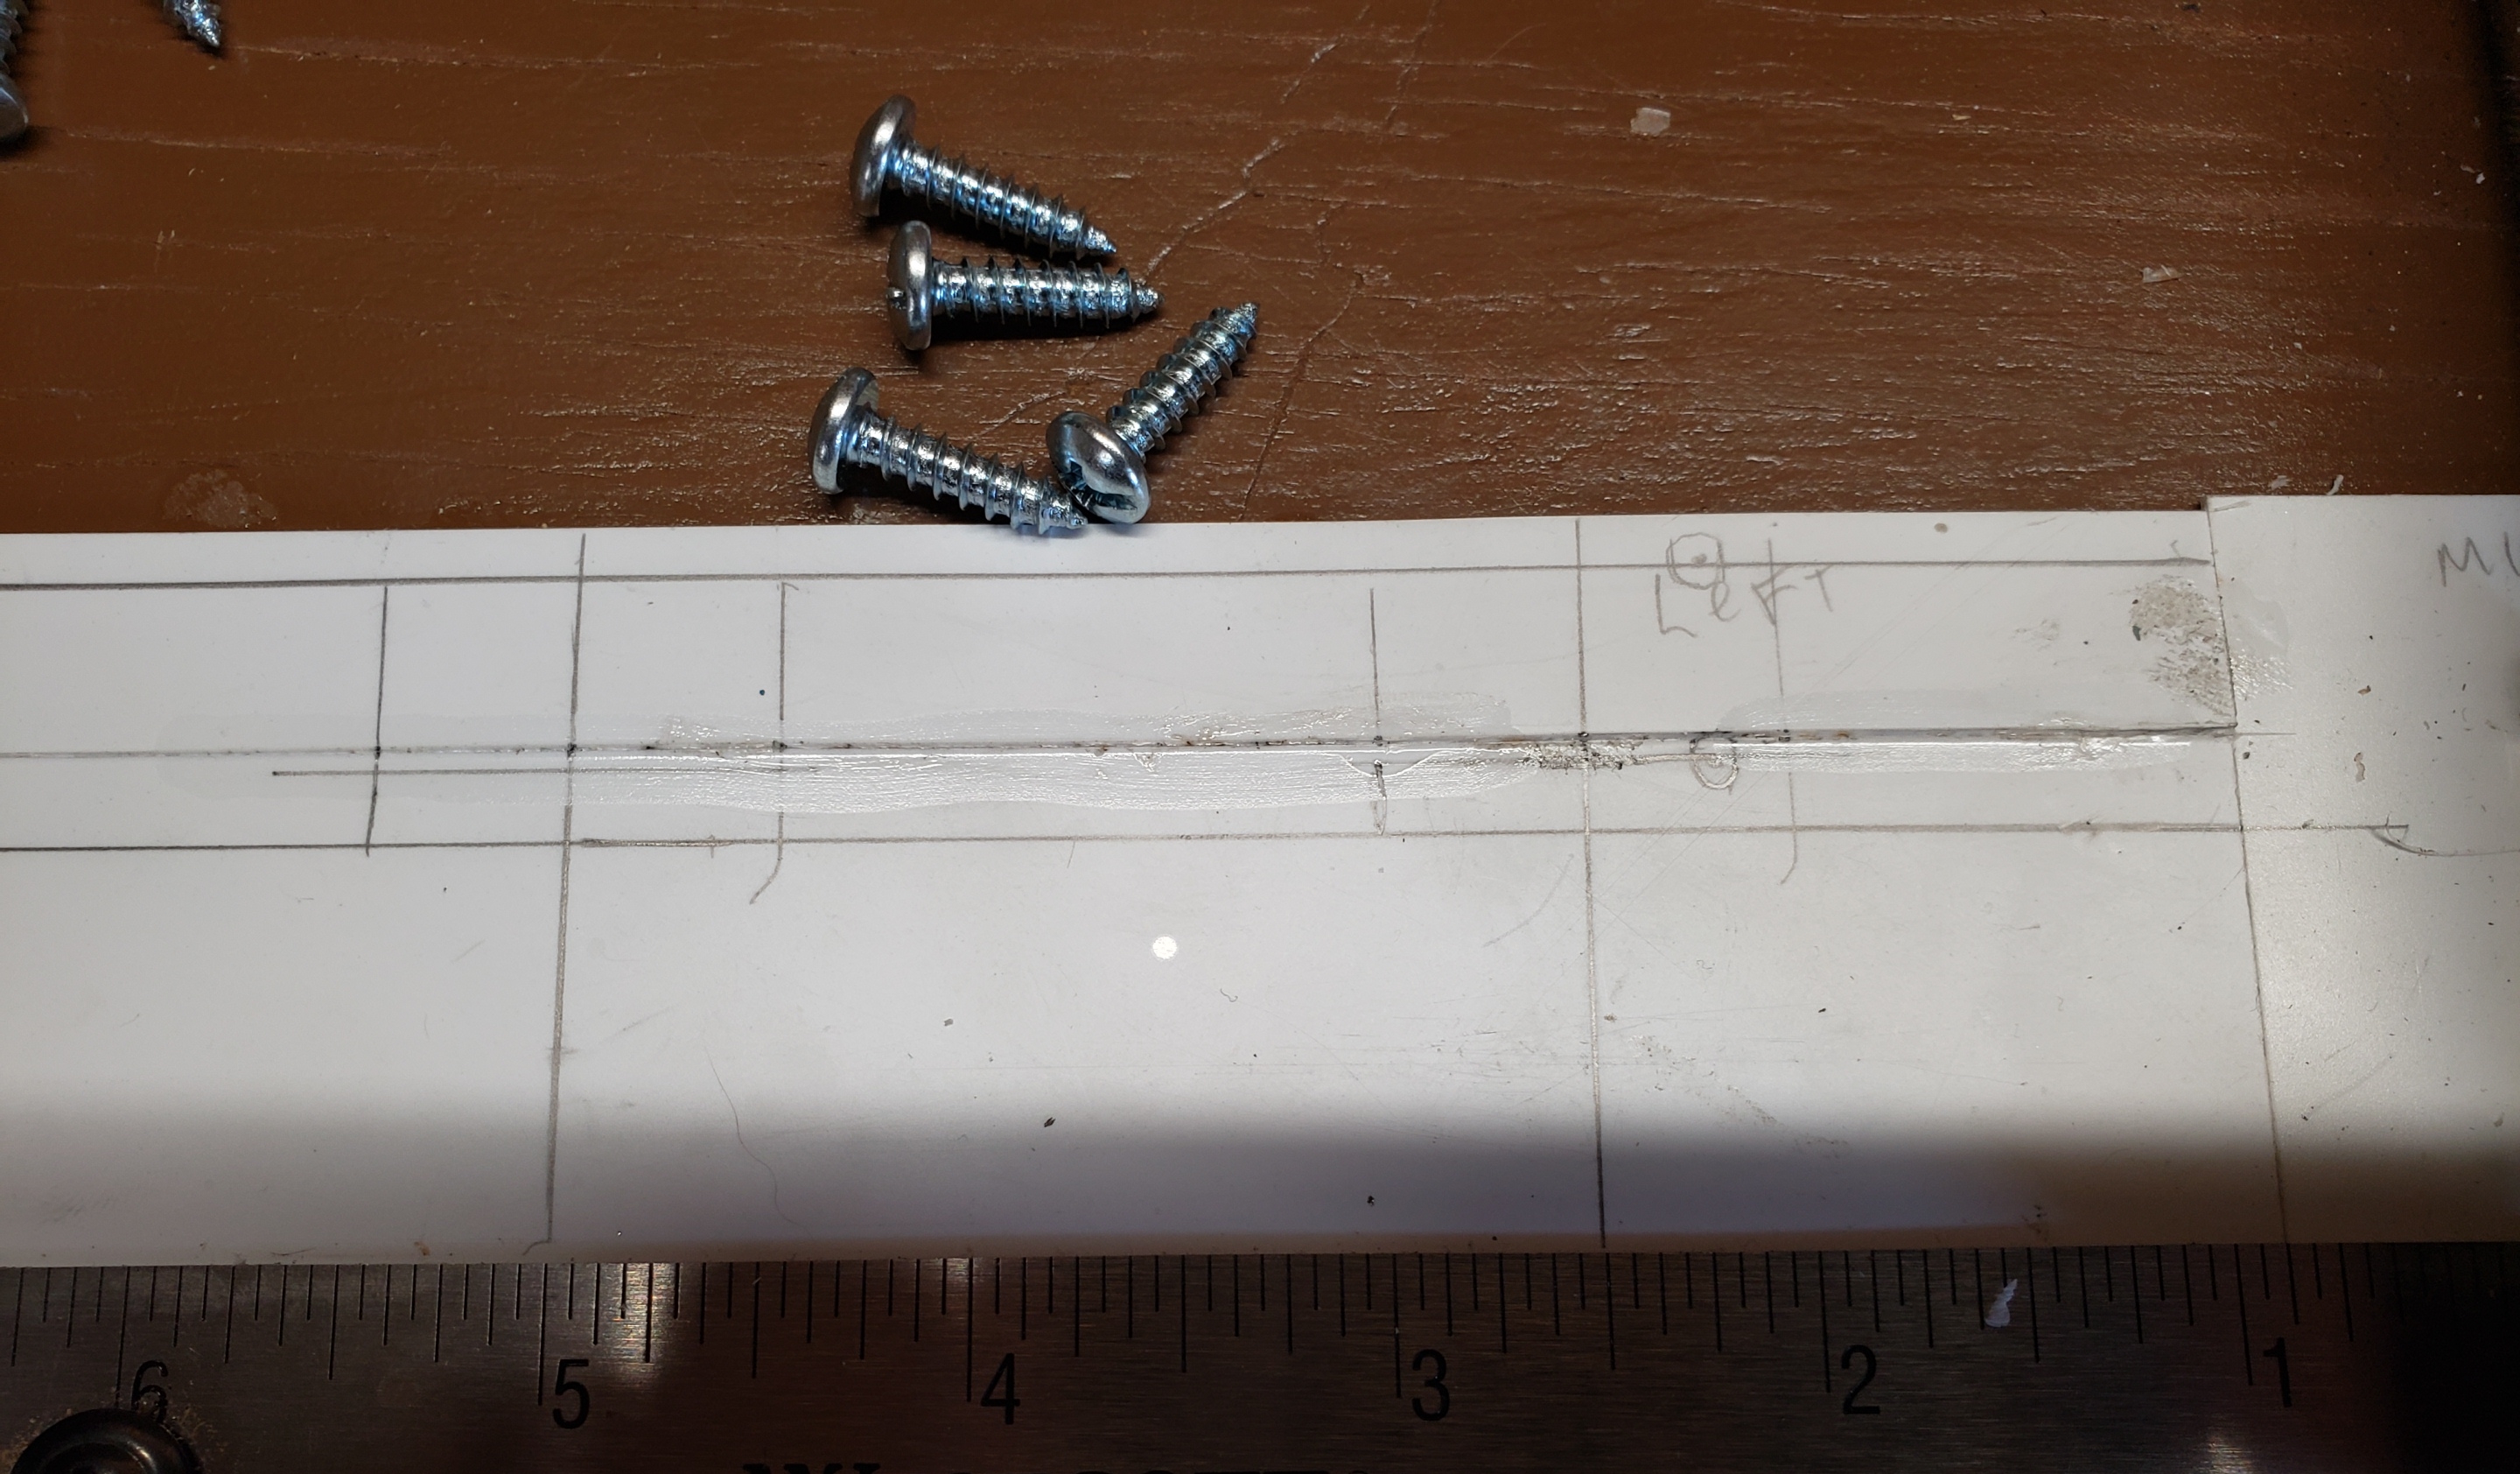
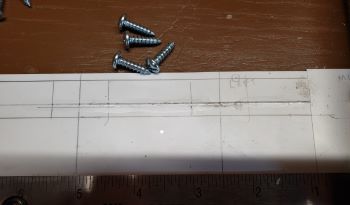
I reinstalled the styrene I cut out and marked locations for the clamps at 2 1/2", 5", 8", and 11".
I made a stop out of .060 X .500 styrene strip. Clamps installed and stripwood cutter is done.
|
| - JH -
|
|
Copyright © Jack Hess 2022
|