Part 2: Building the Motor Box
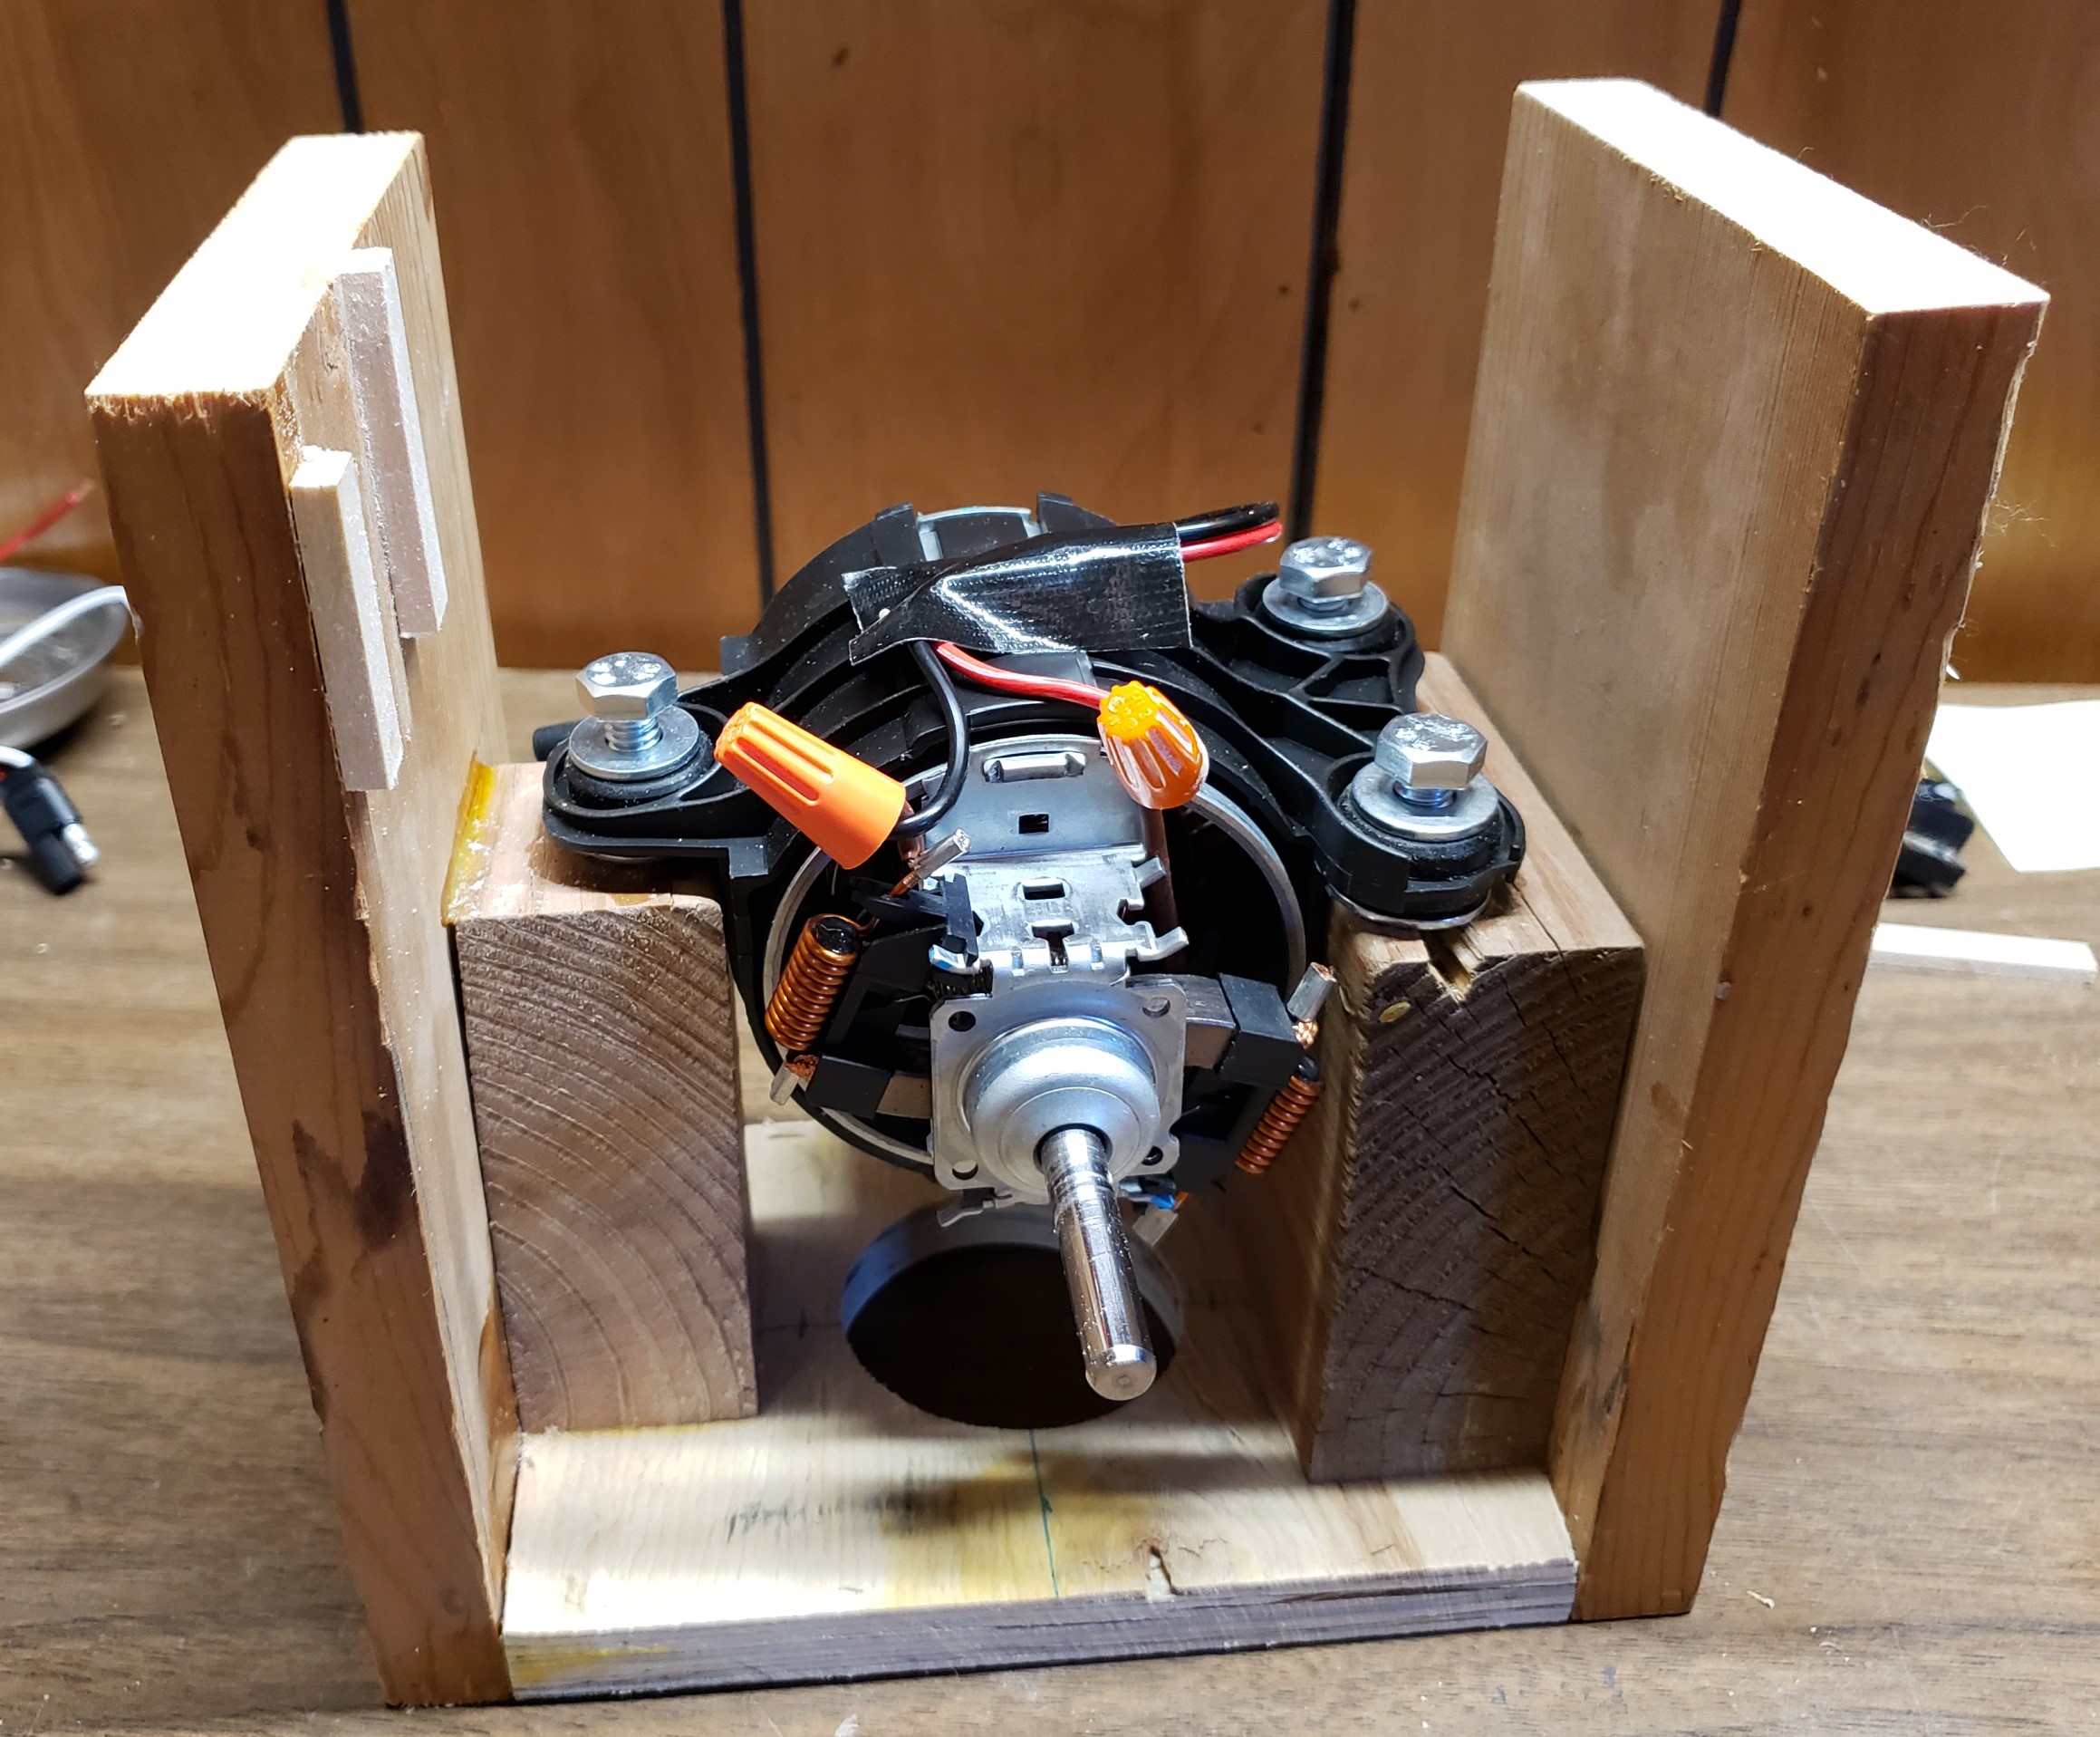

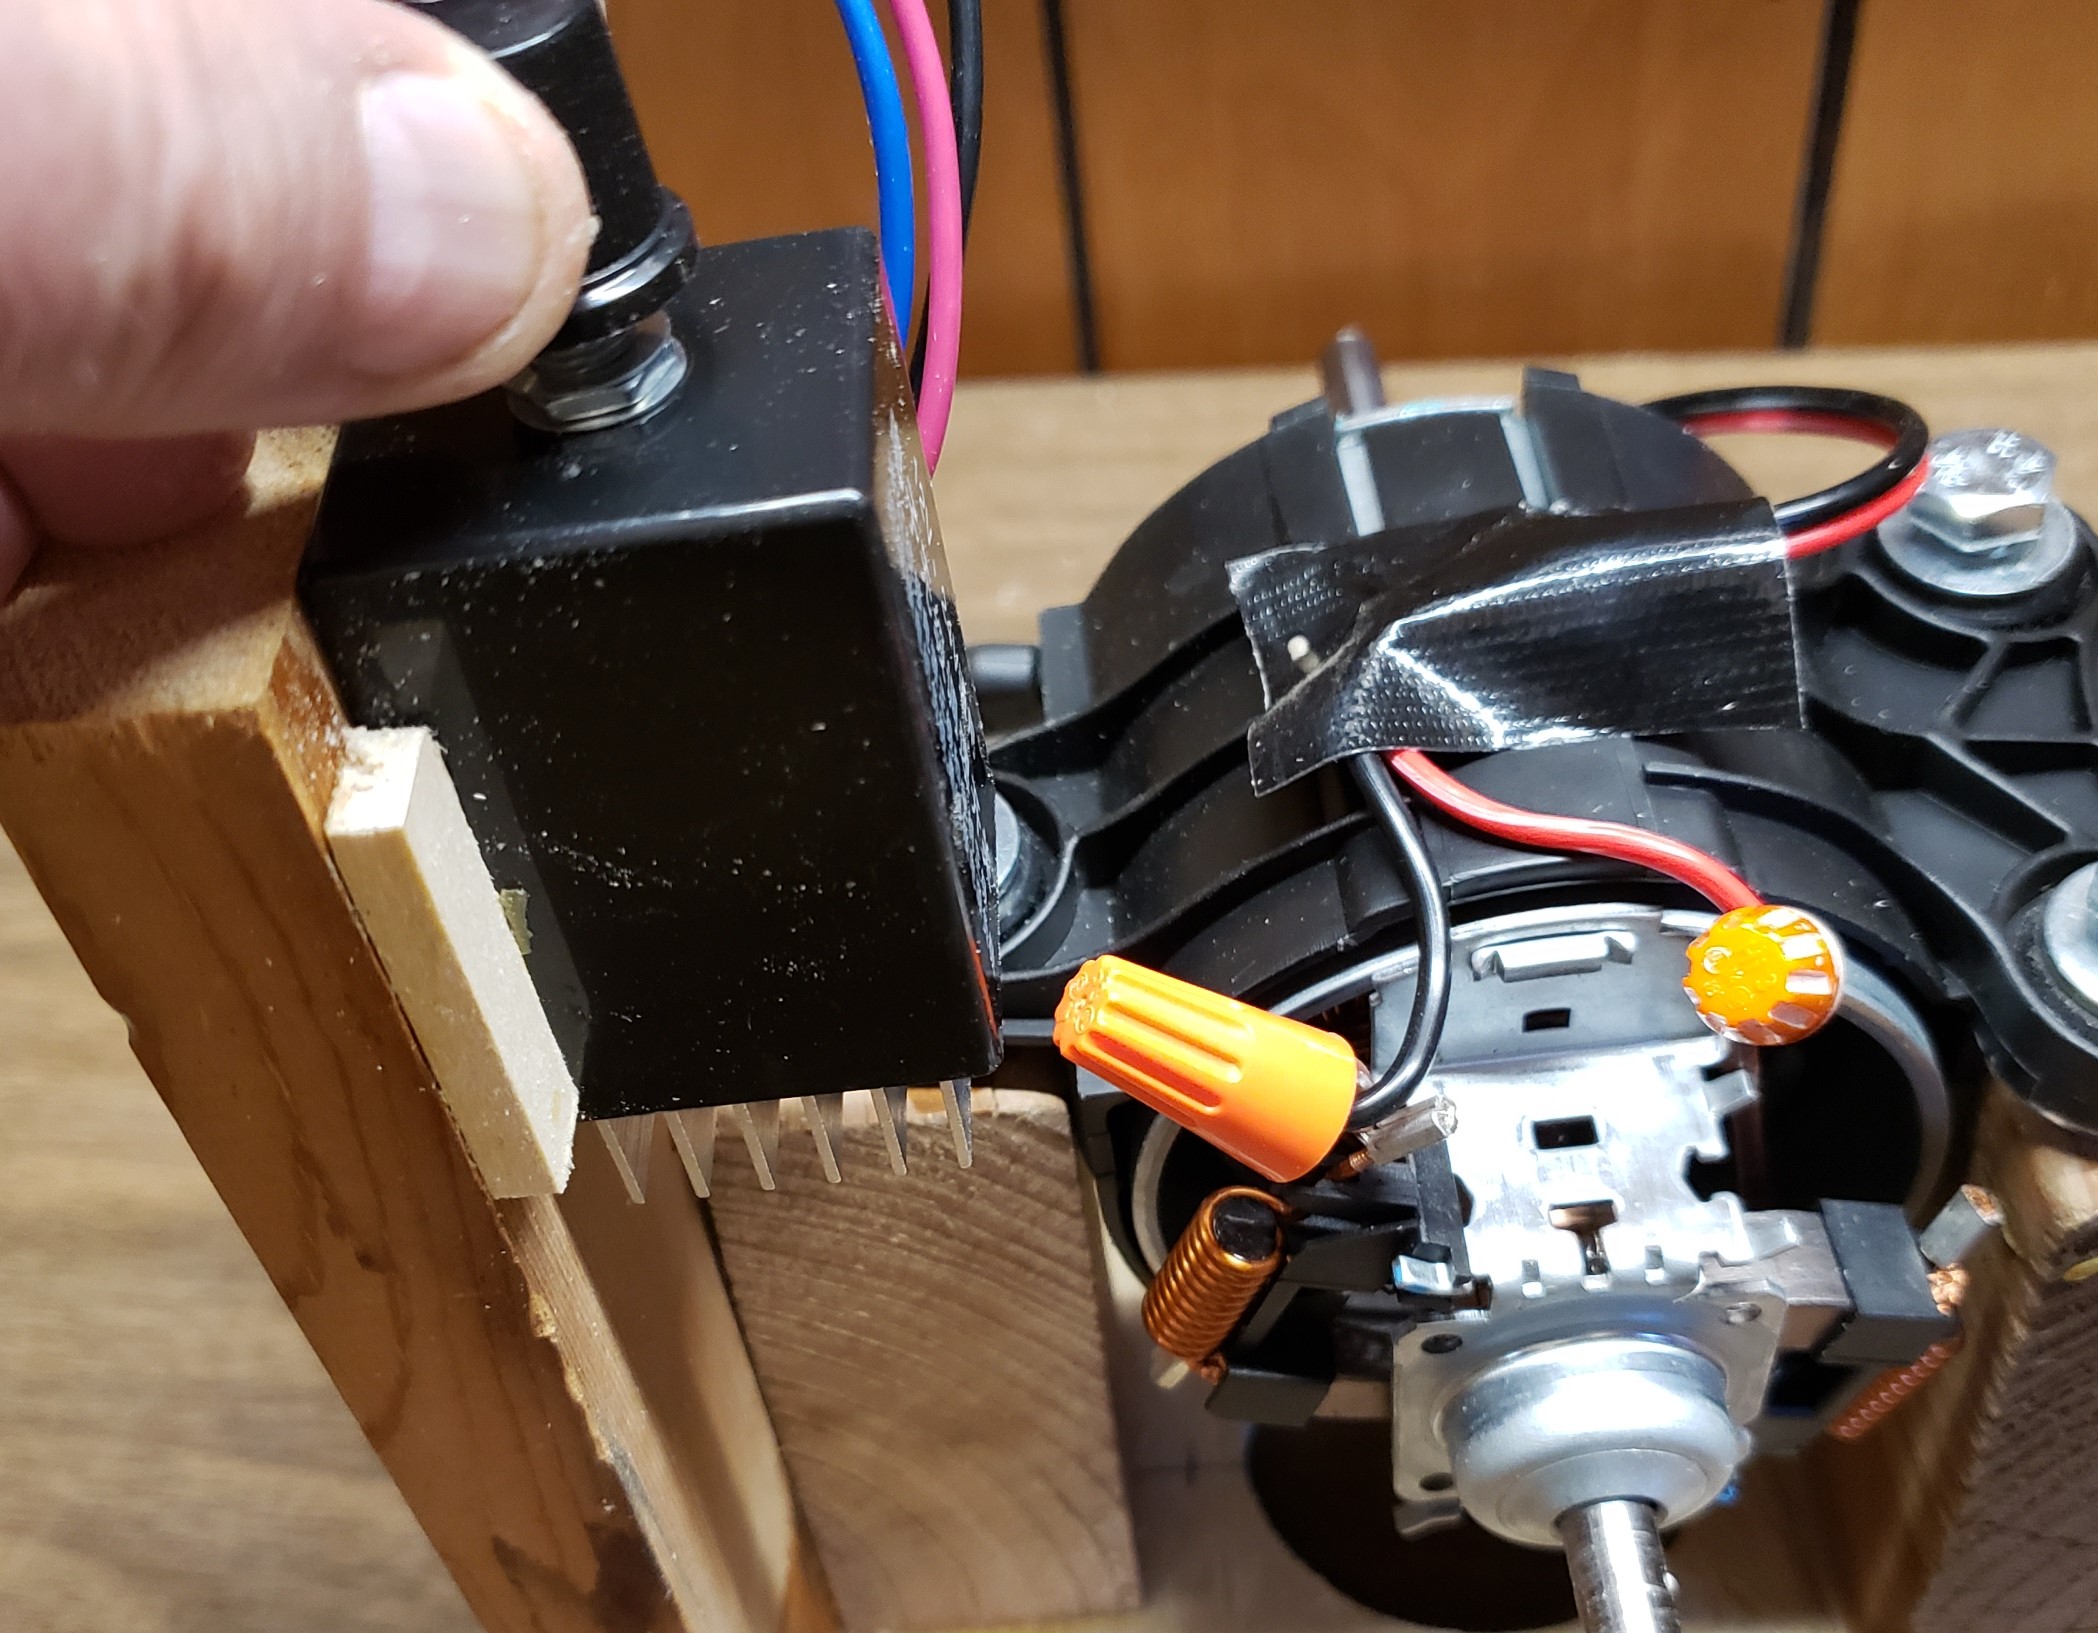
The width is as narrow as possible to allow the fans to have enough motor shaft to slide onto. The fan blade on the brushes side was designed to allow brushes to be placed inside the fan; this will not be possbile now.
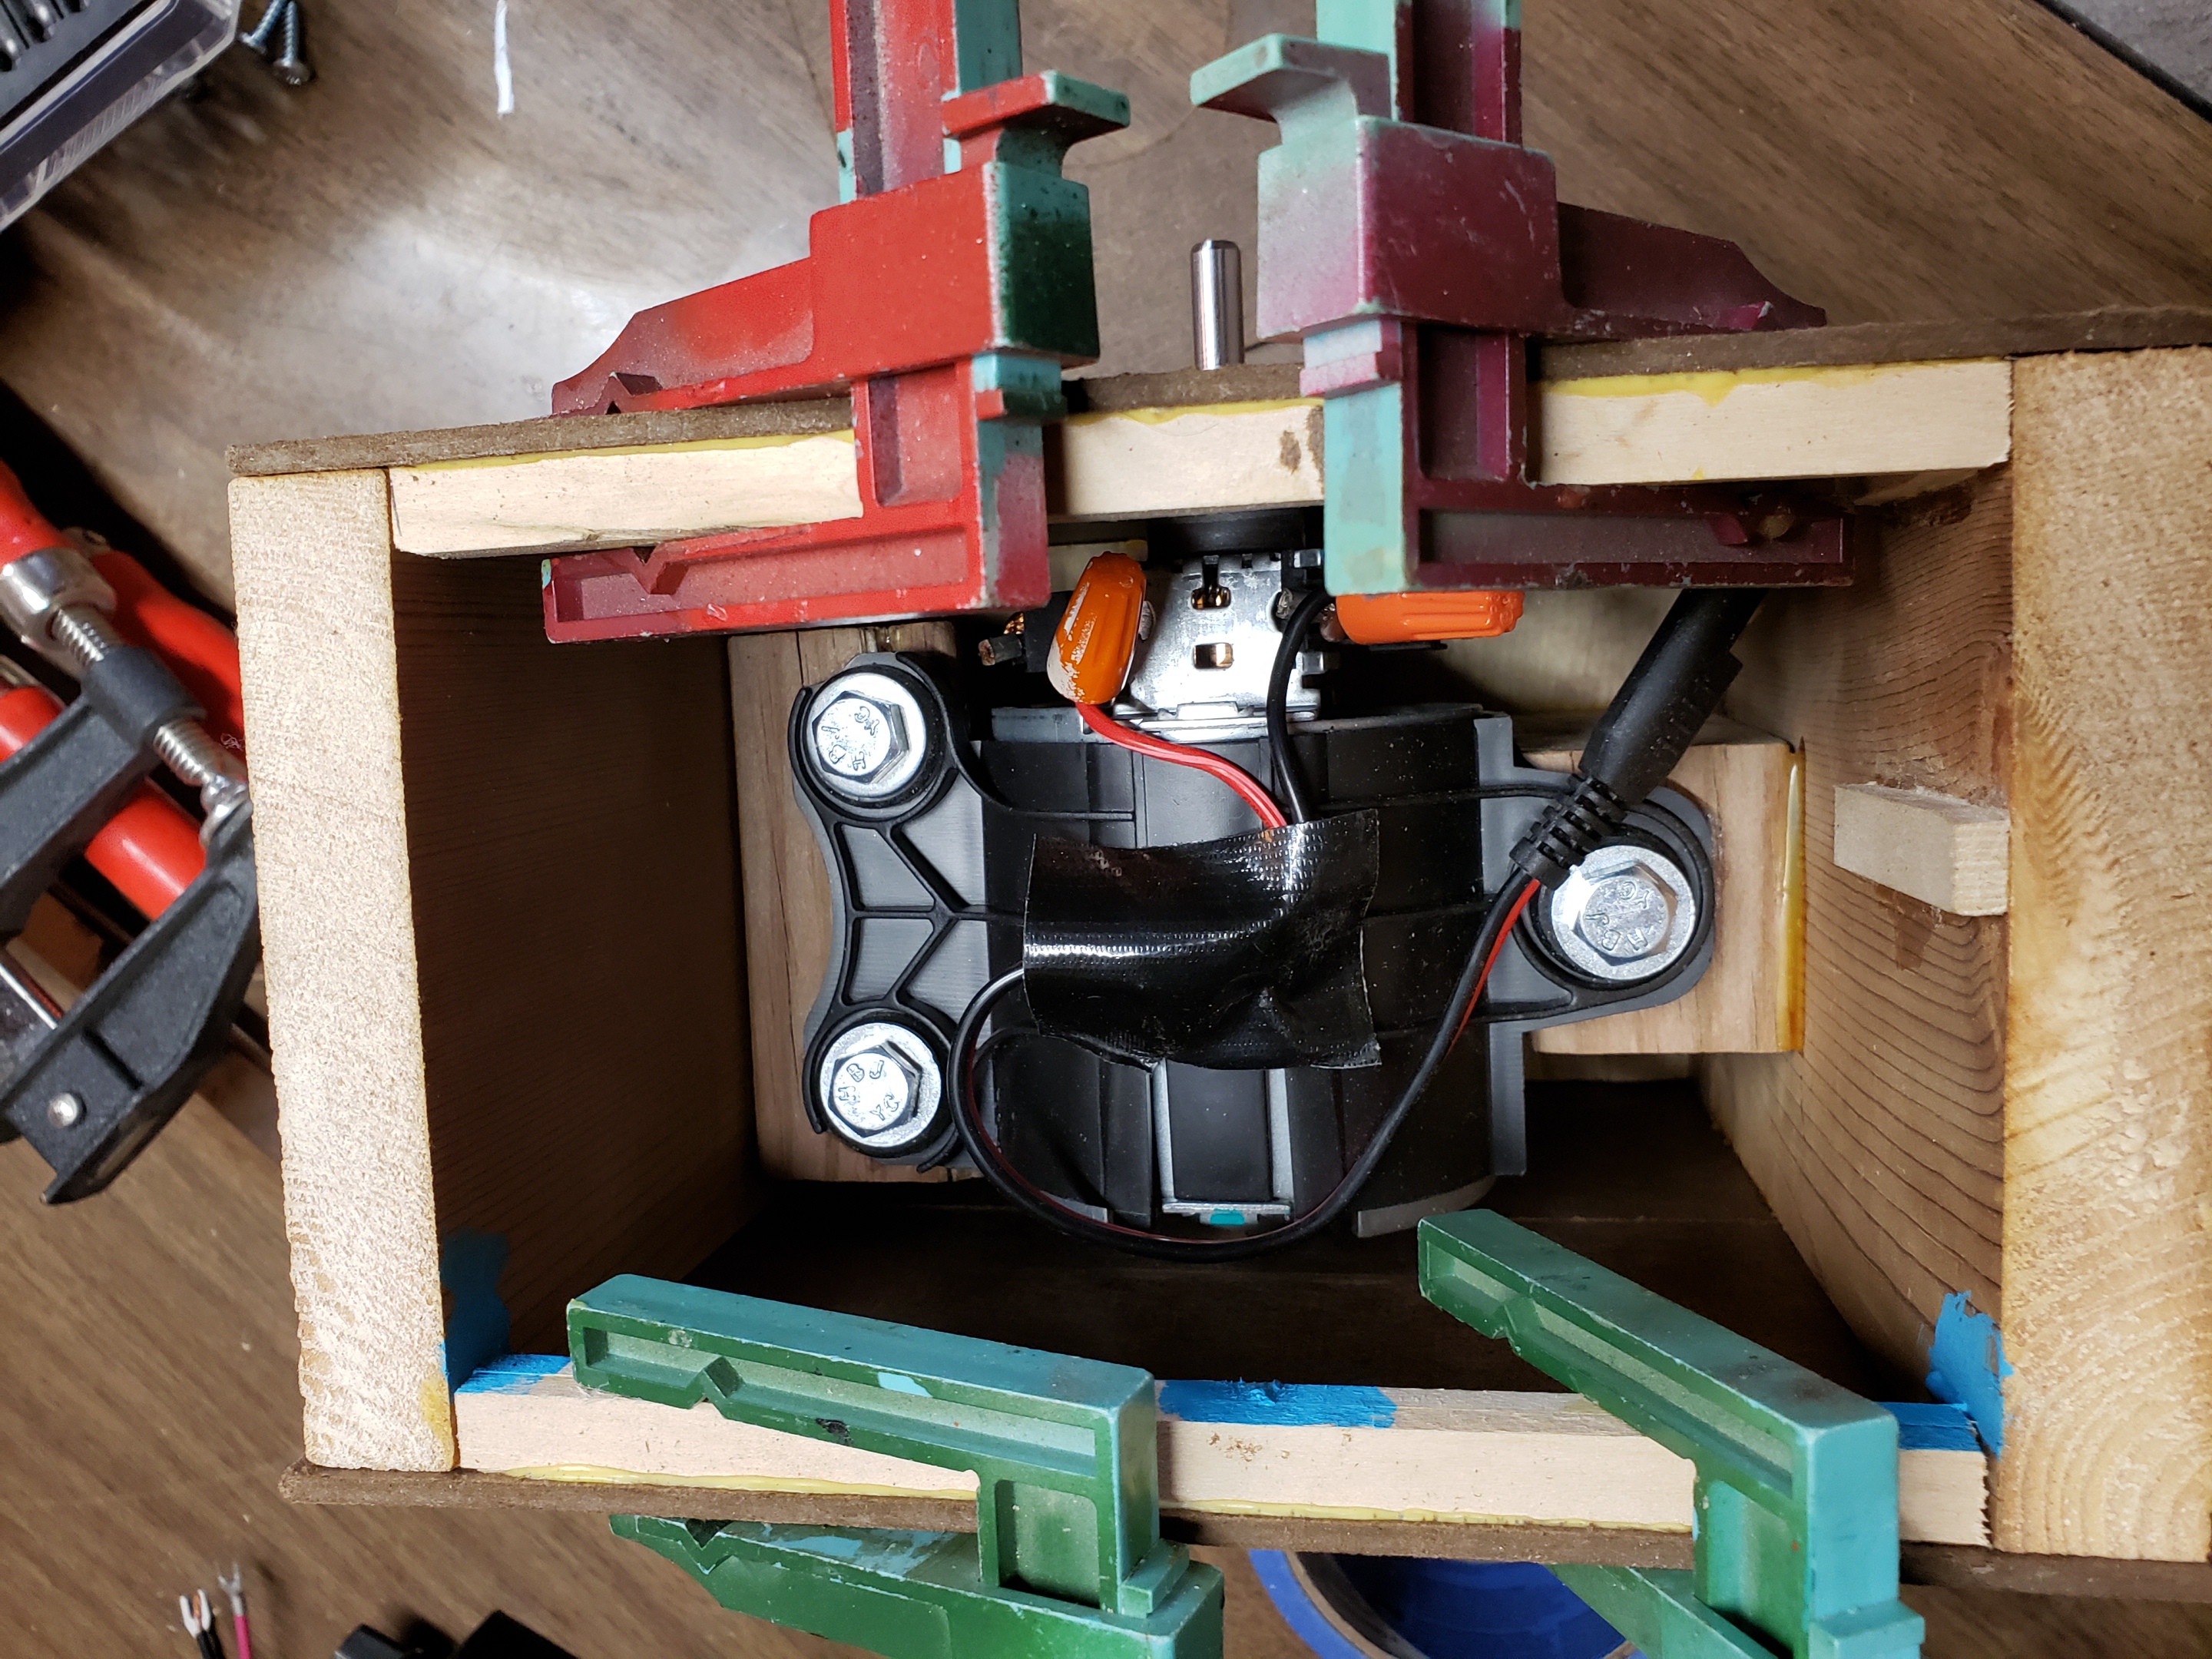
Note how the t-nuts are close to block edges.
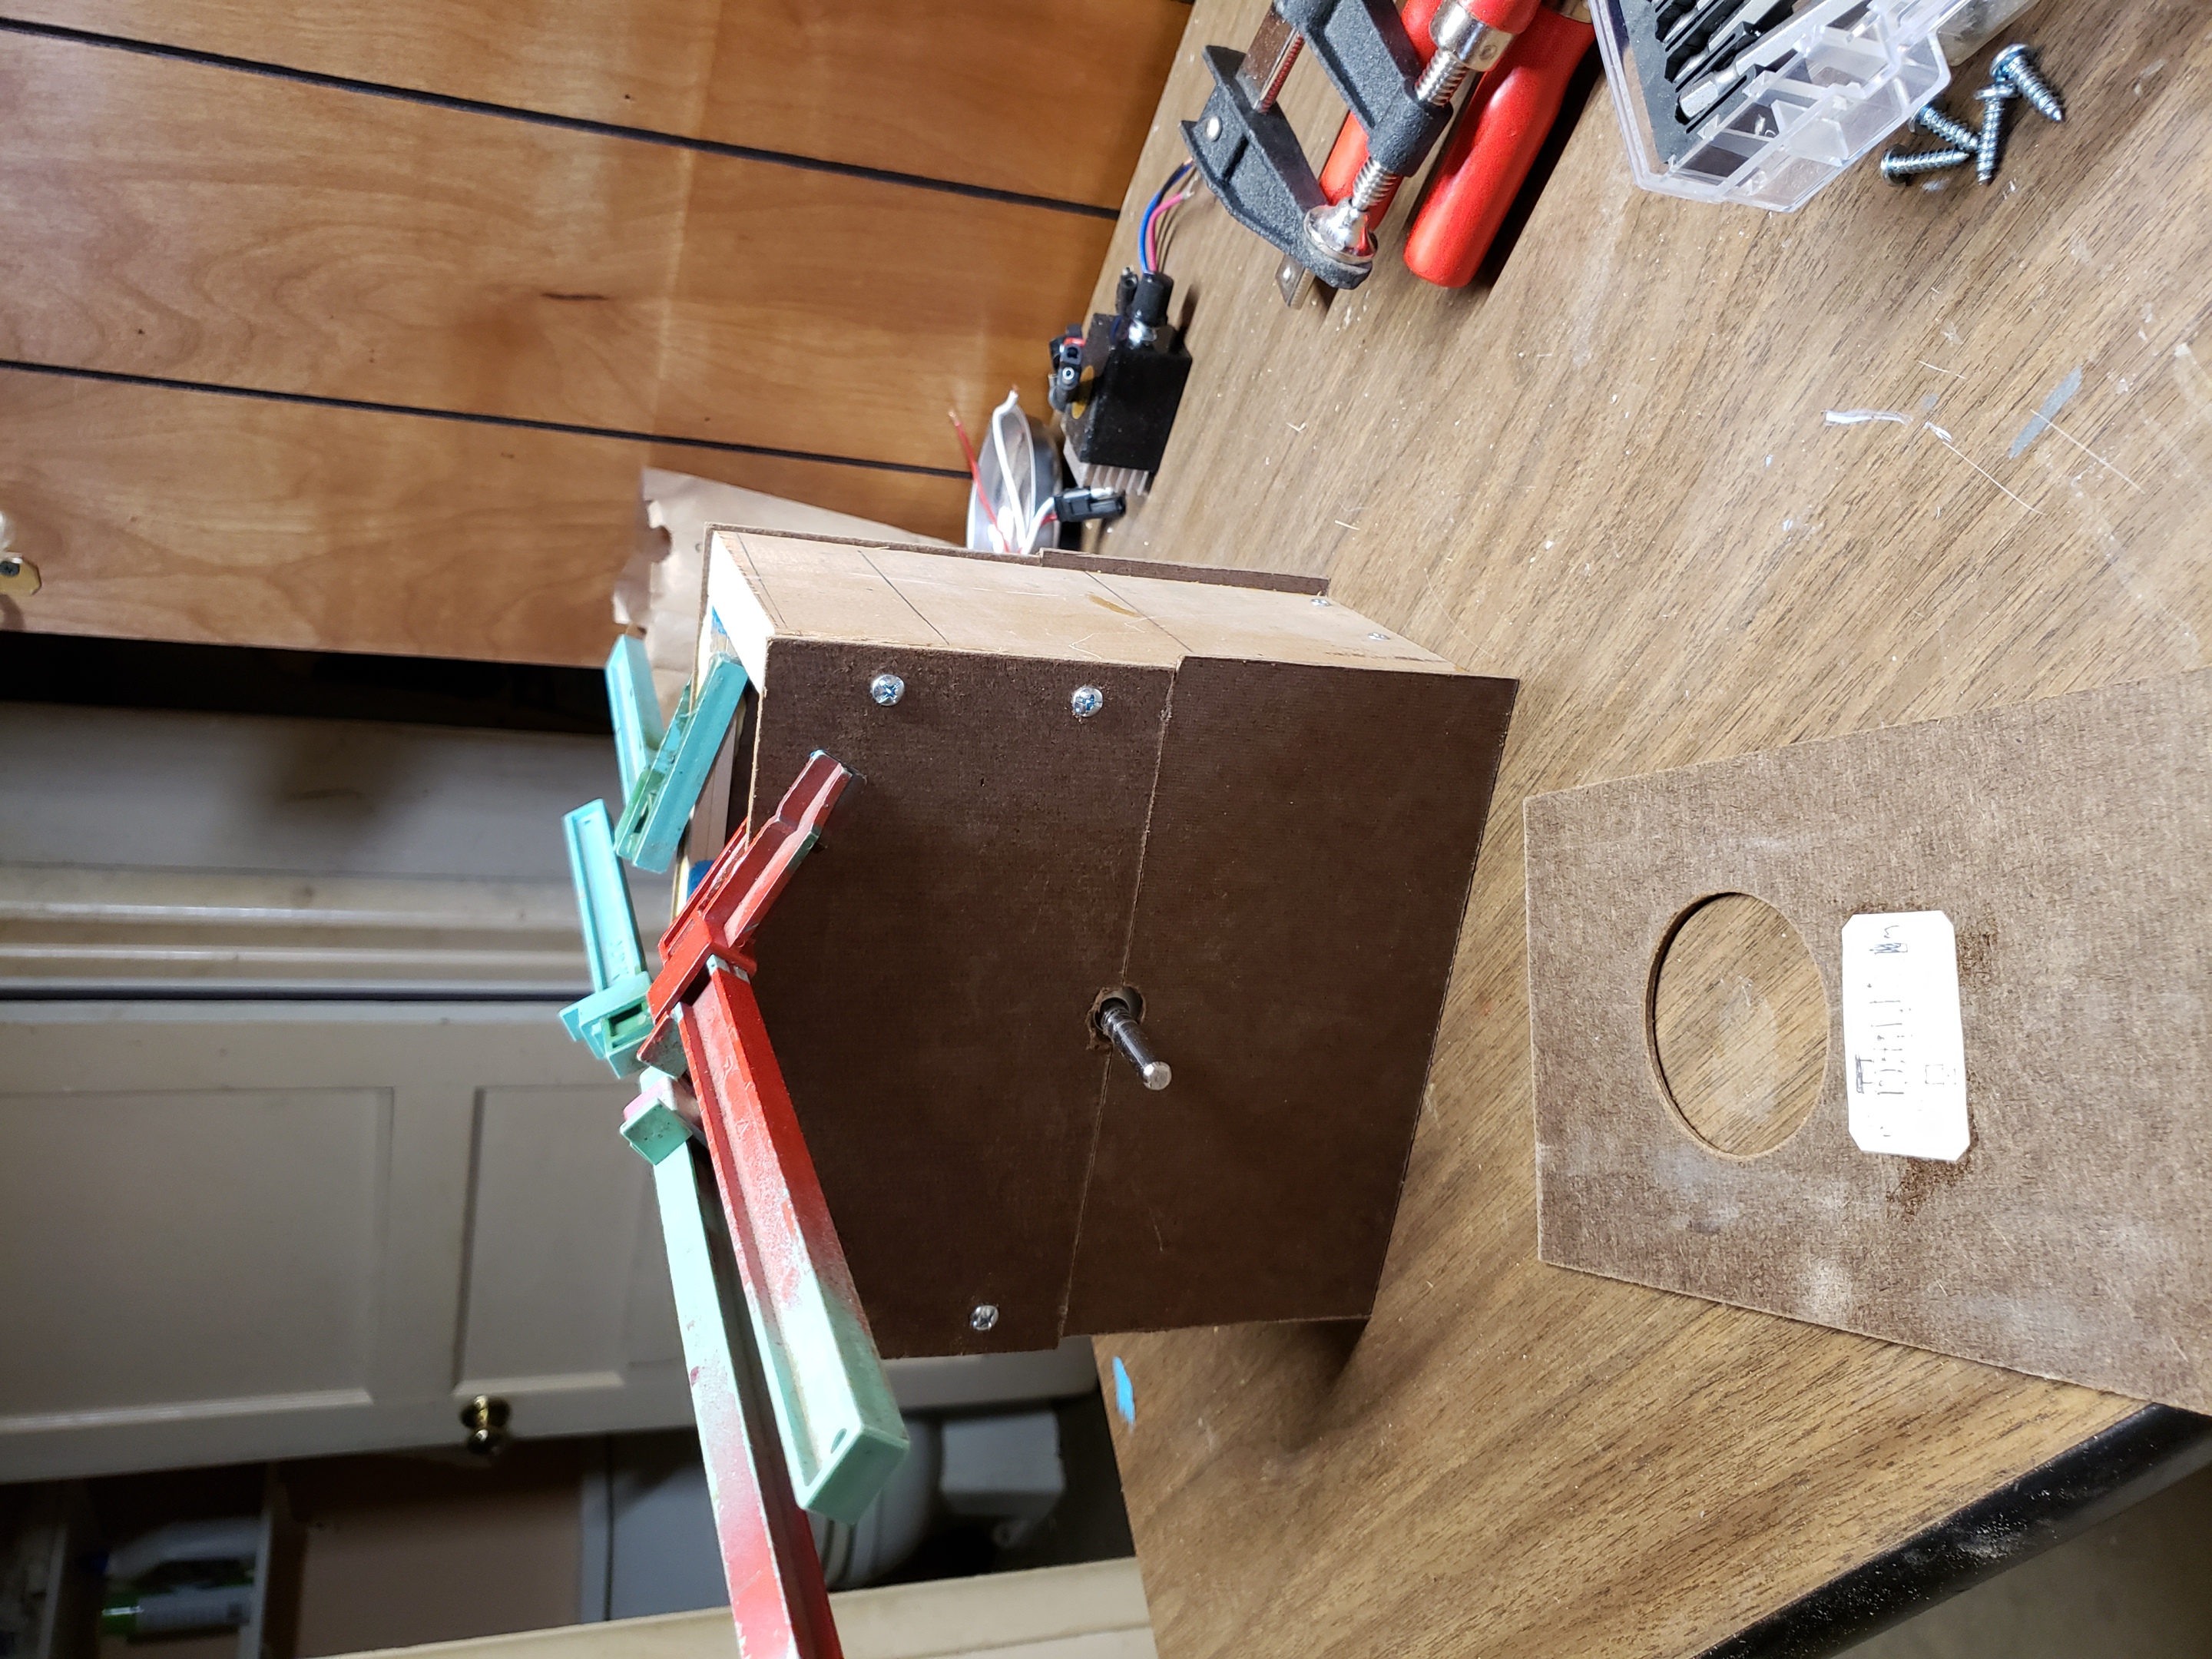
Cardboard mock up of motorbox.

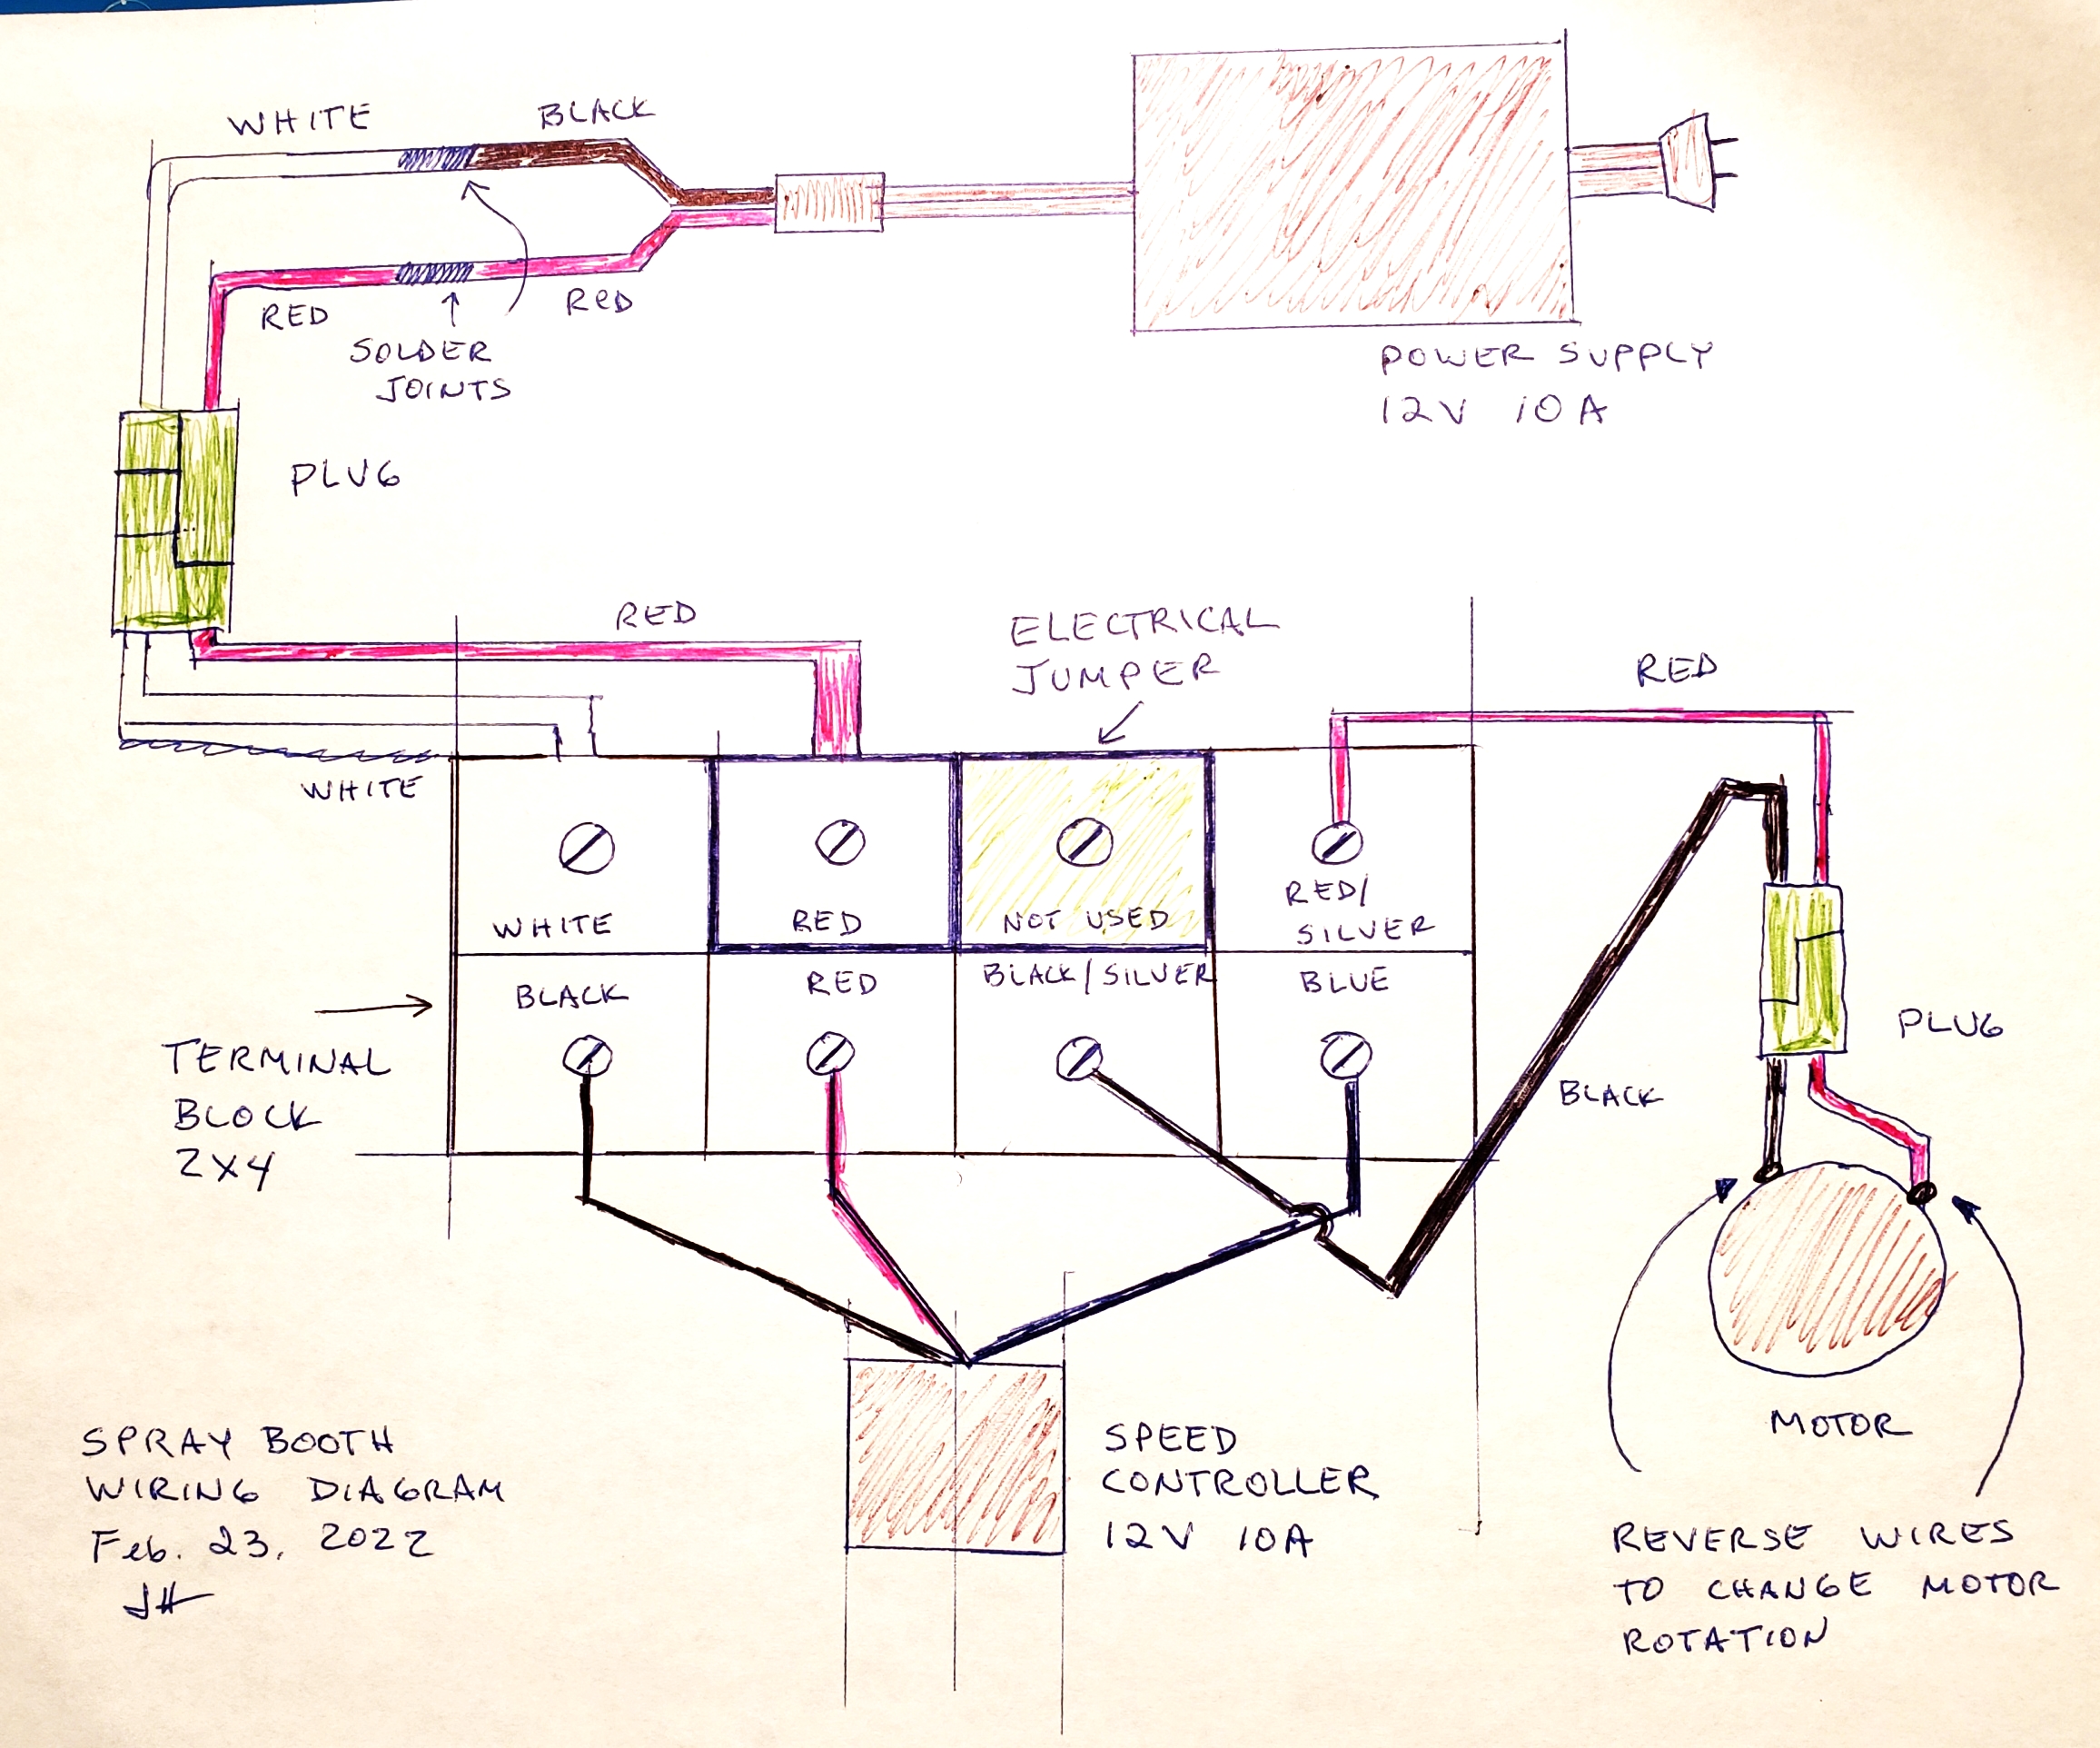
Wiring diagram.
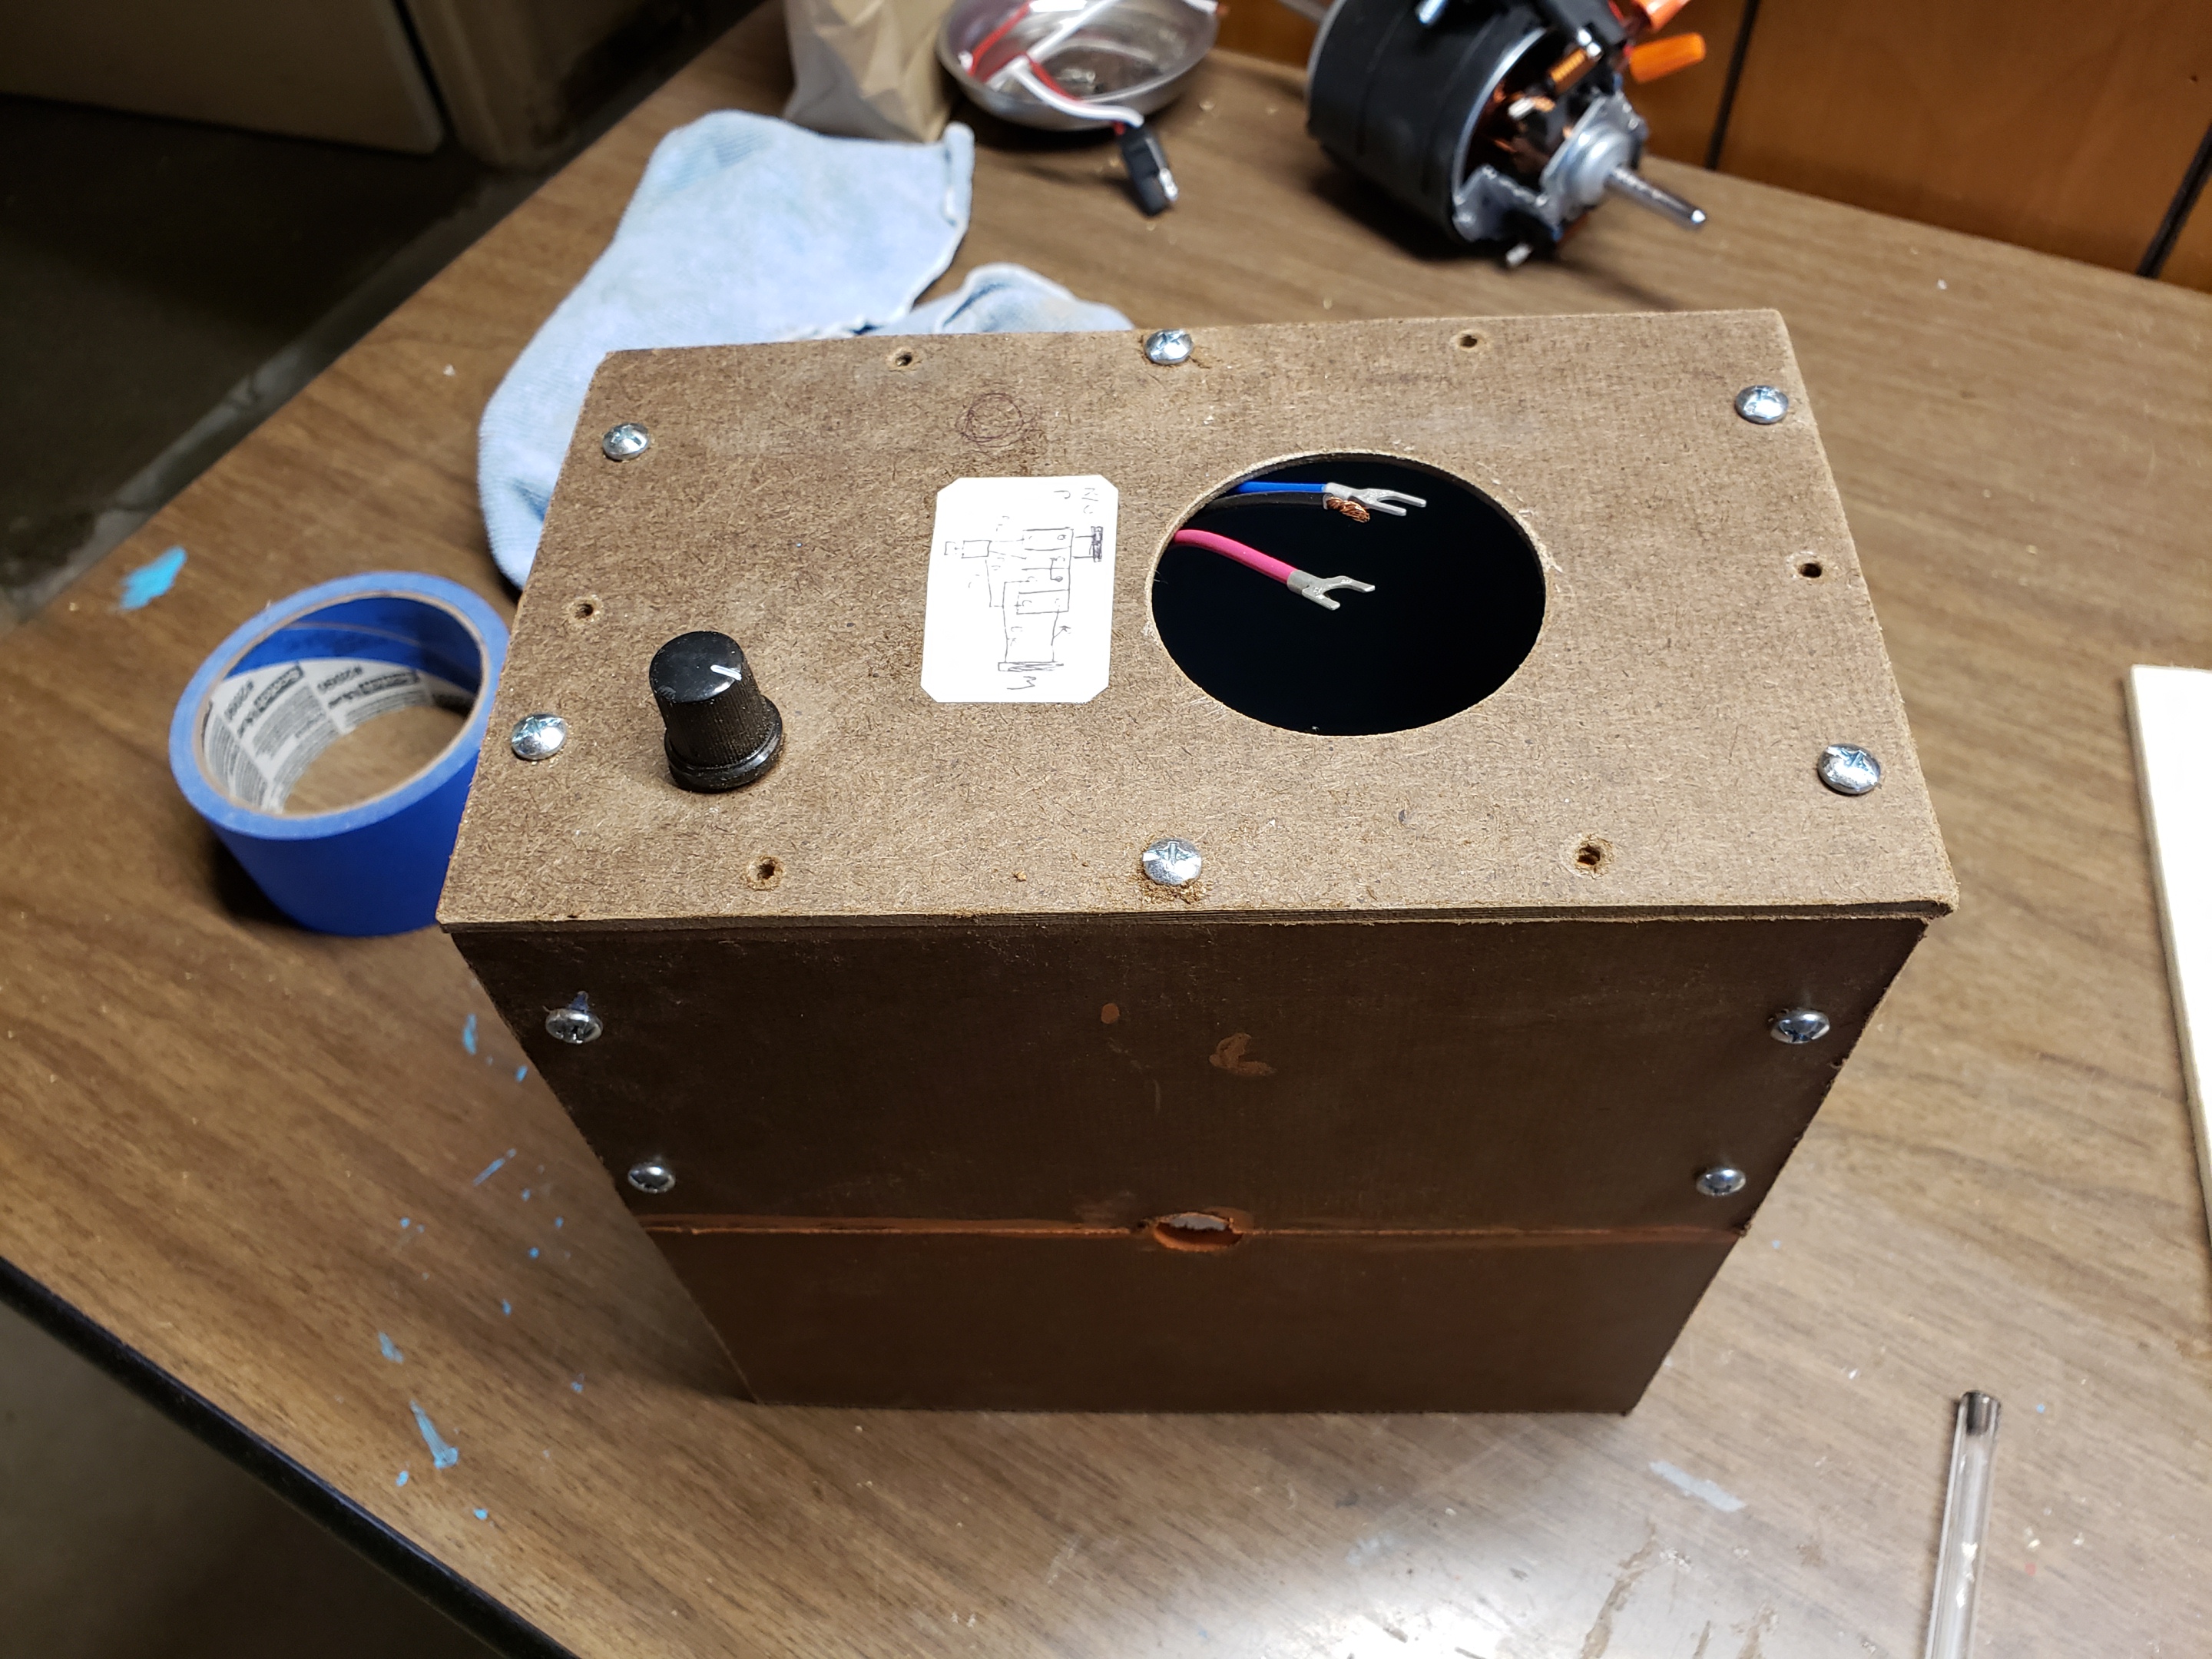
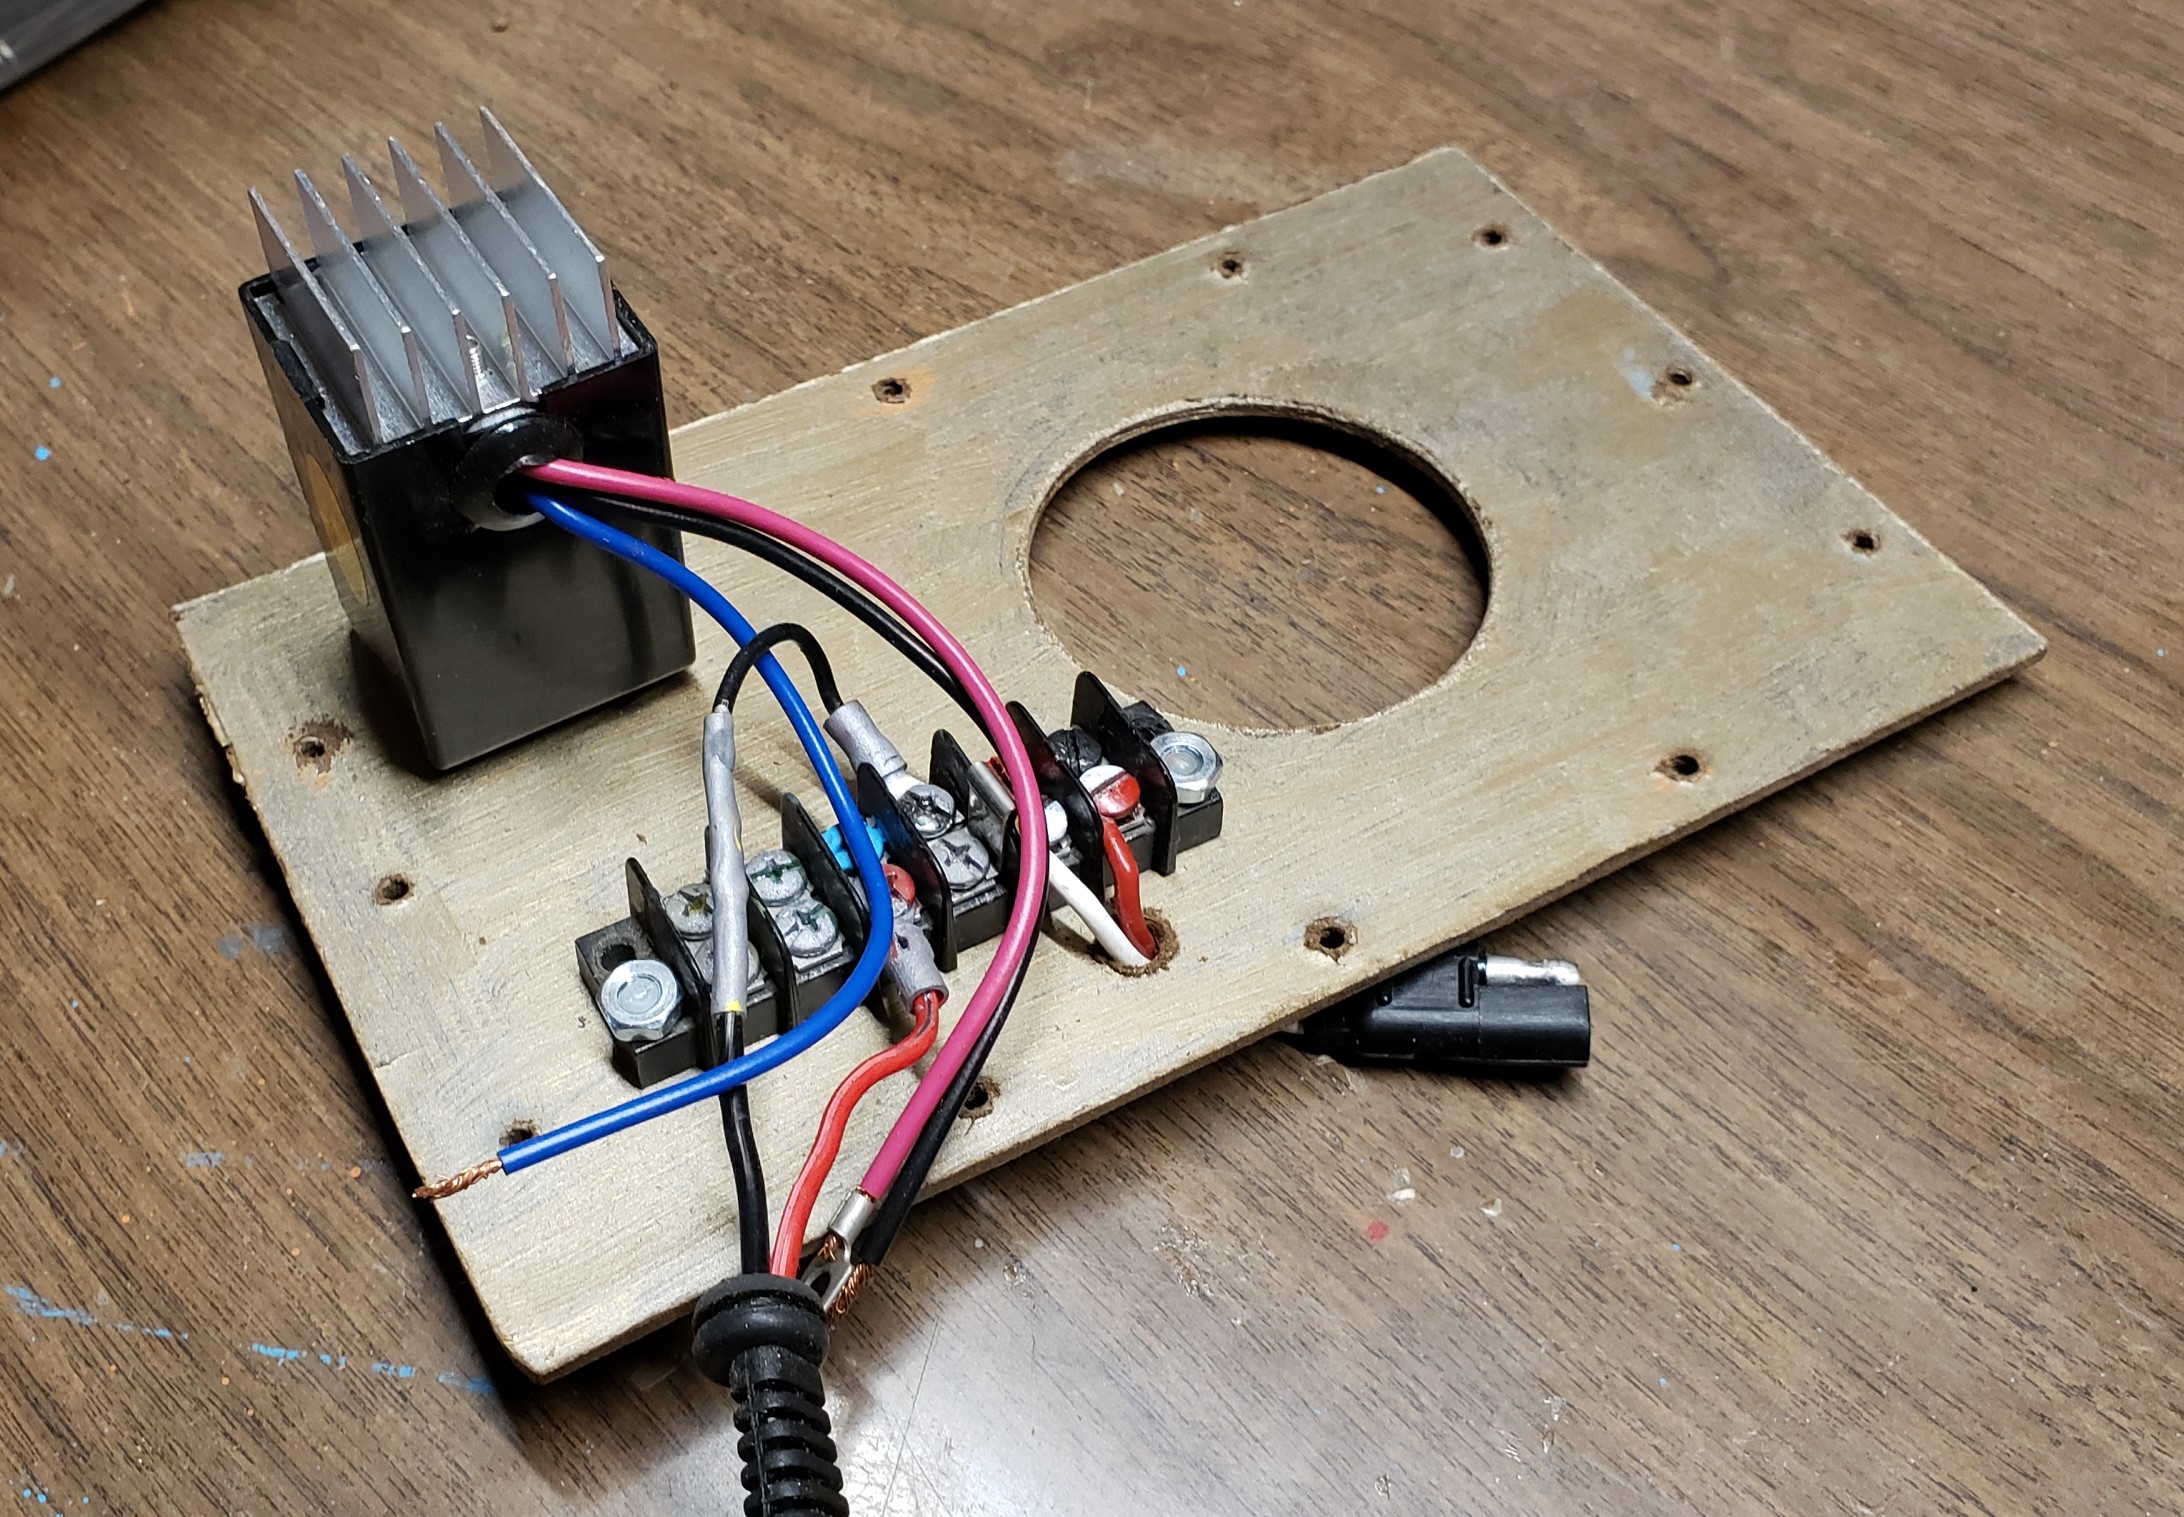
Terminal block attached to underside of top. Top is then test fit on box.
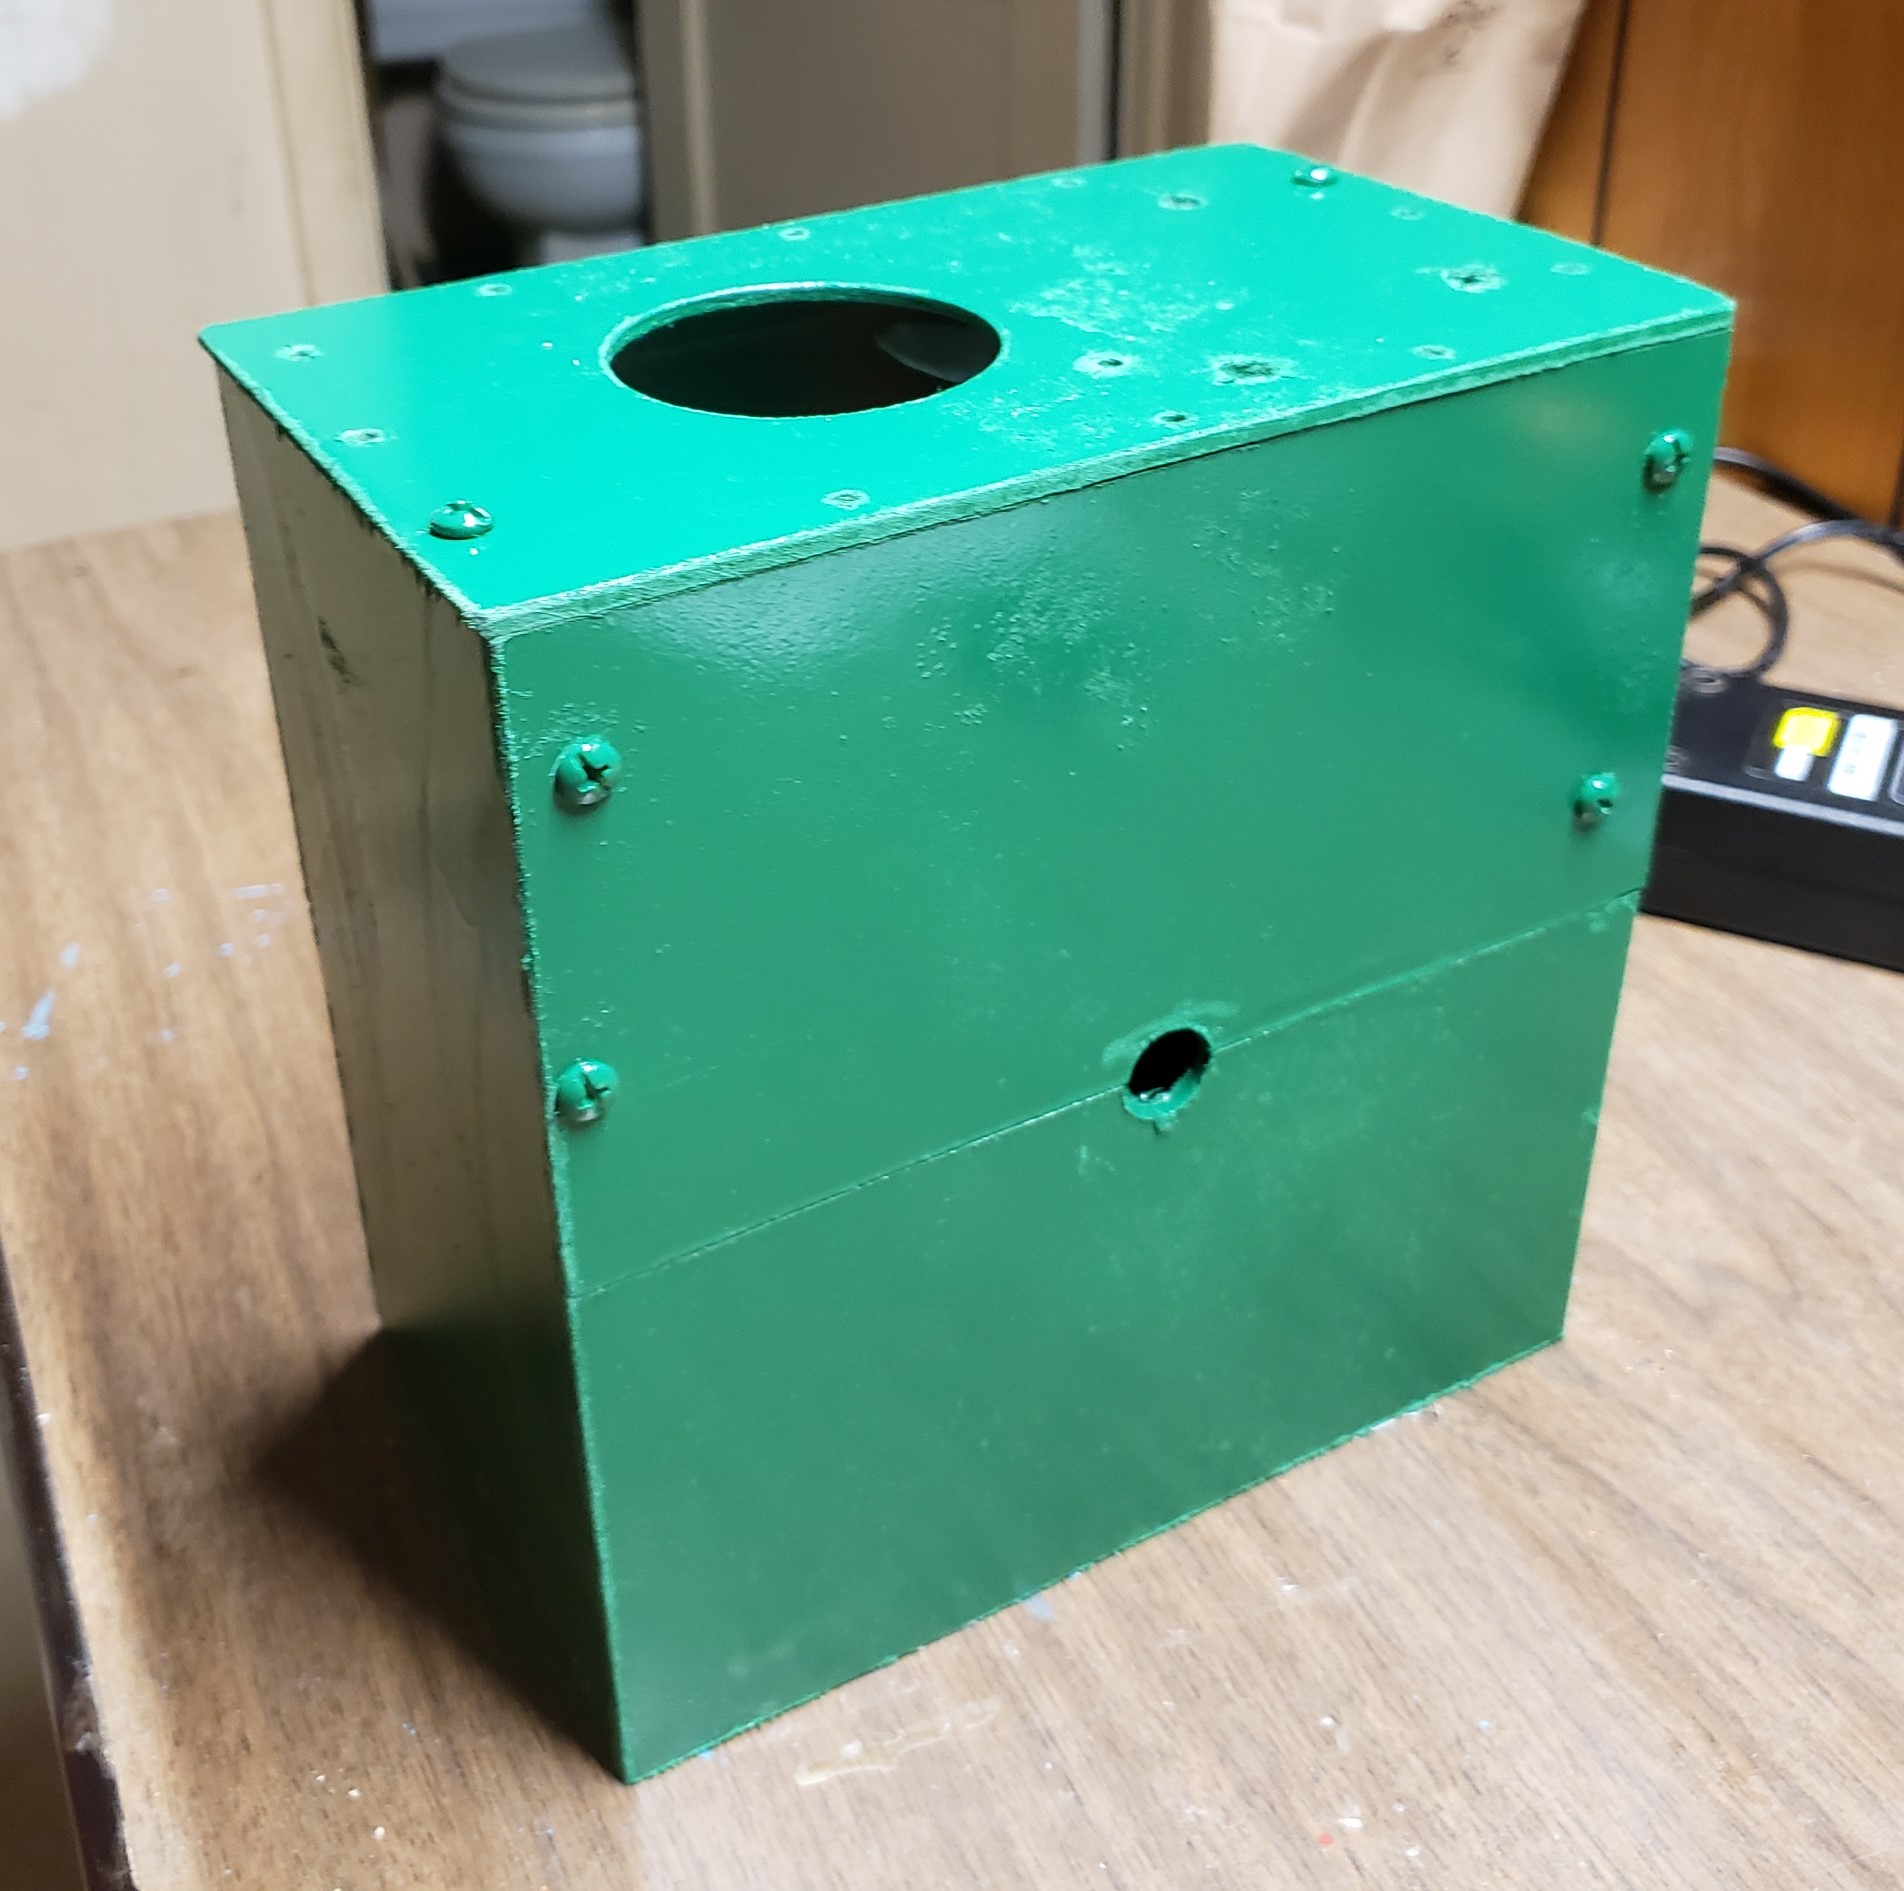
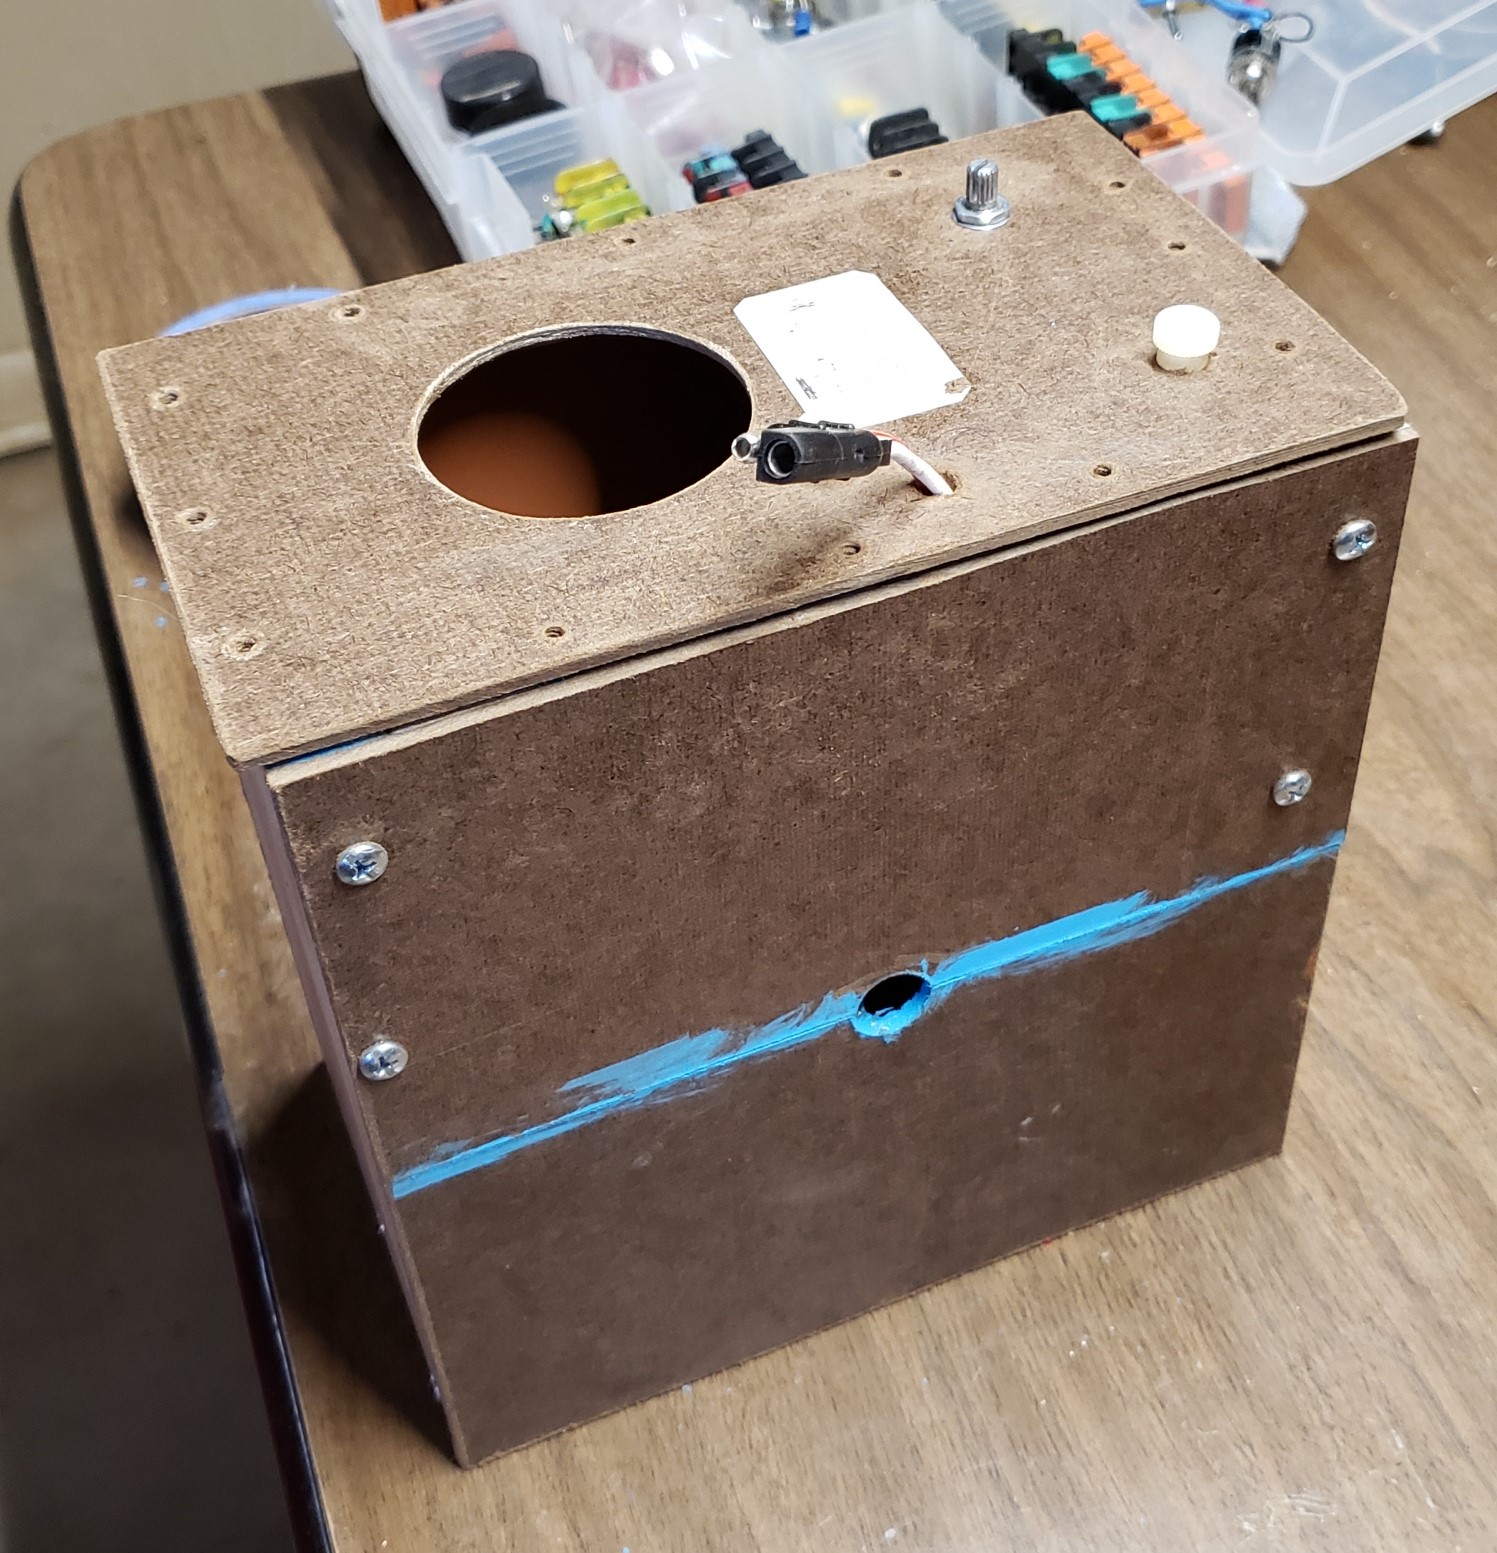
The box is spray painted gloss green.
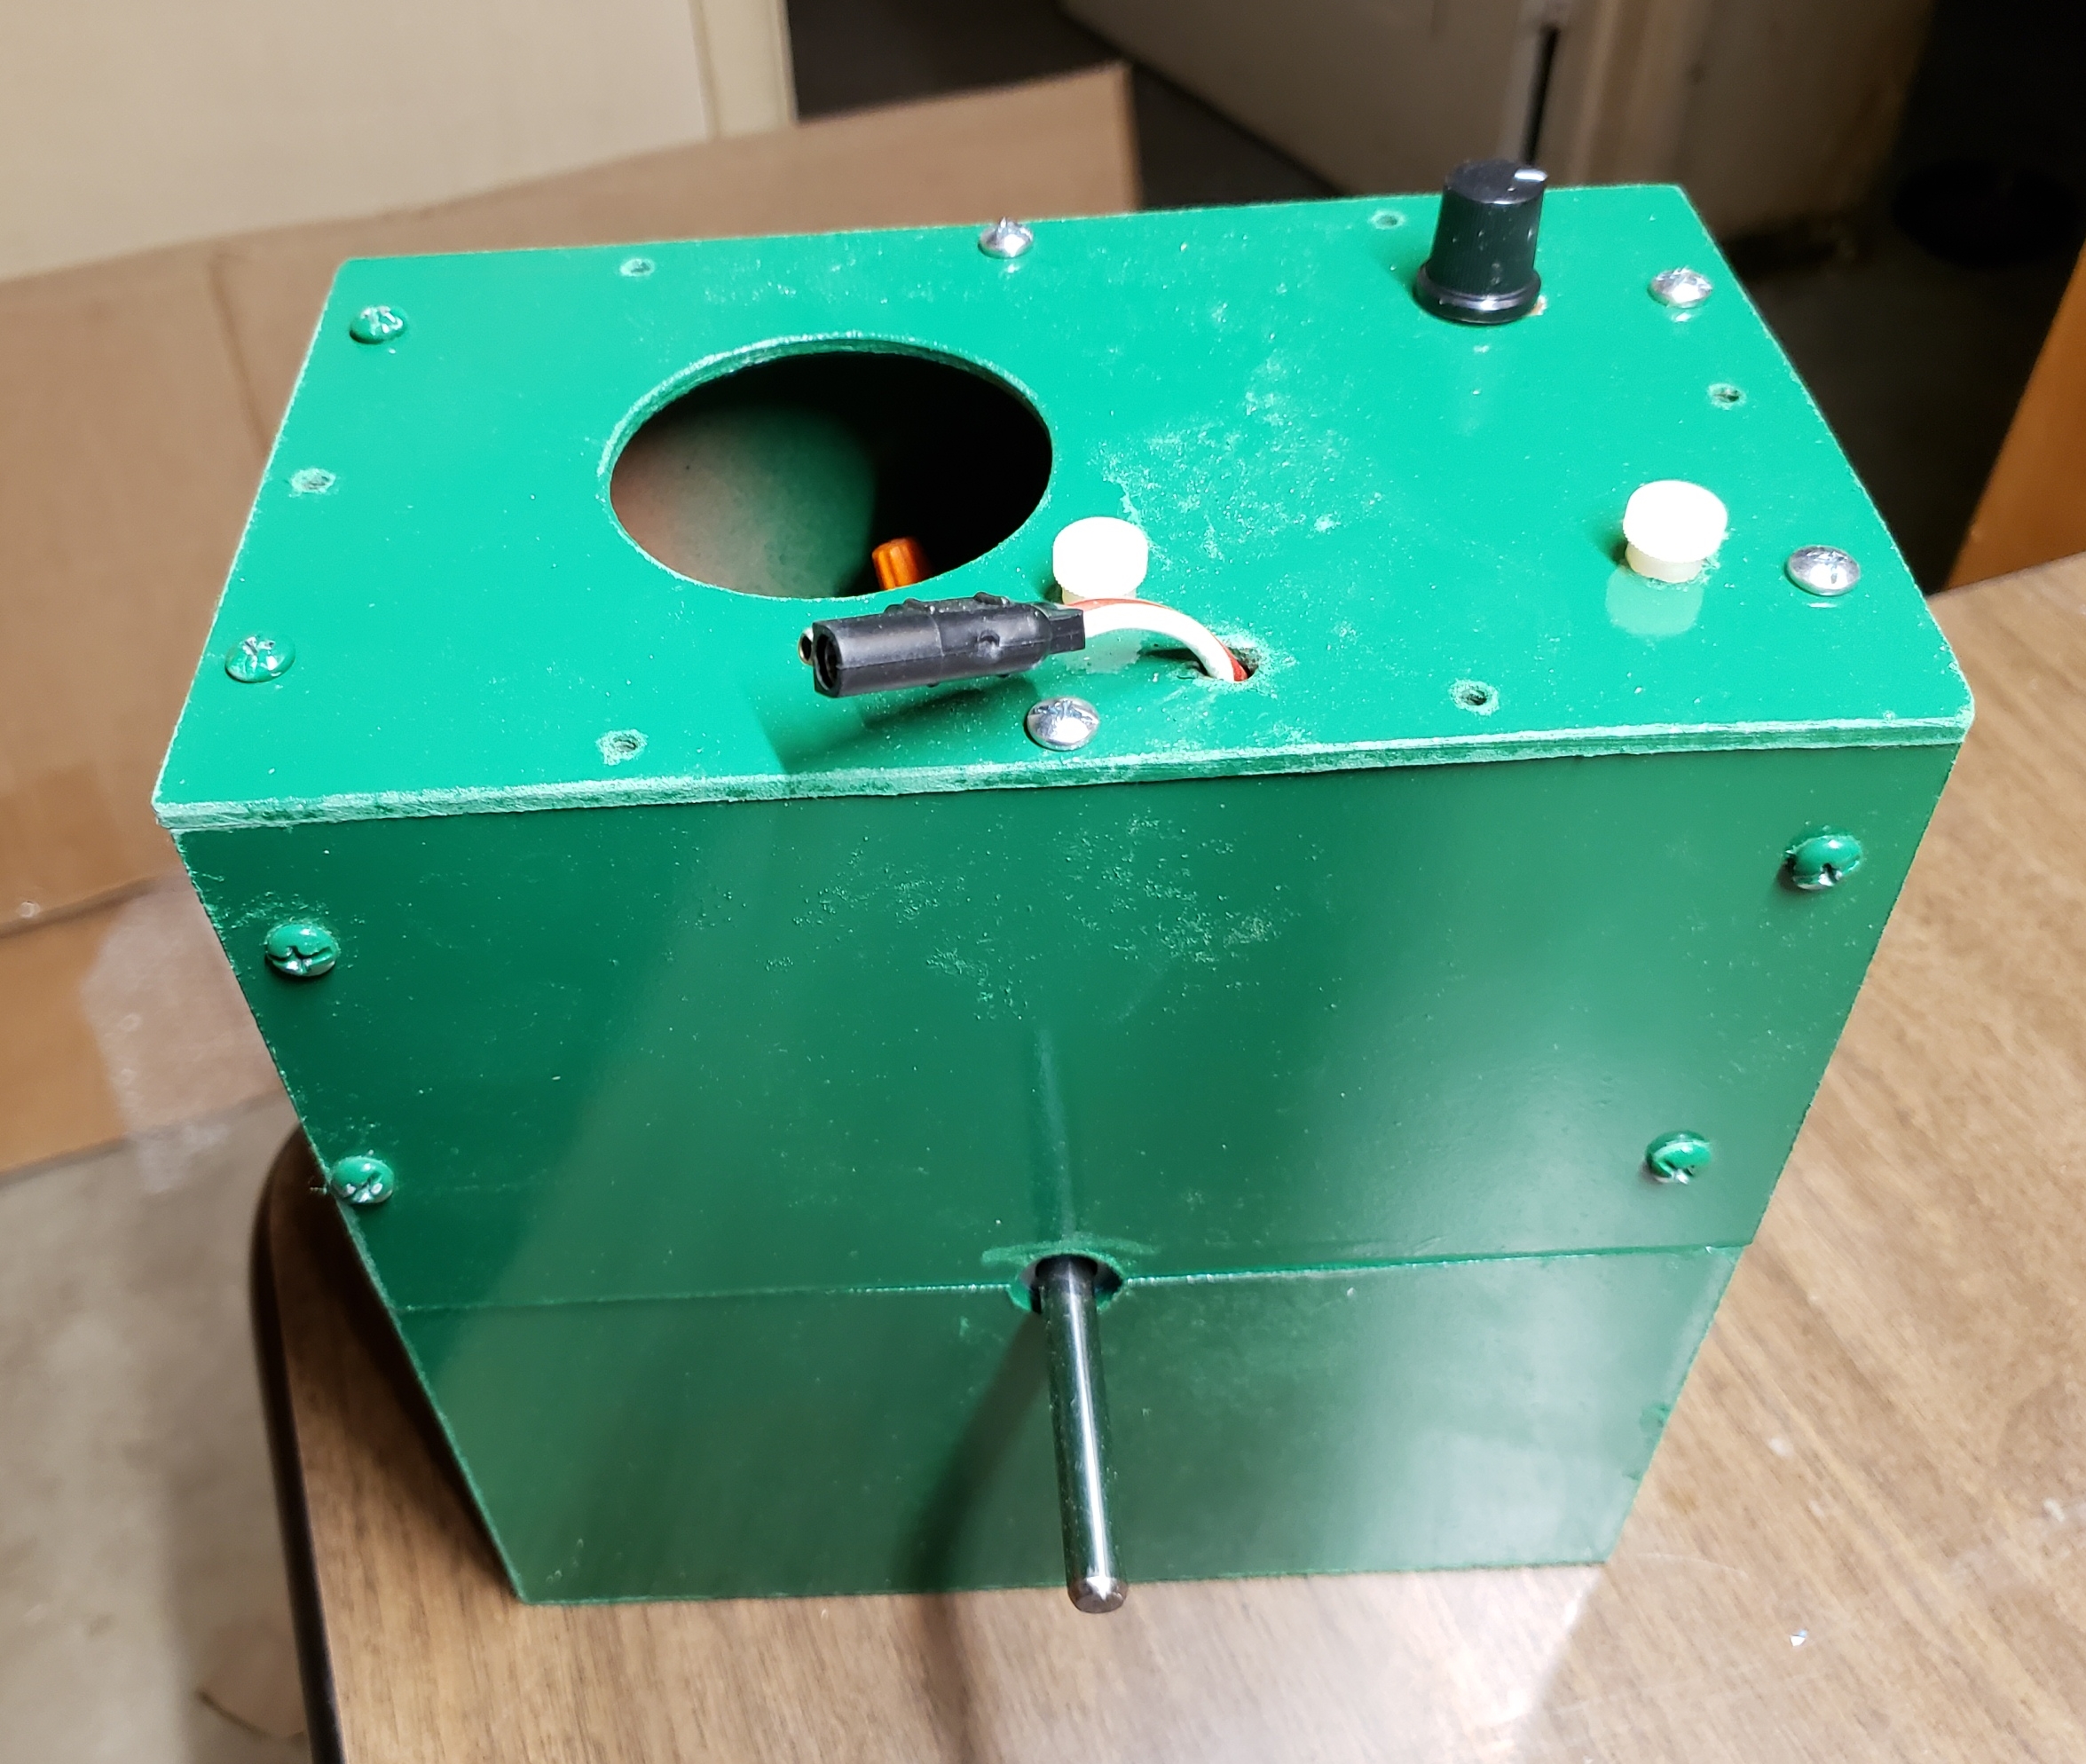
Motorbox after final assembly.
- Why wasn't the original motor connector plug used?
- I couldn't find a male end to fit.
- What is the large hole in the lid?
- There is also one in the floor. This is for ventilation. I don't think I will run the motor long enough to get hot, but in the event it does, there are passages for the heat to escape.
- What is the yellow label on top of the lid?
- This was a wiring diagram I glued on, but I scraped it off when I painted the box.
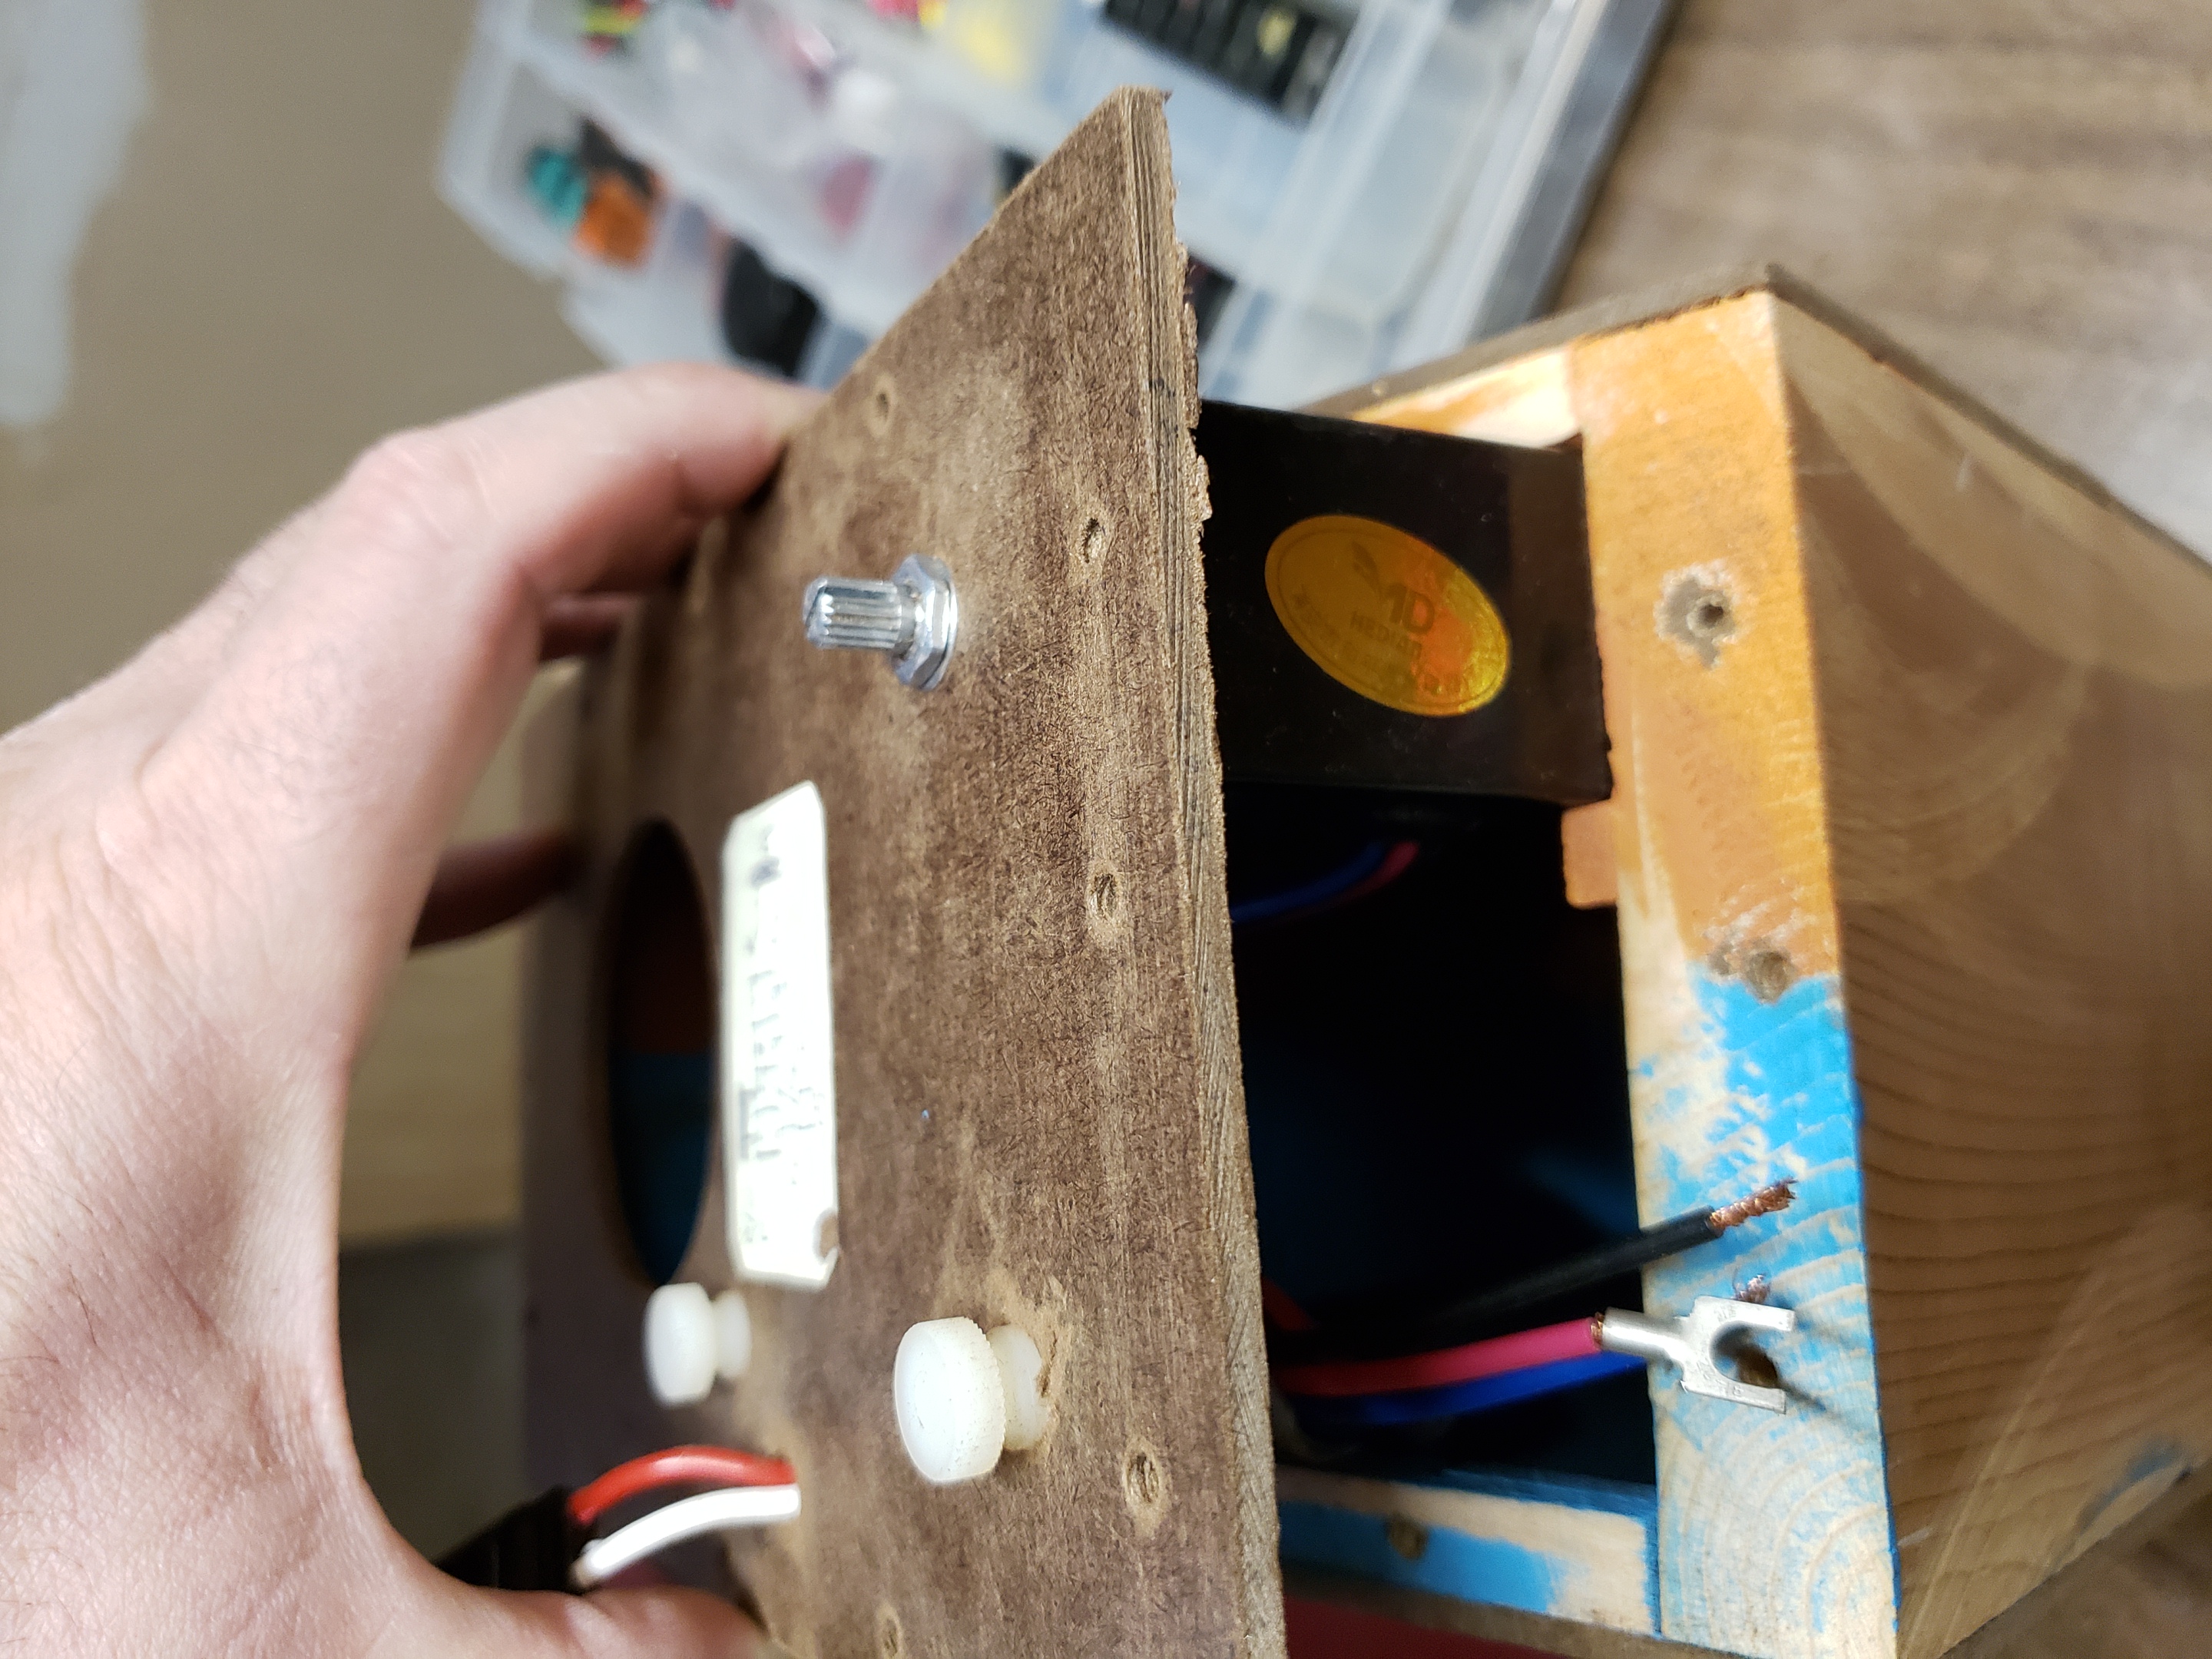
- Why are the top side panels attached with screws and the bottom panels glued in place?
- This is so the box can break down in order to remove the motor.