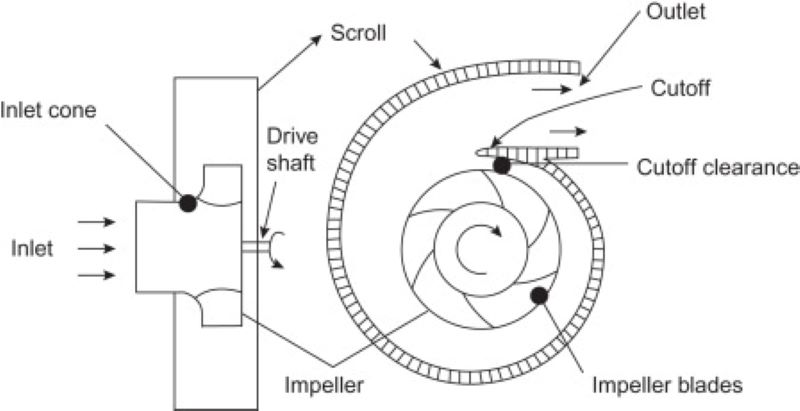
I thought all I needed to do for the fans was create a box and the airflow
would work itself out. Found out after research that I need a nautilus style housing to compress and direct
the outflowing air and to separate the in and out air flows. My first thought was to use the 1/8" hardboard
as I have a lot of it, but felt it may be too difficult to seal up the joints and may be very heavy. Styrene ,060 thick
seemed to be the best choice and I bought several sheets.
Research online showed that several designs are used on squirrel fan shrouds. Since I don't have
any information on why the variations exist and how they function, I made a guess and started with
this drawing.
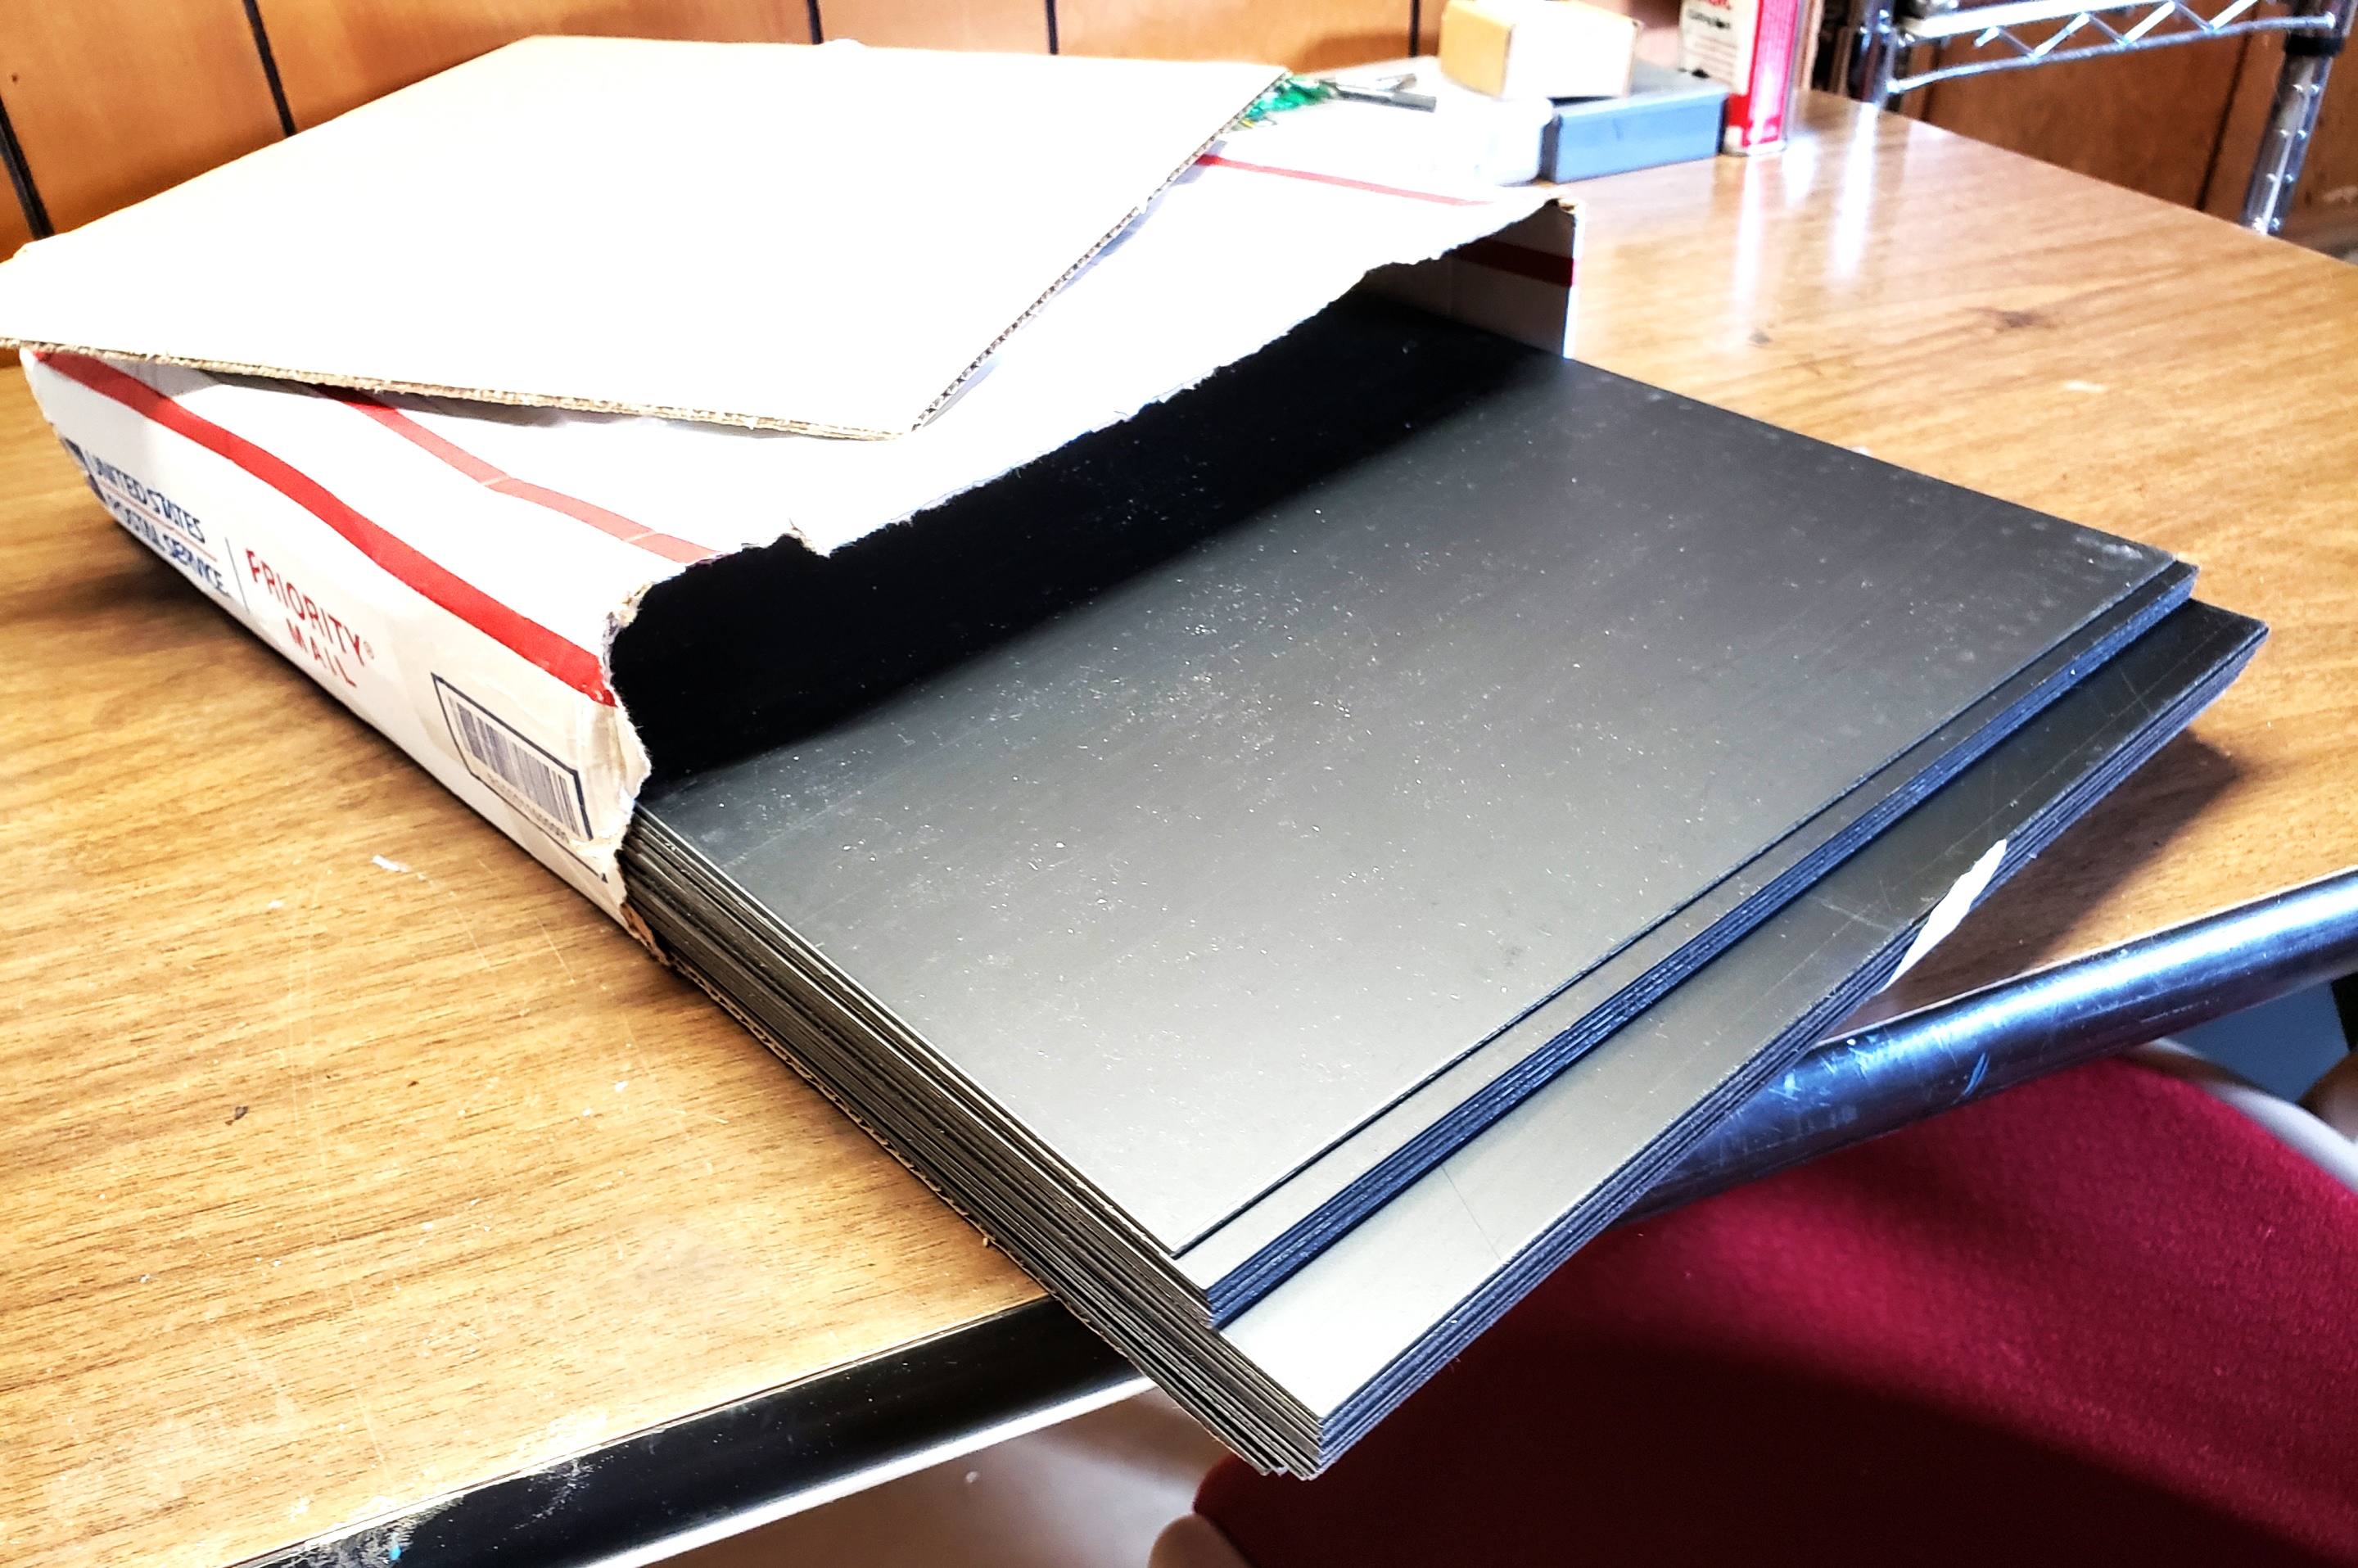
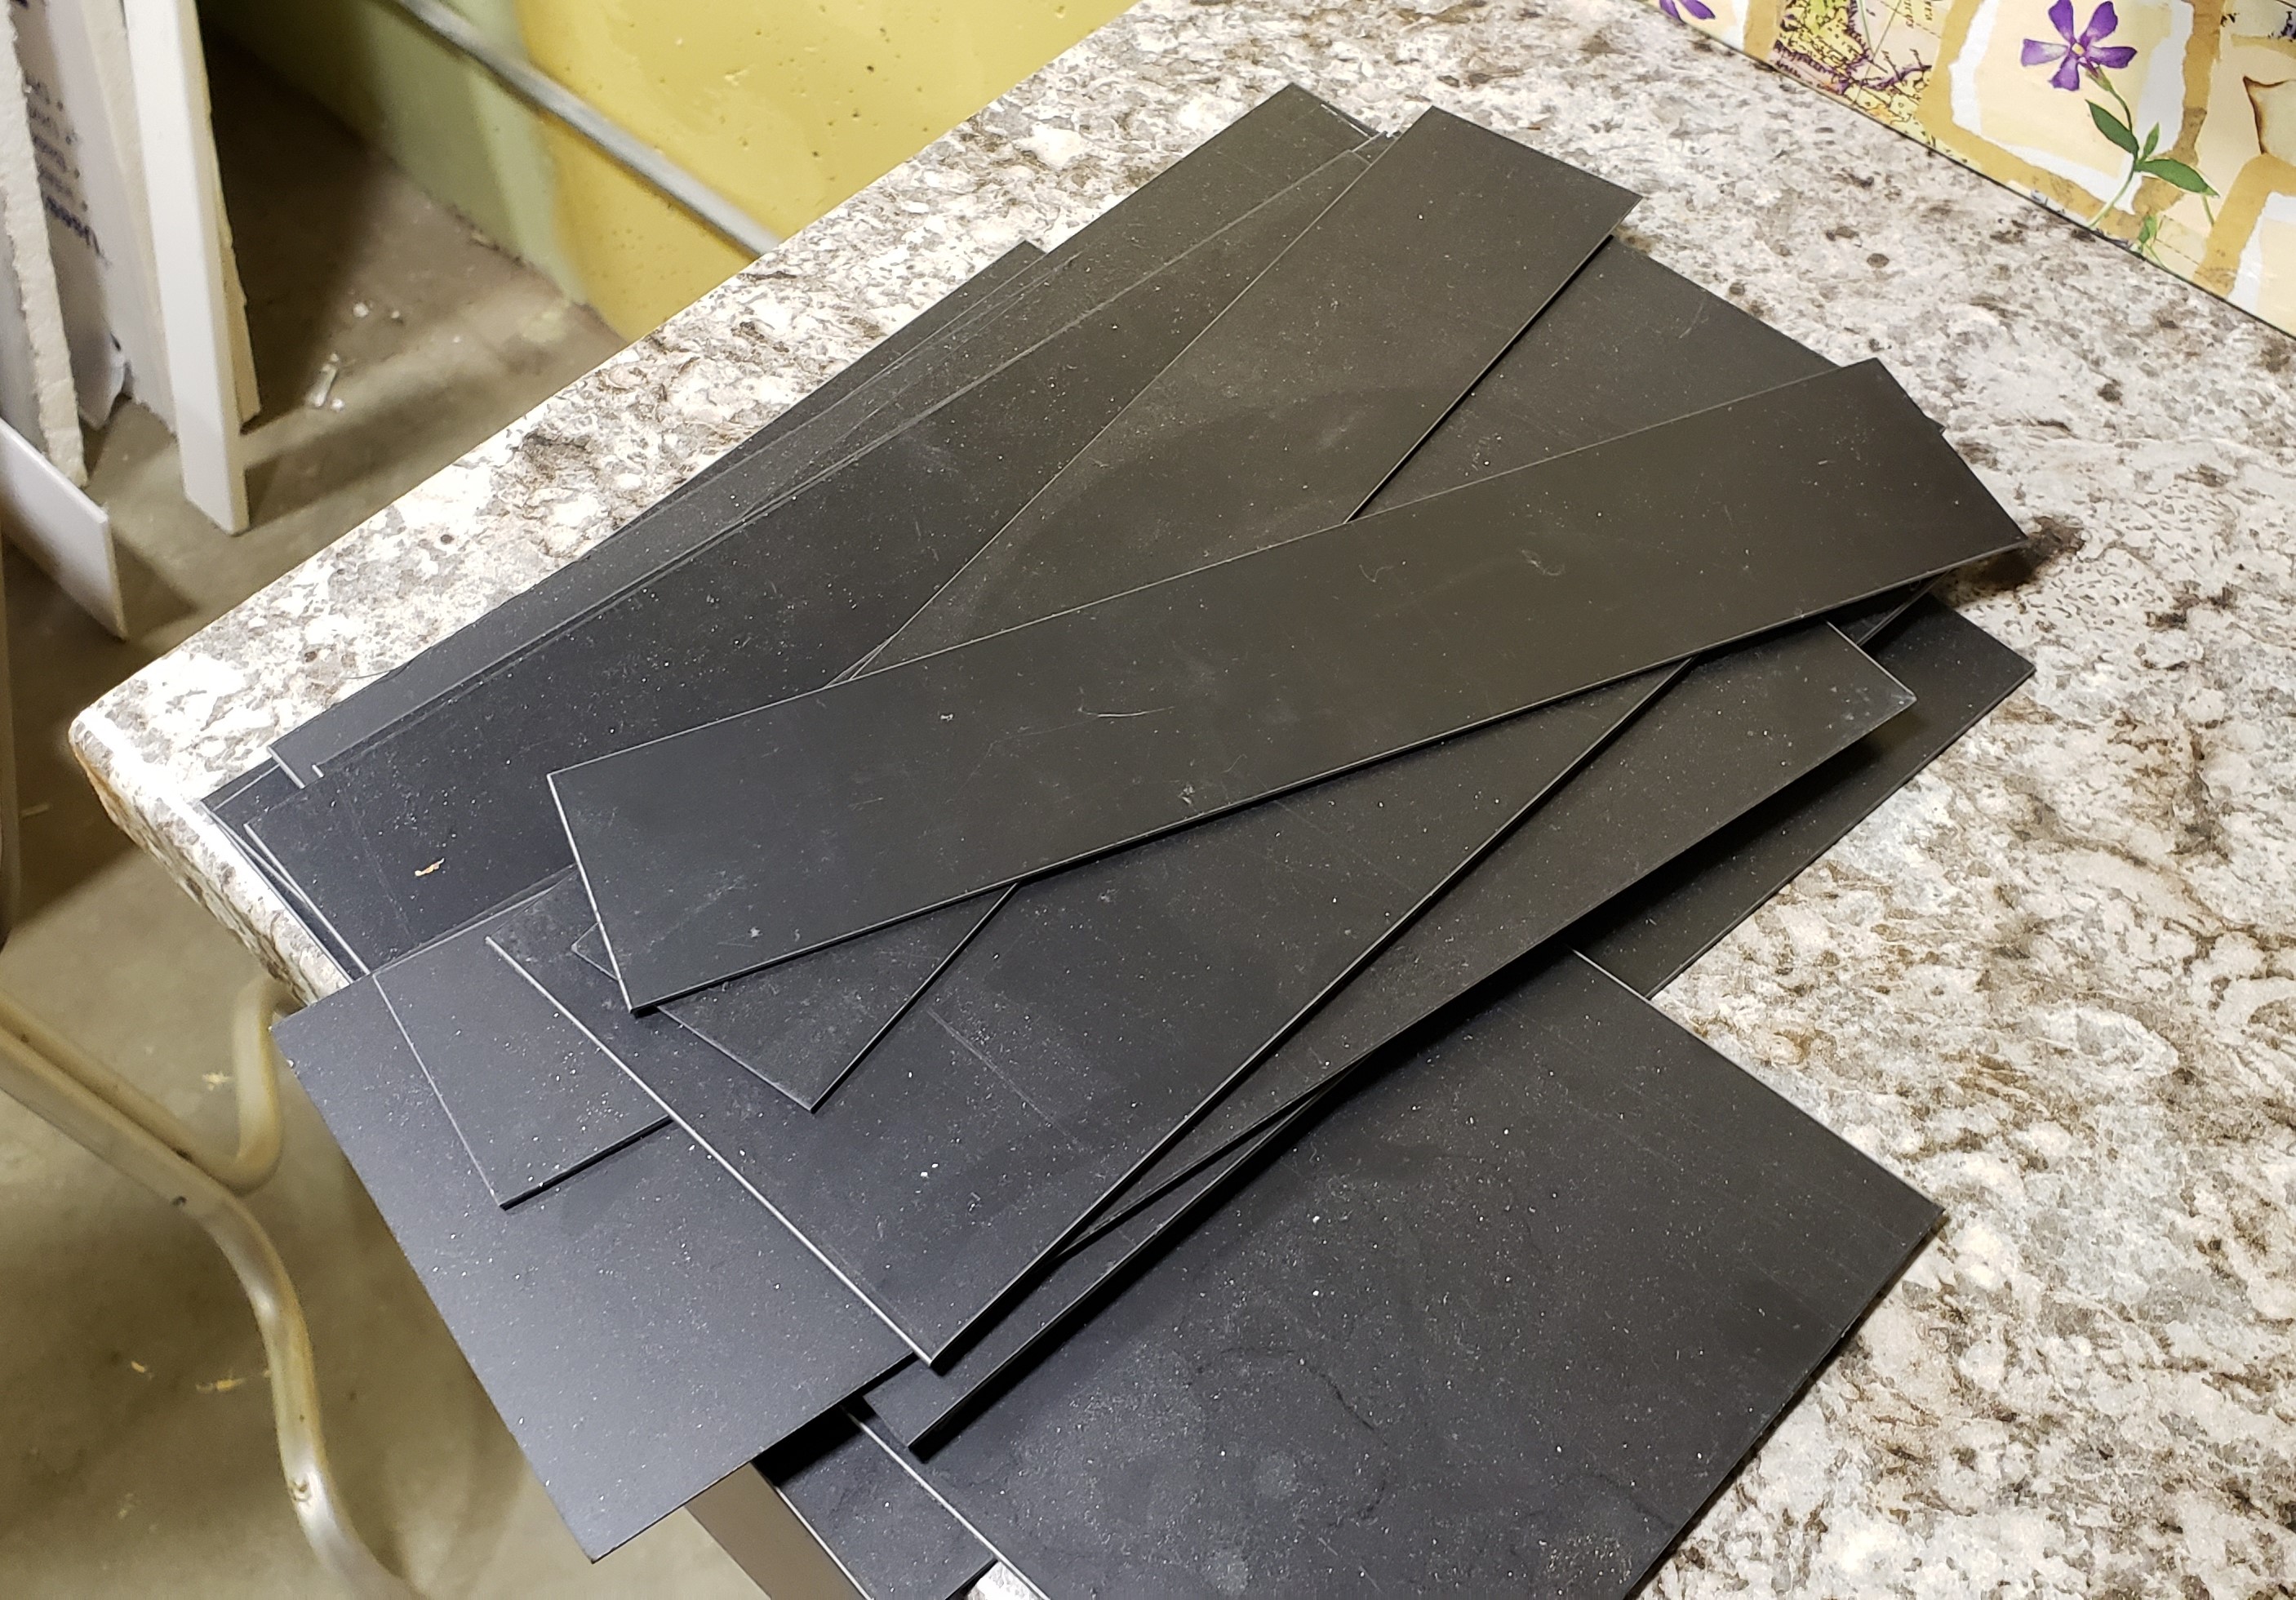
This is a stack of 25 sheets of black .060 X 12" x 12" styrene I
bought to build the shrouds and to use for other model projects.
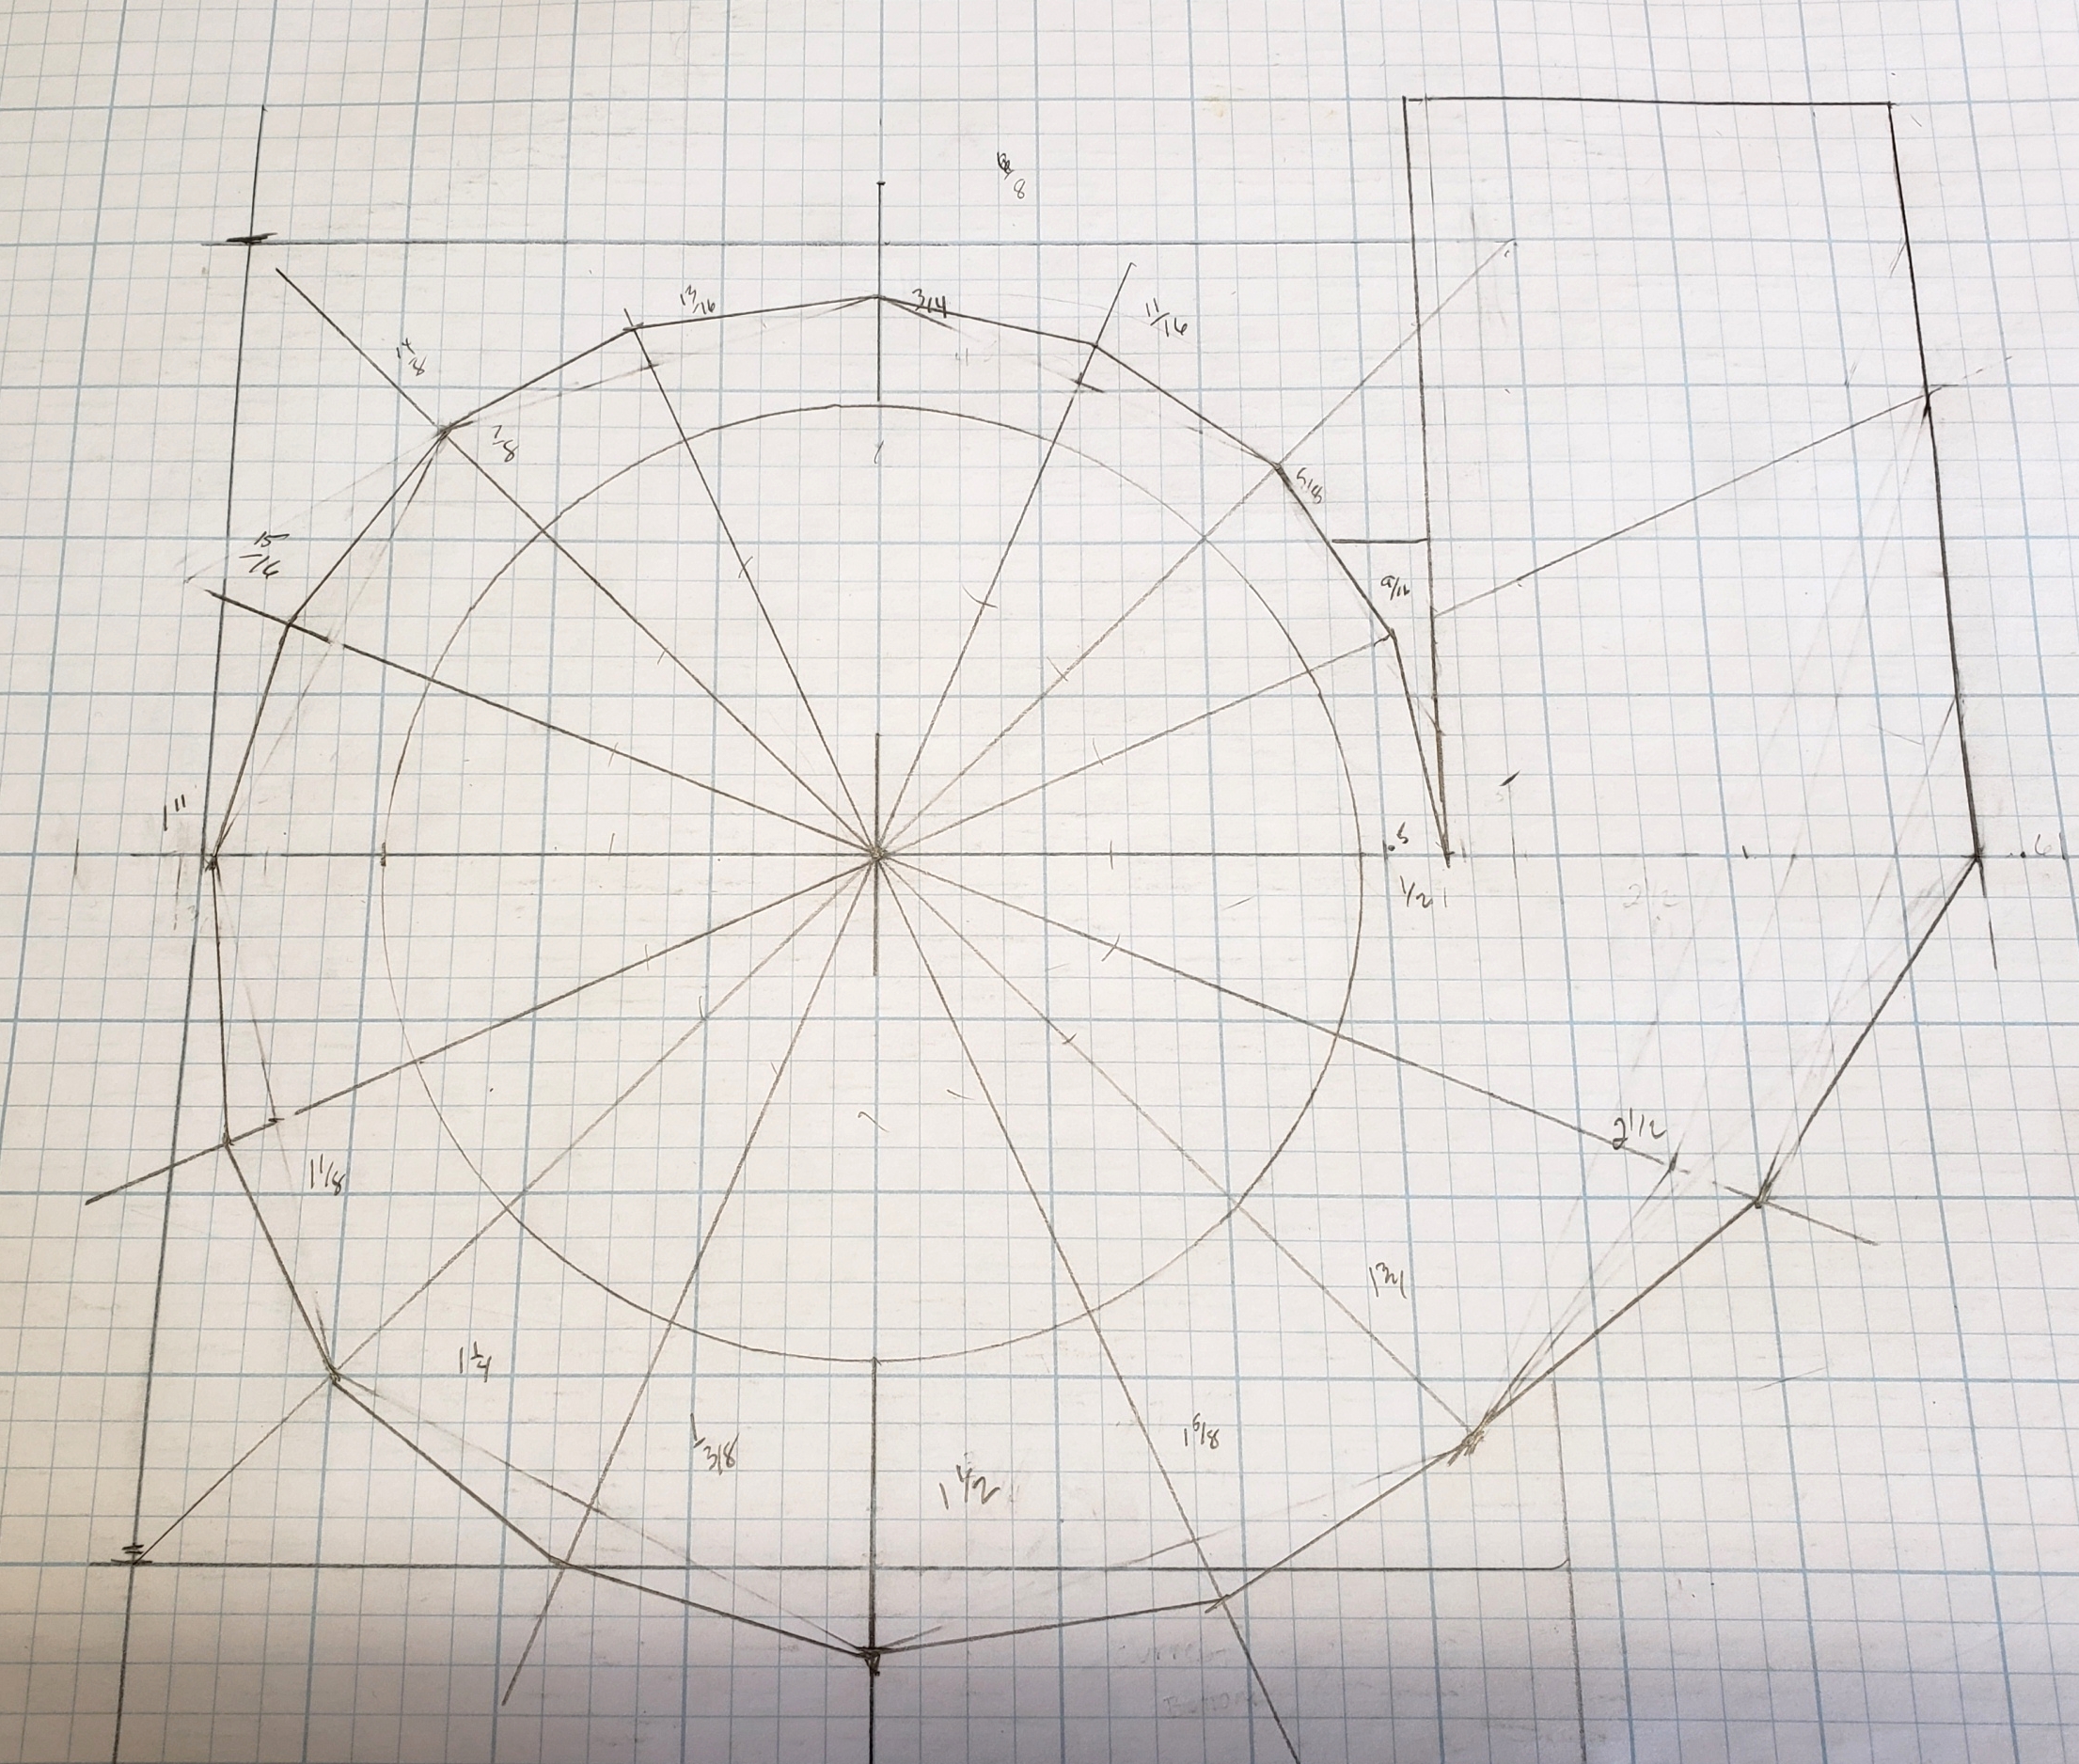
The first attempt at designing a shroud. Size is not finalized, I just wanted practice
with drawing out the side templates. Drawn on 1/4" grid paper.
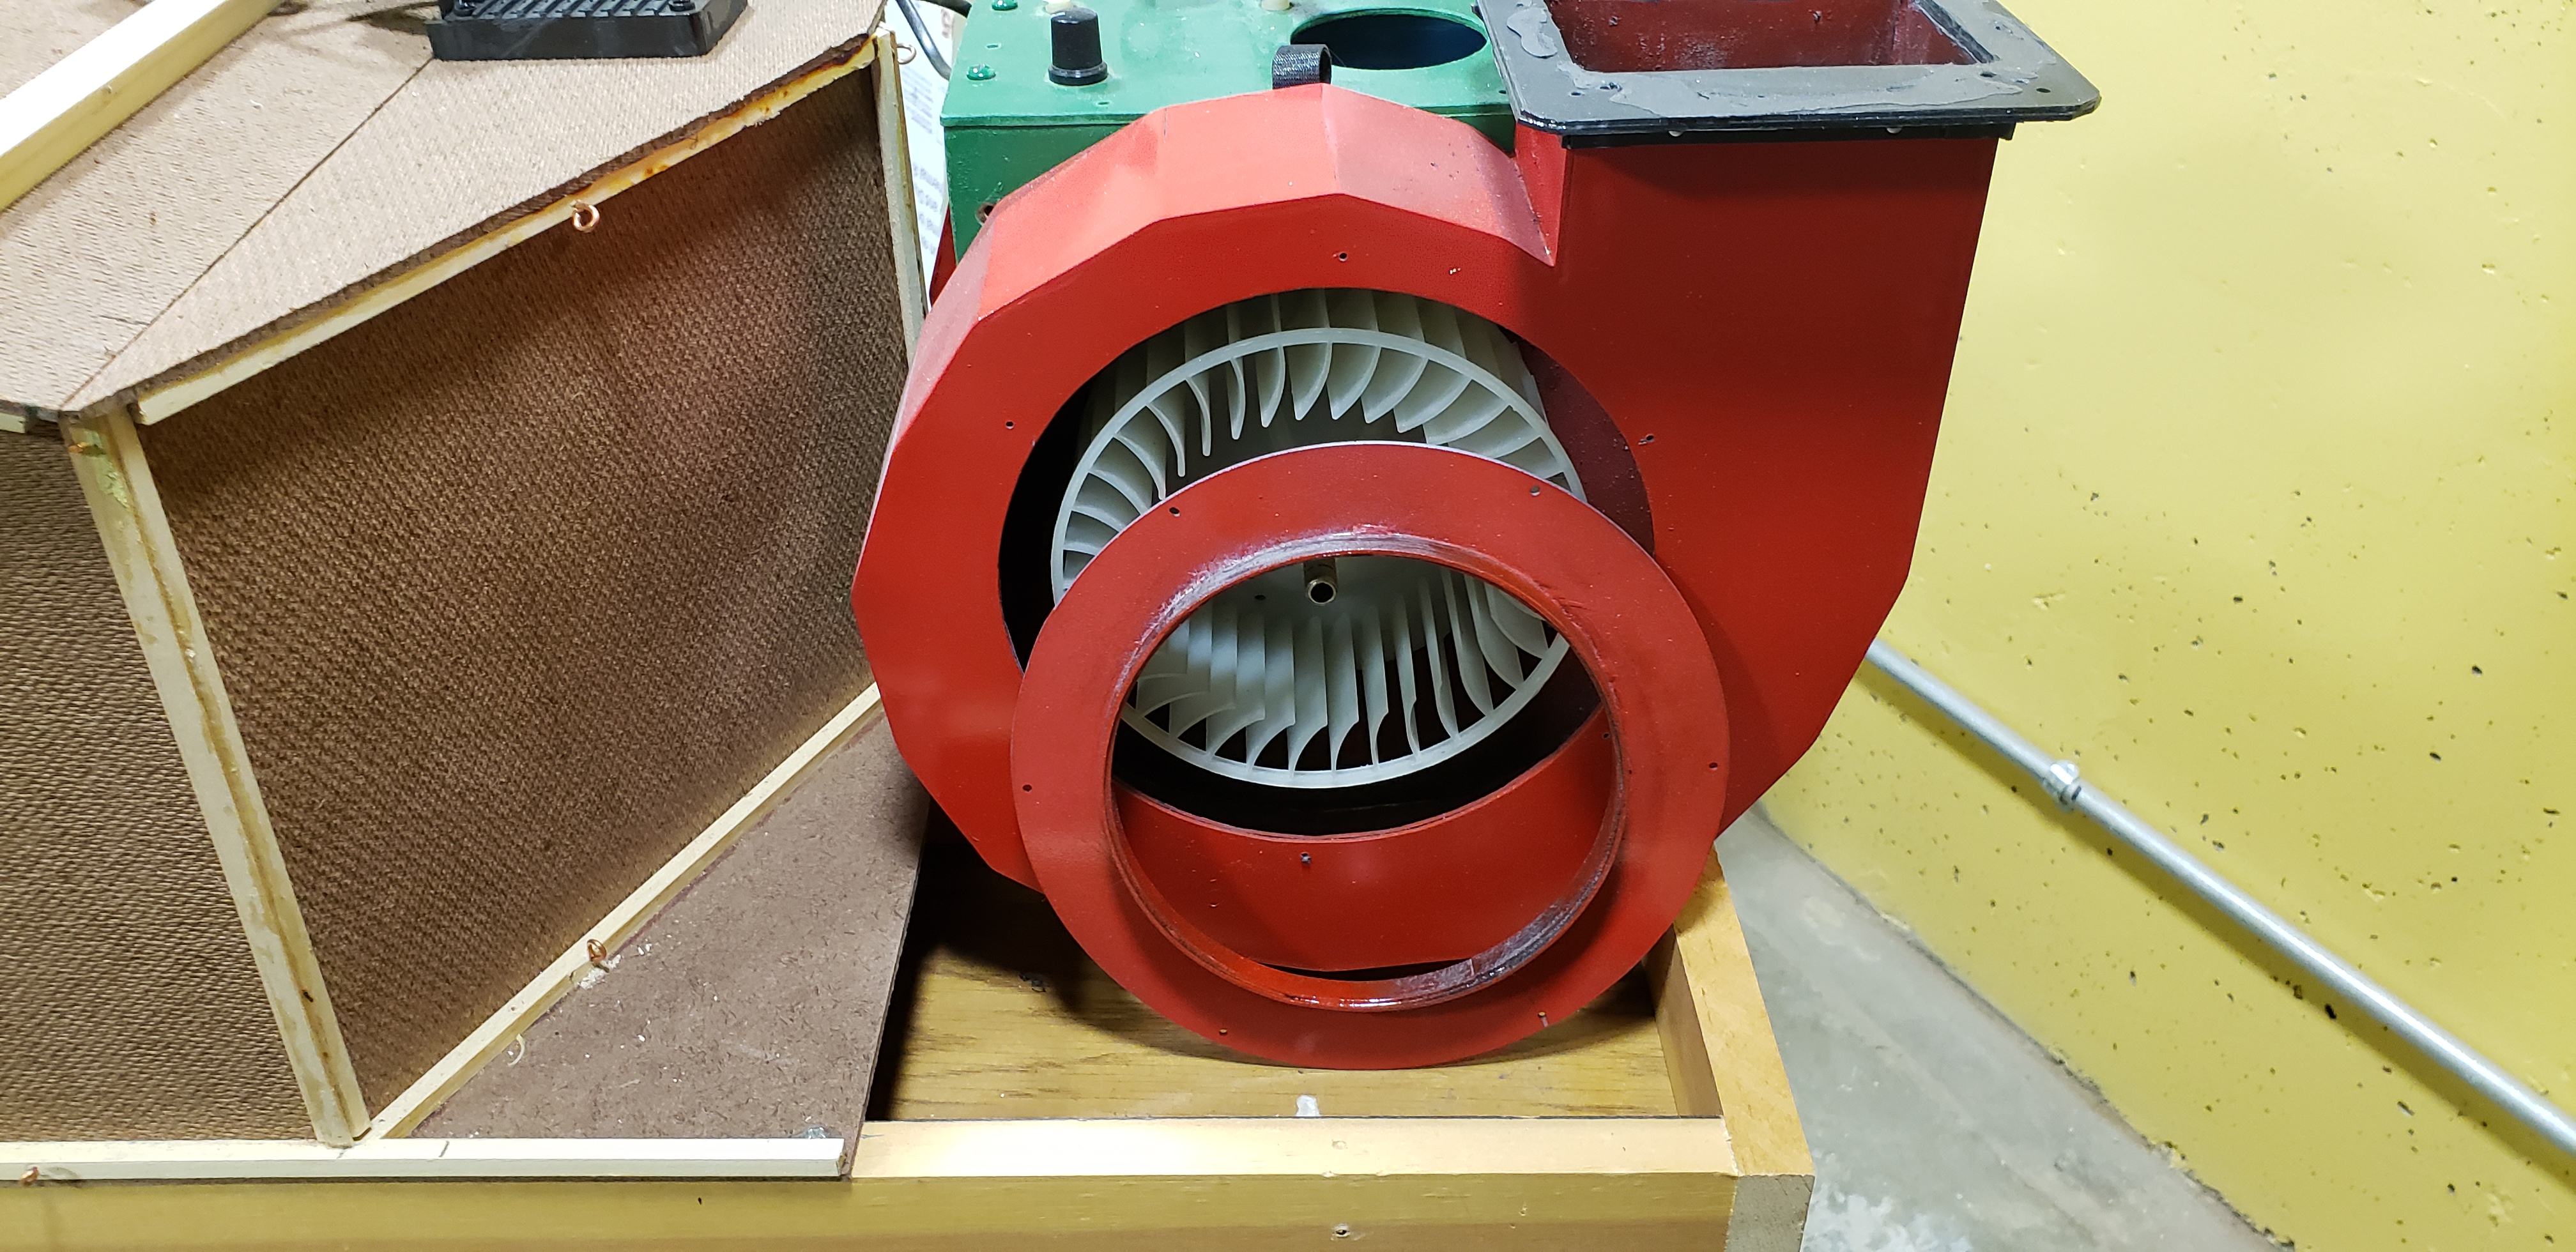
The next issue that I discovered is the question of which direction does the fan
have to rotate? The convex surfaces are the forward sides, that is the side of the blade
that blows the air out.
Along with this will be the orientation of the motorbox, the polarity on the motor, and
the orientation of the blades on the motor shafts.
And lastly, will the outlet ports be parallel with the top/bottom of the box or perpendicular?
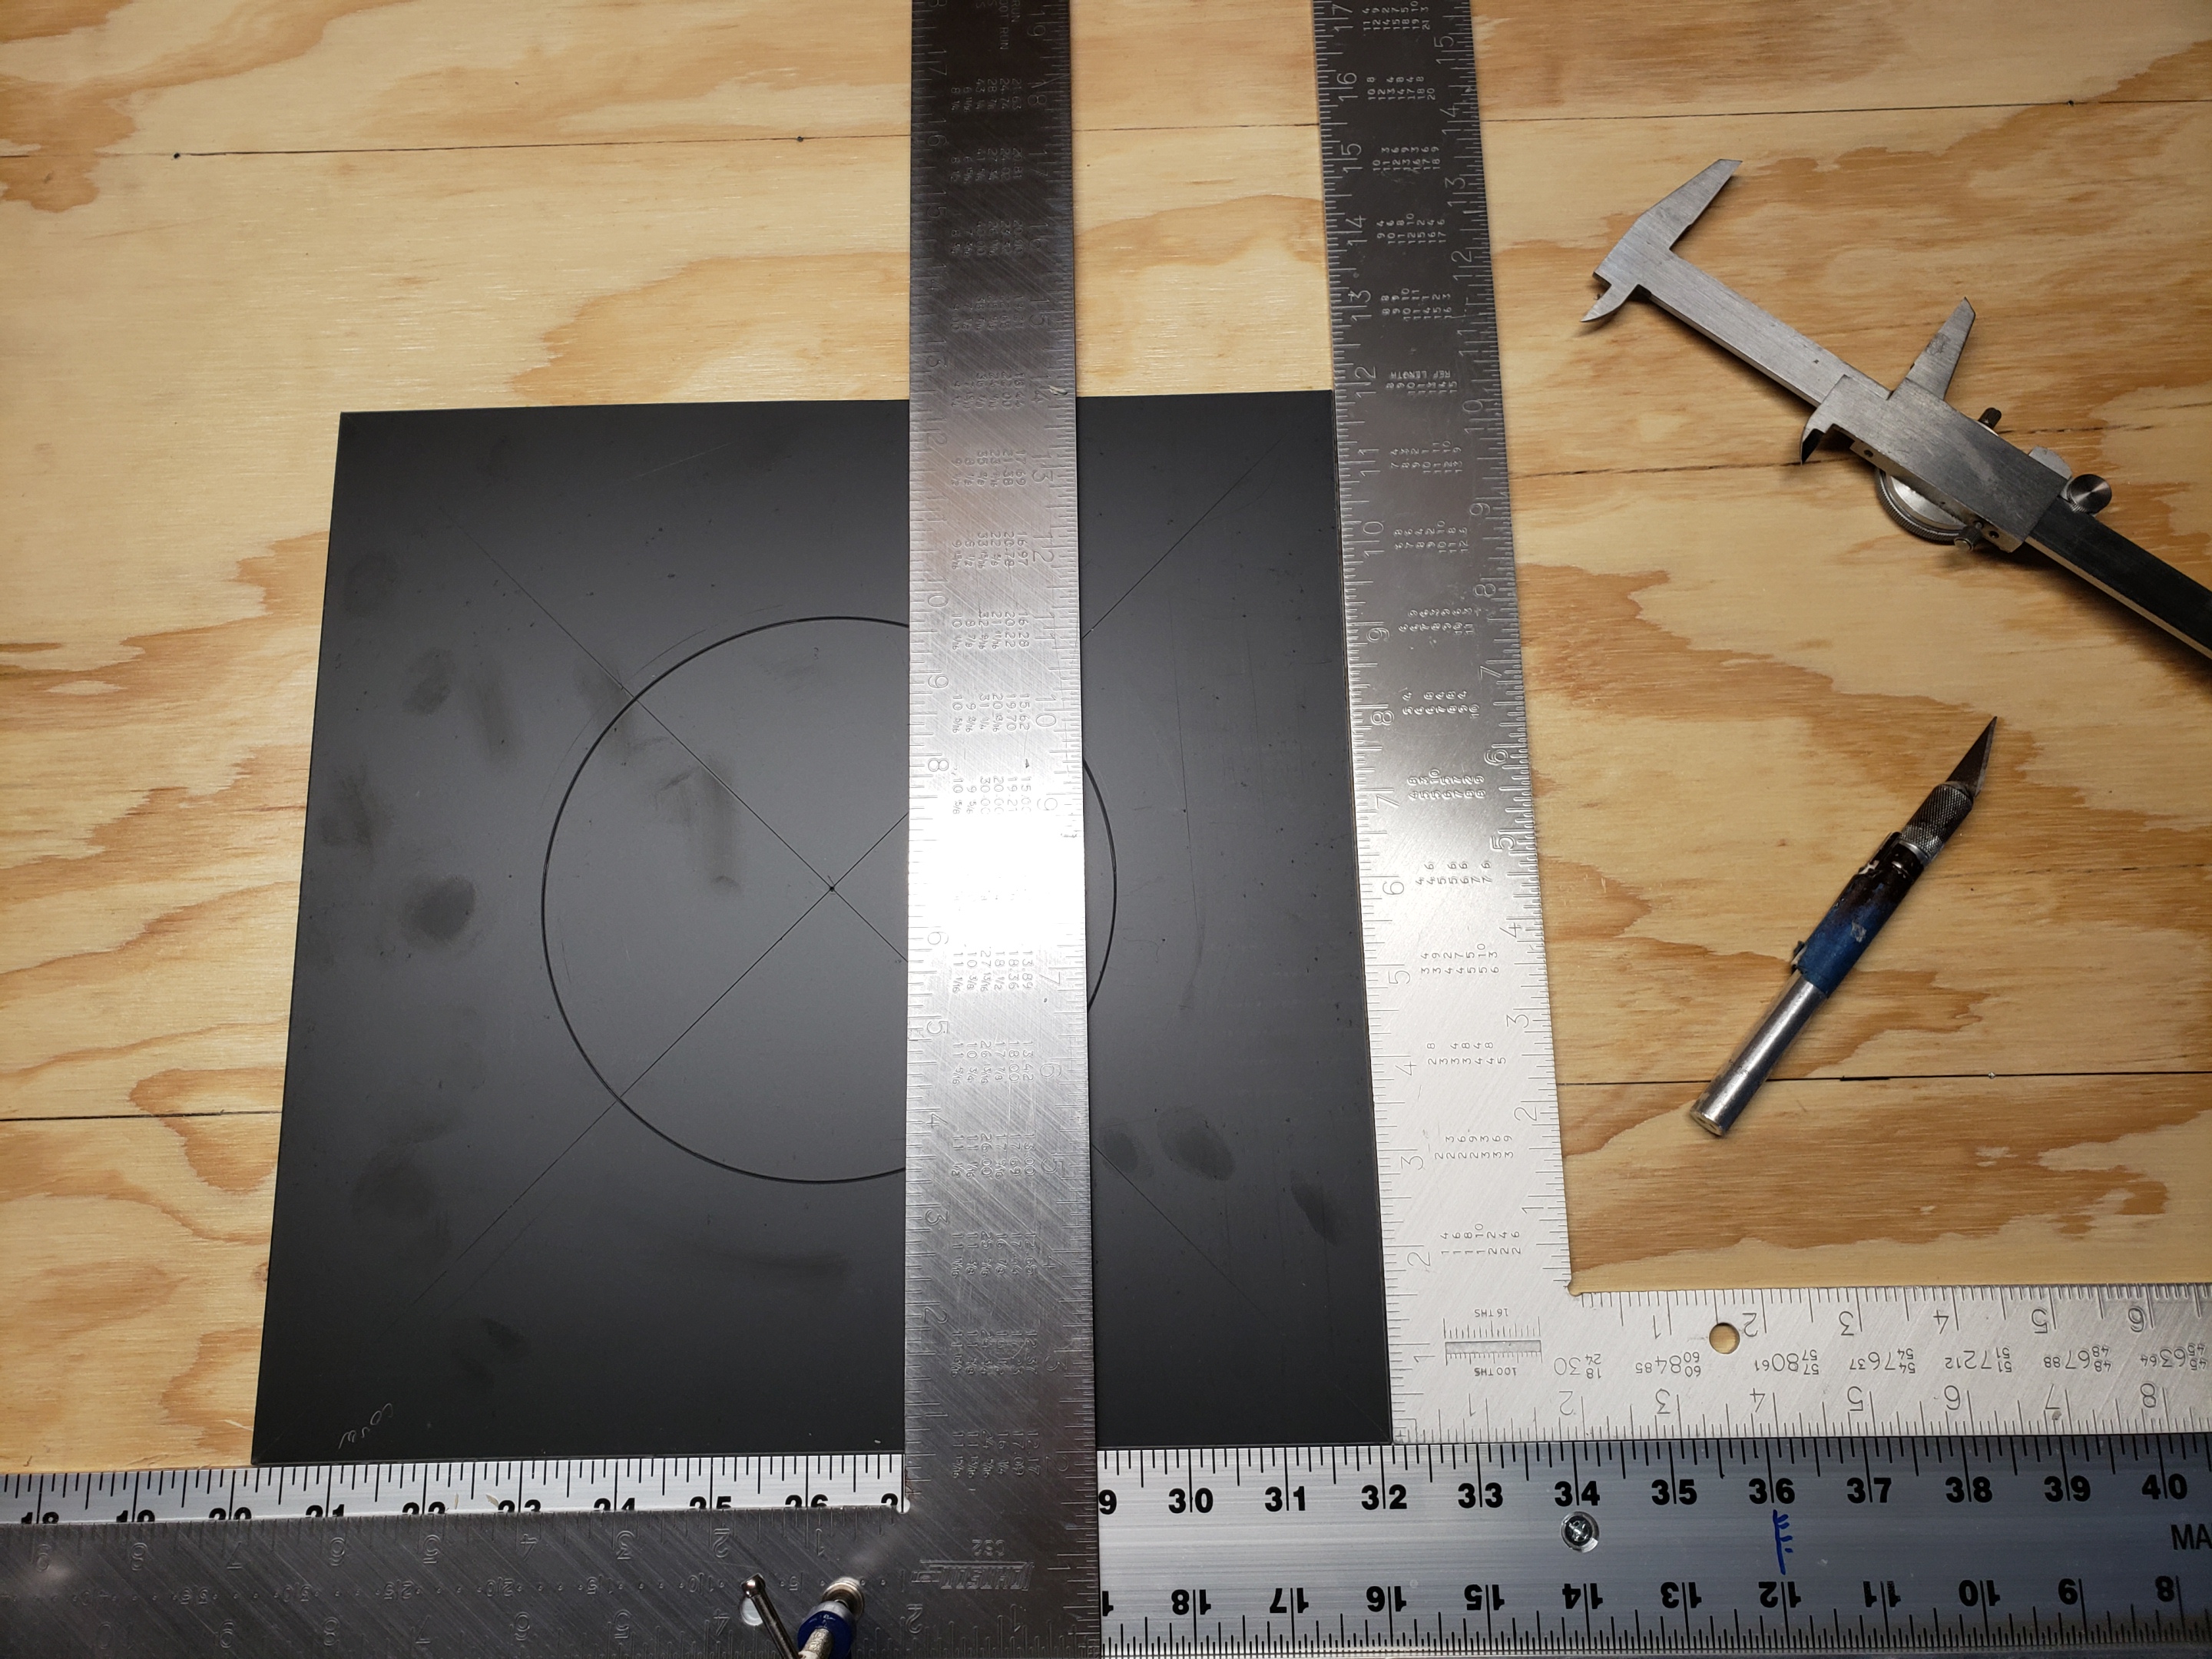
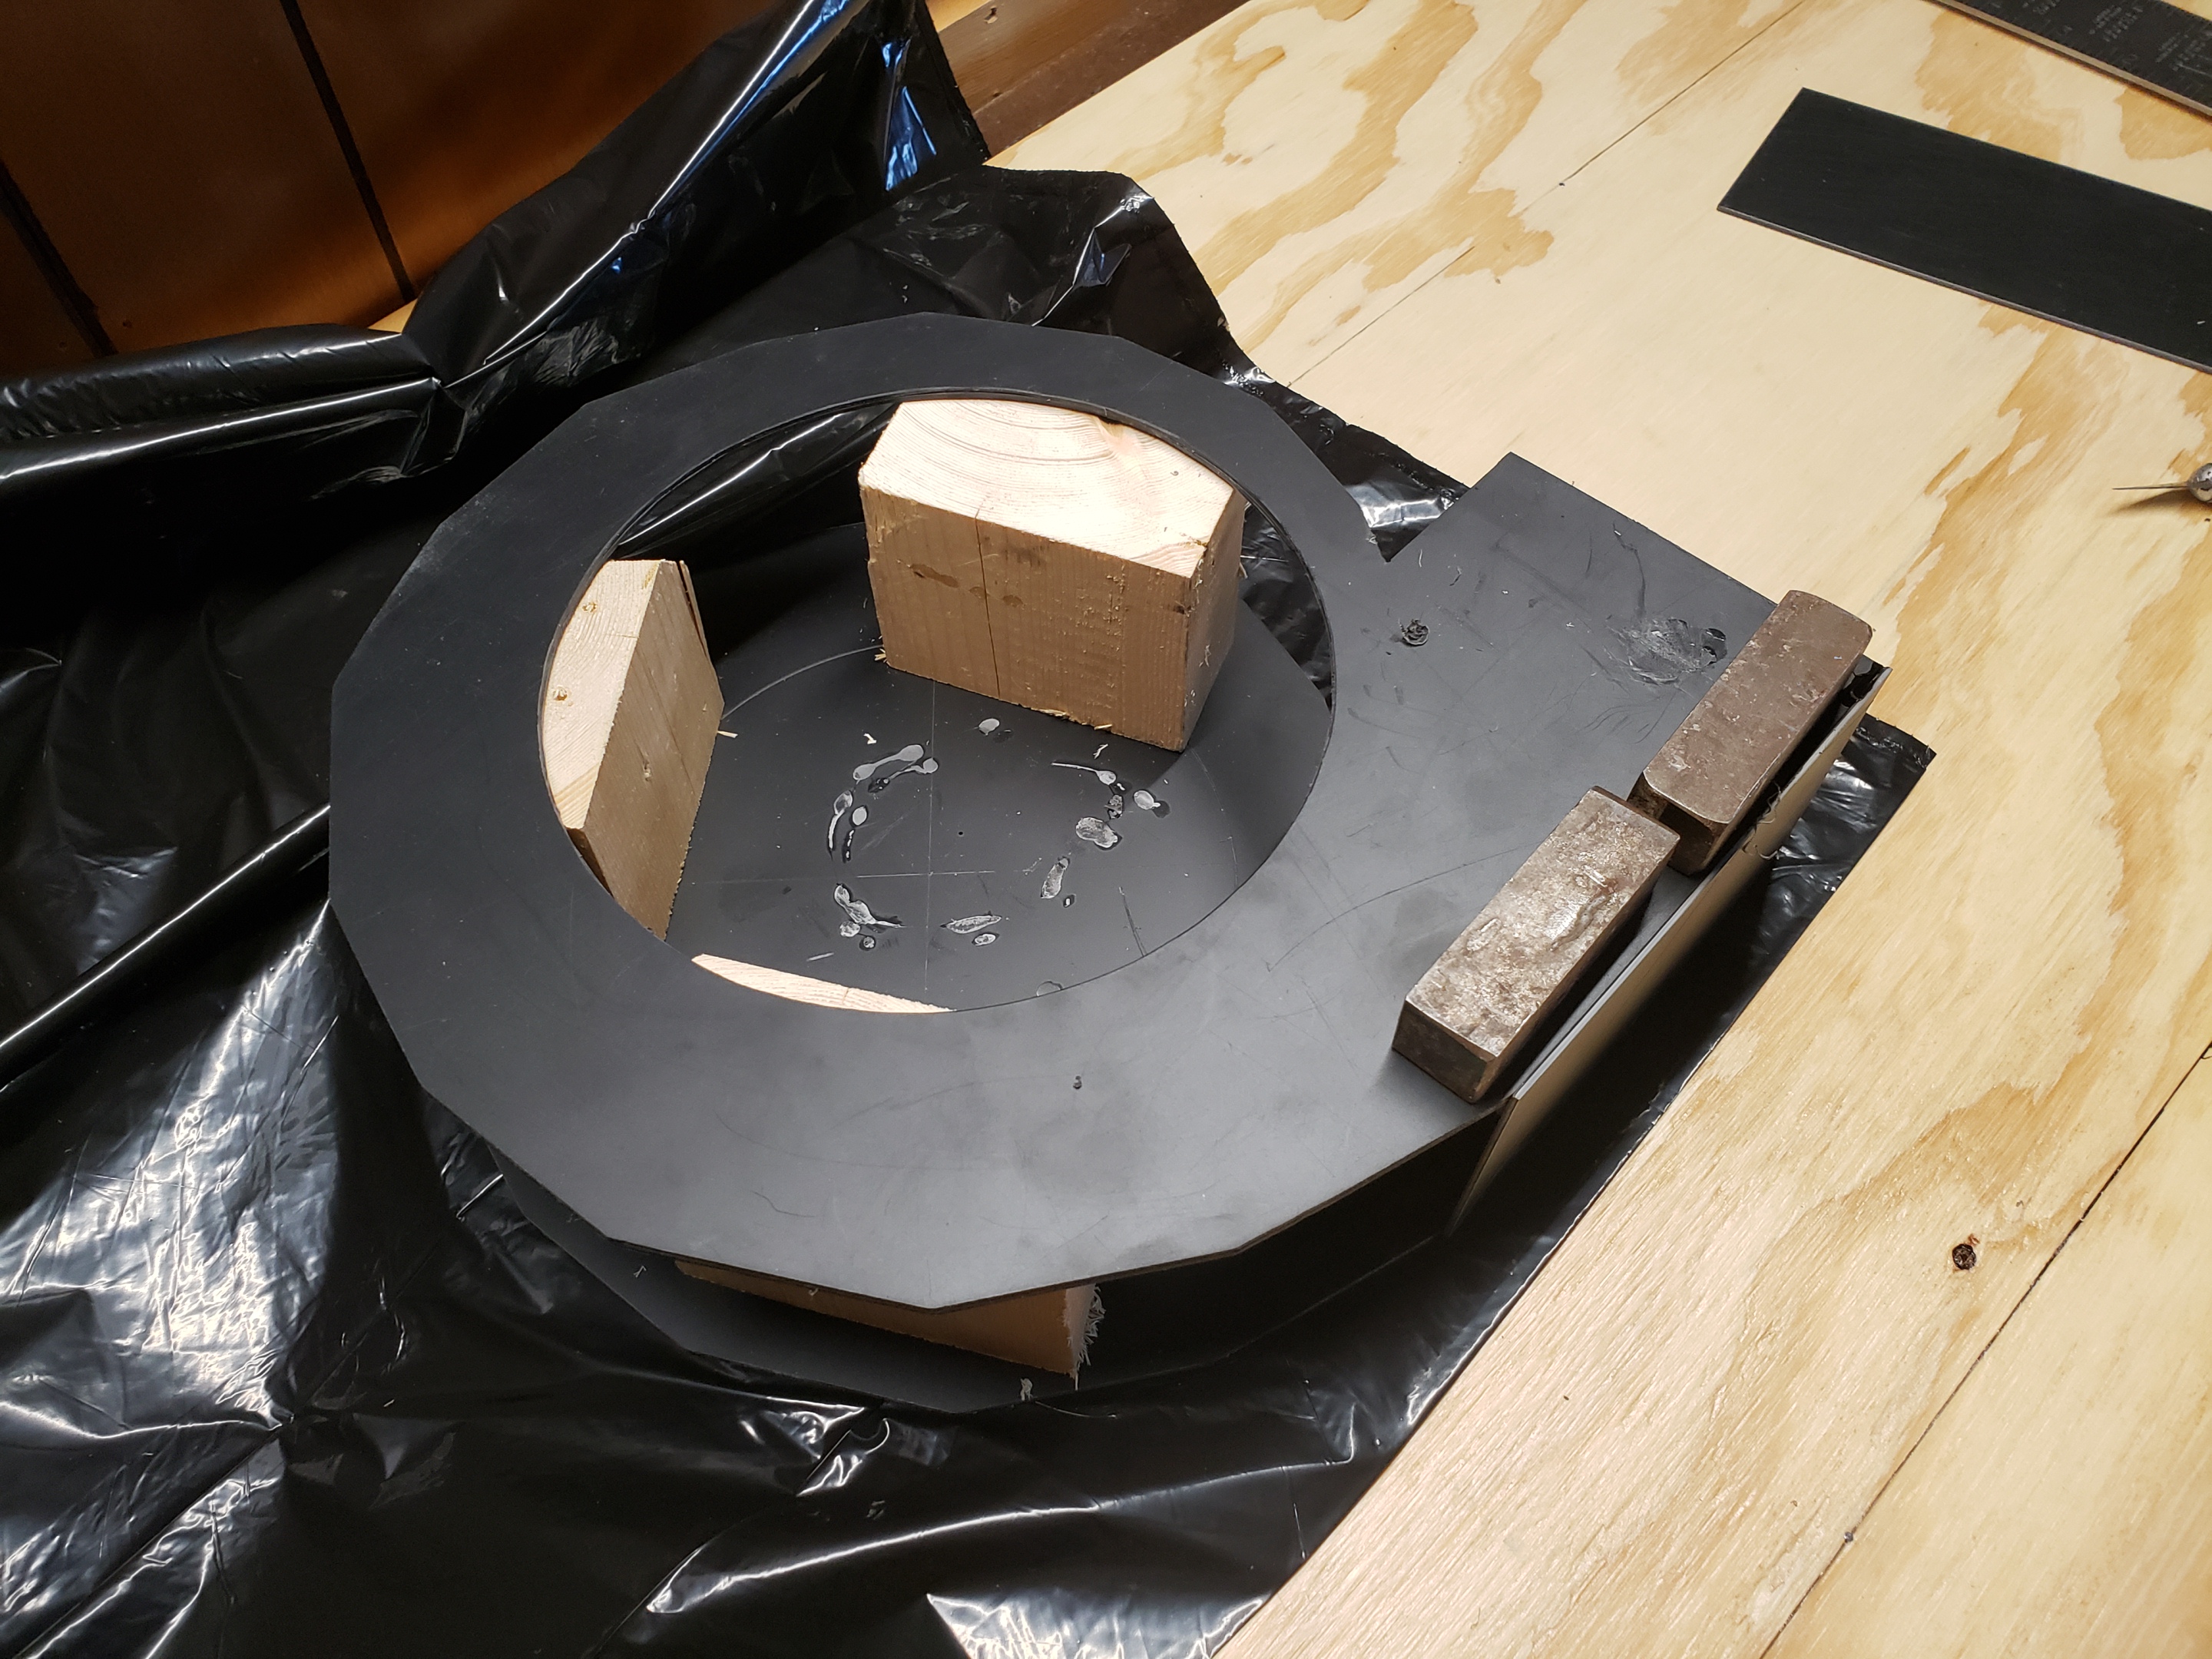
I used my styrene sheet cutter to cut out the pieces.
Numerous pieces awaiting assembly.
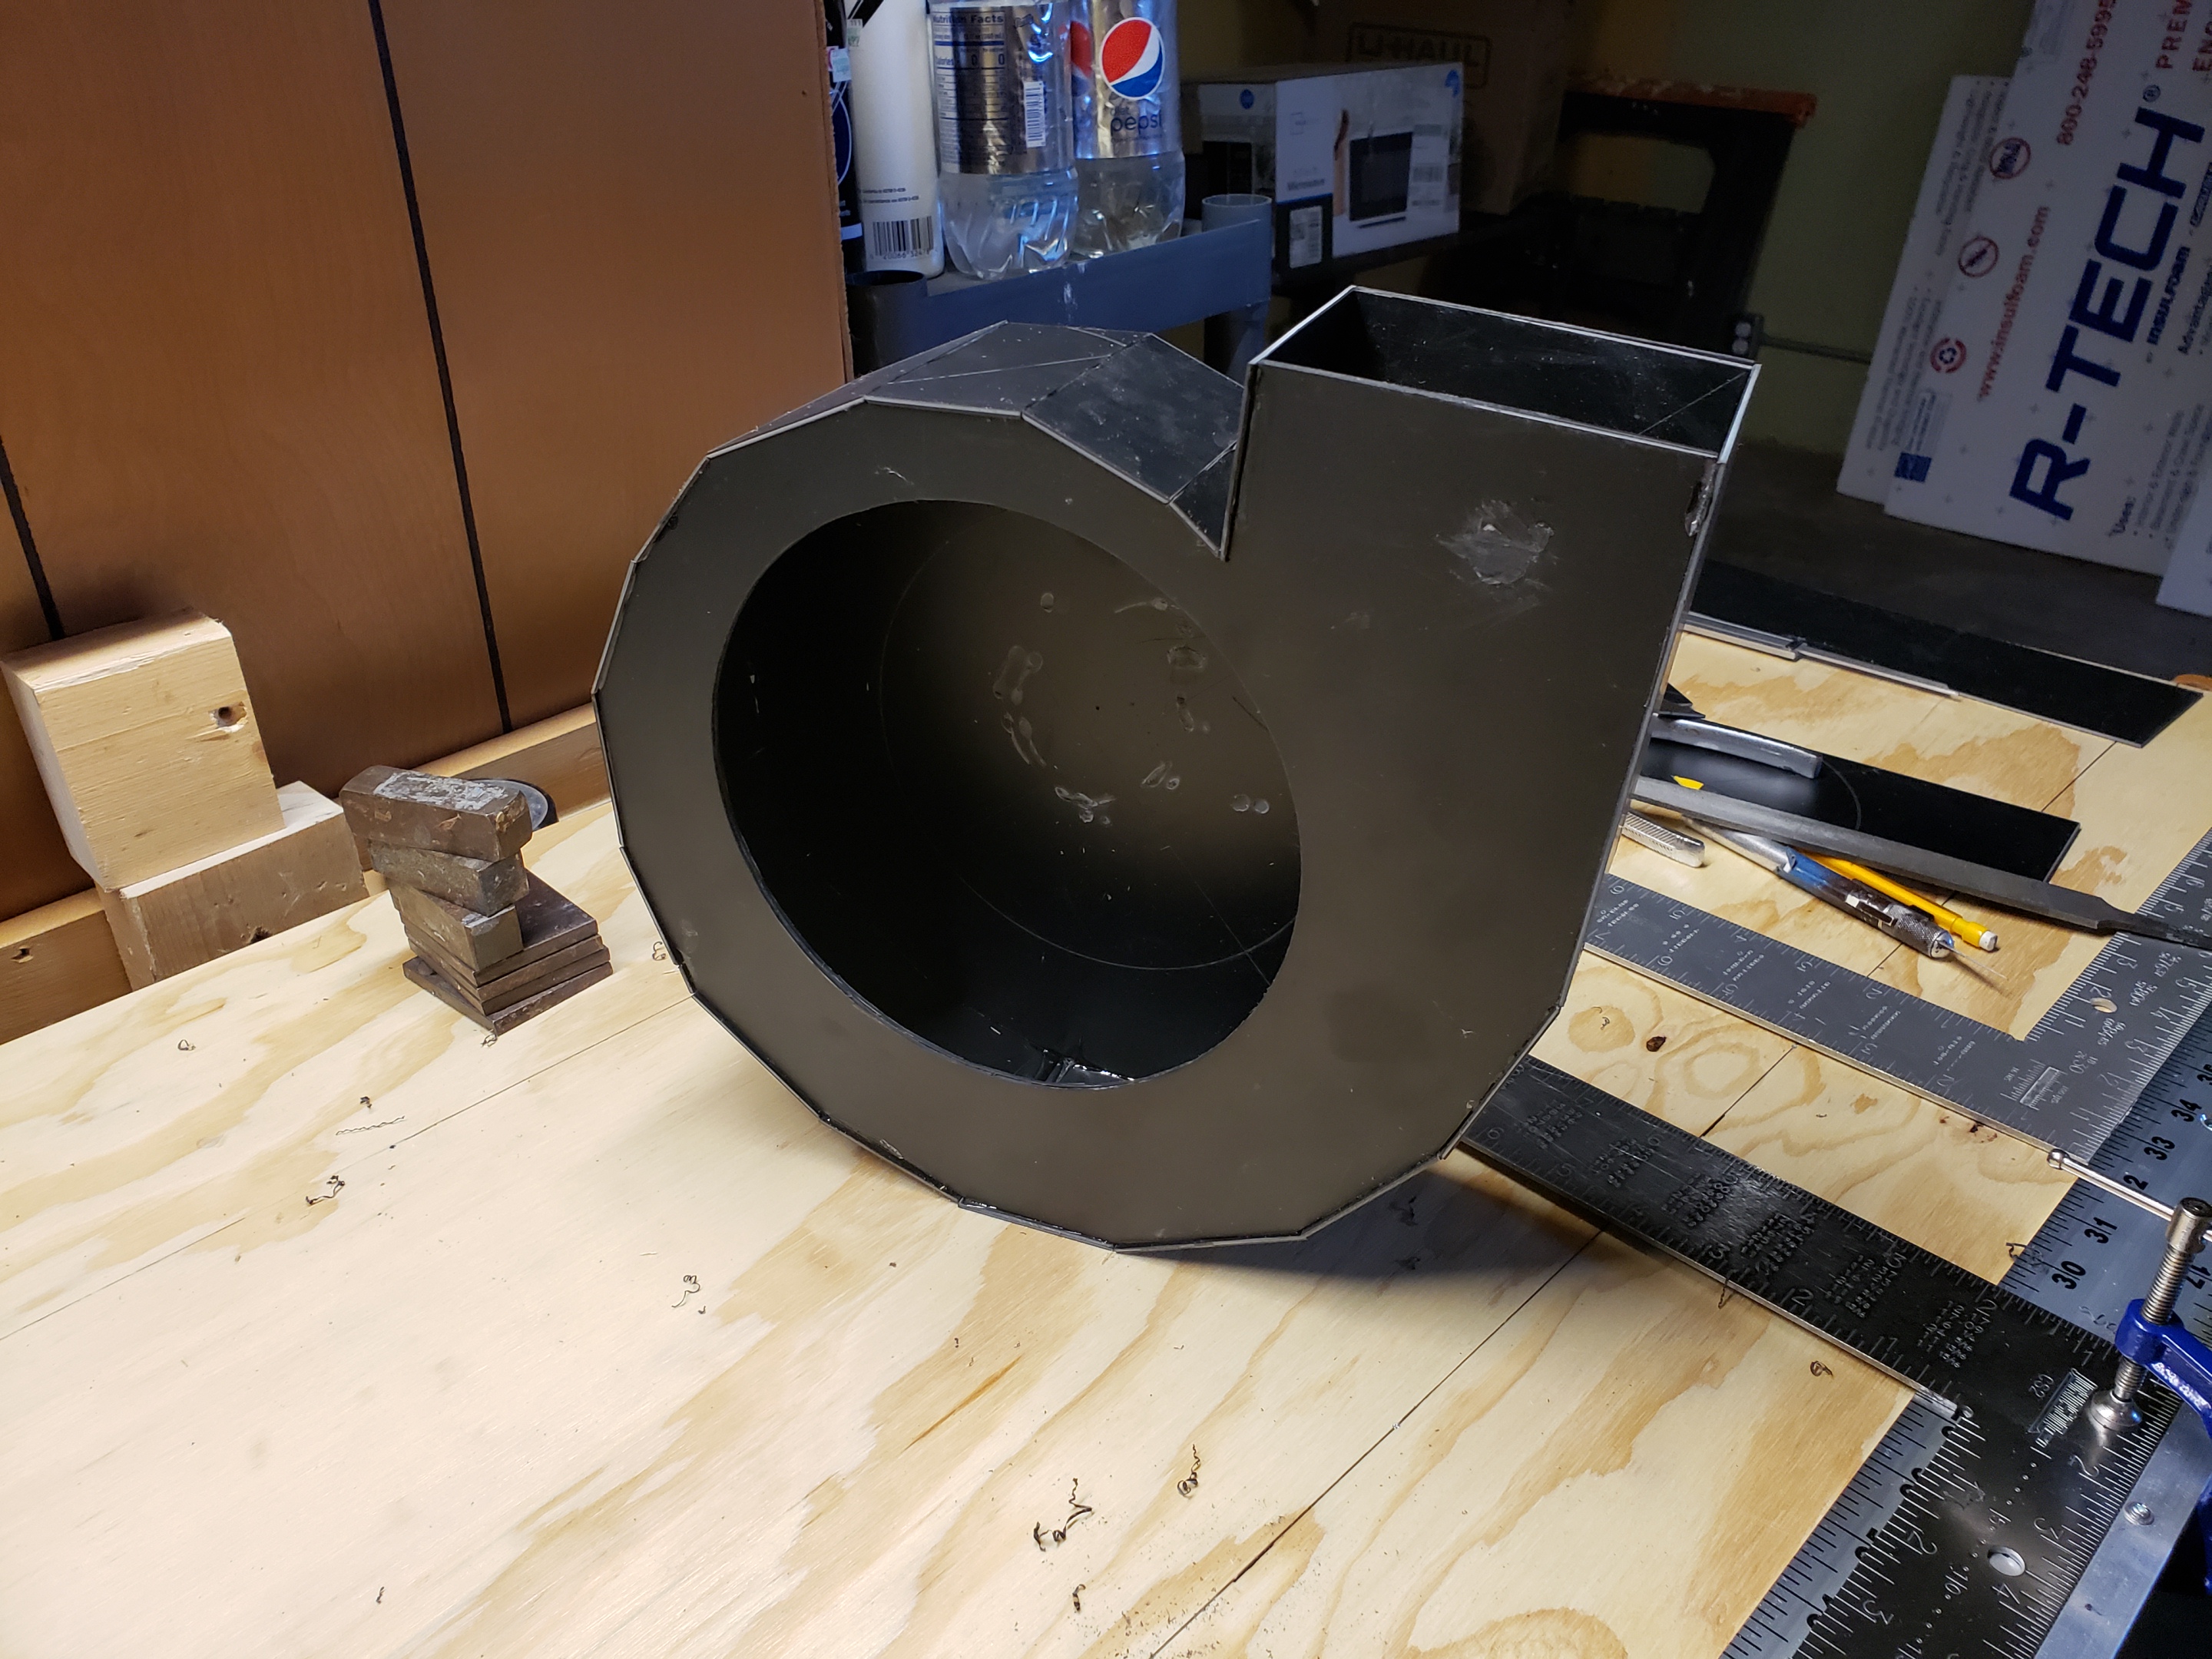
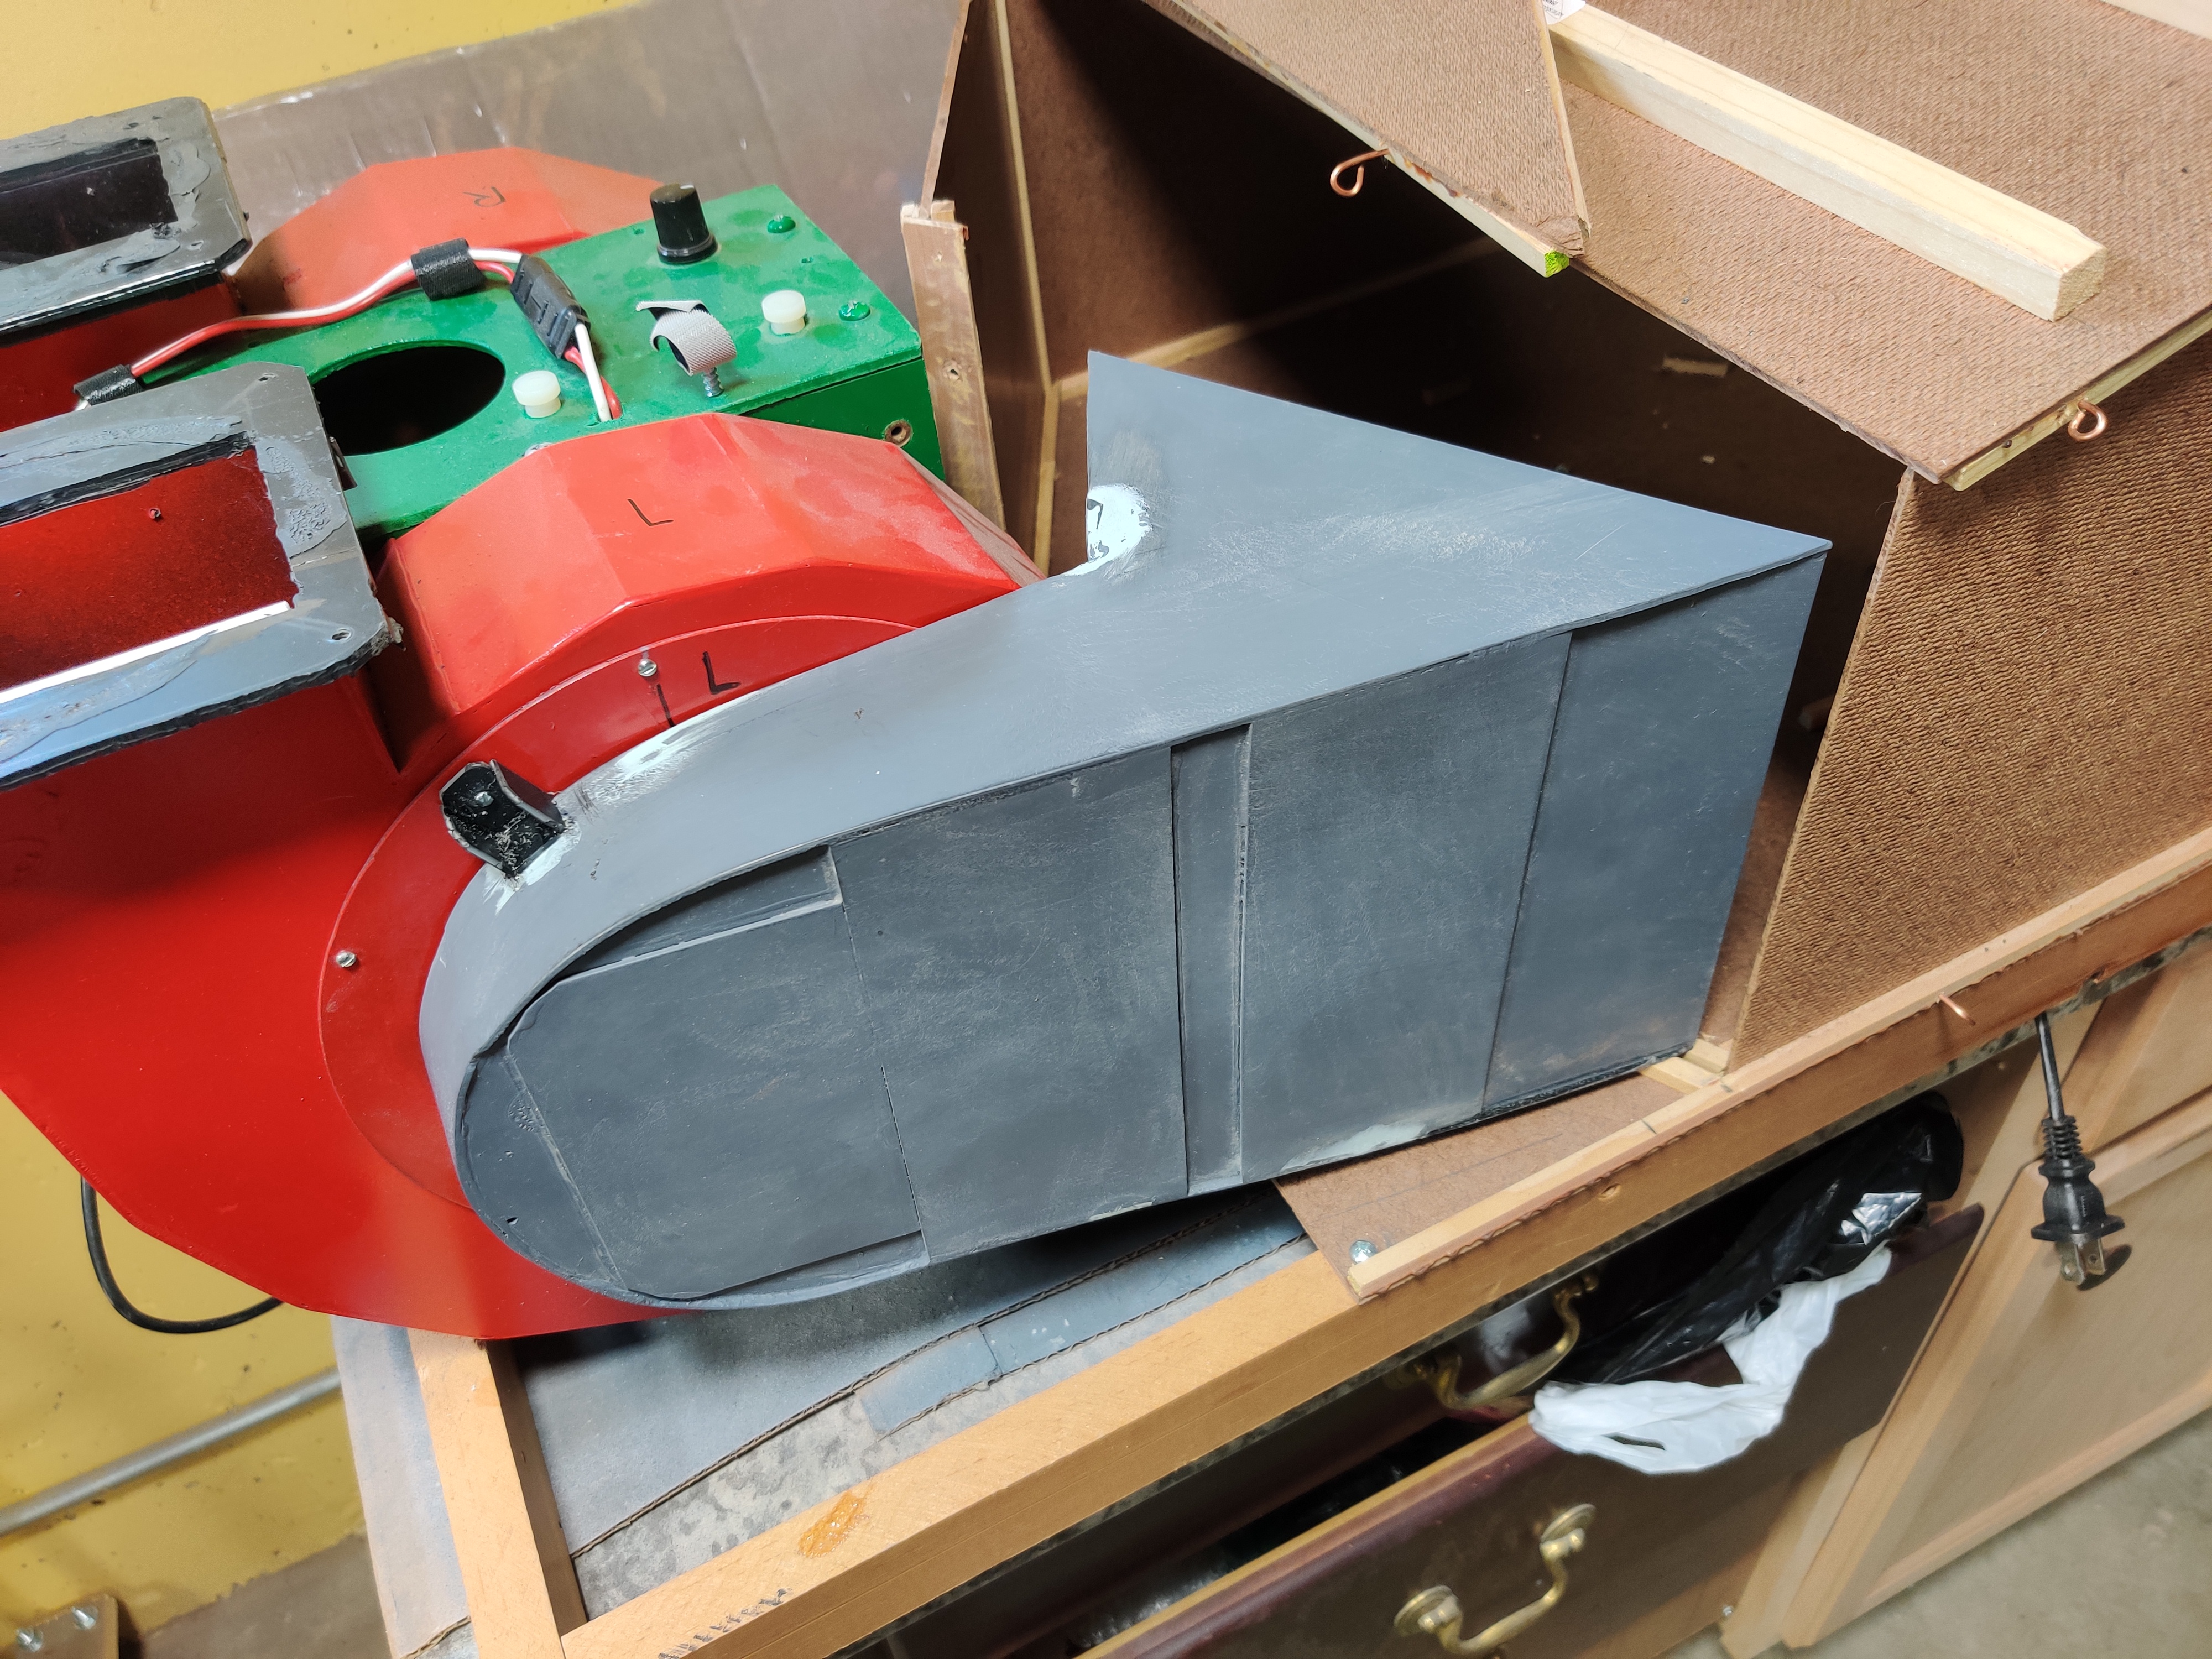
One shroud is taking form.
The first shroud is roughed-in.
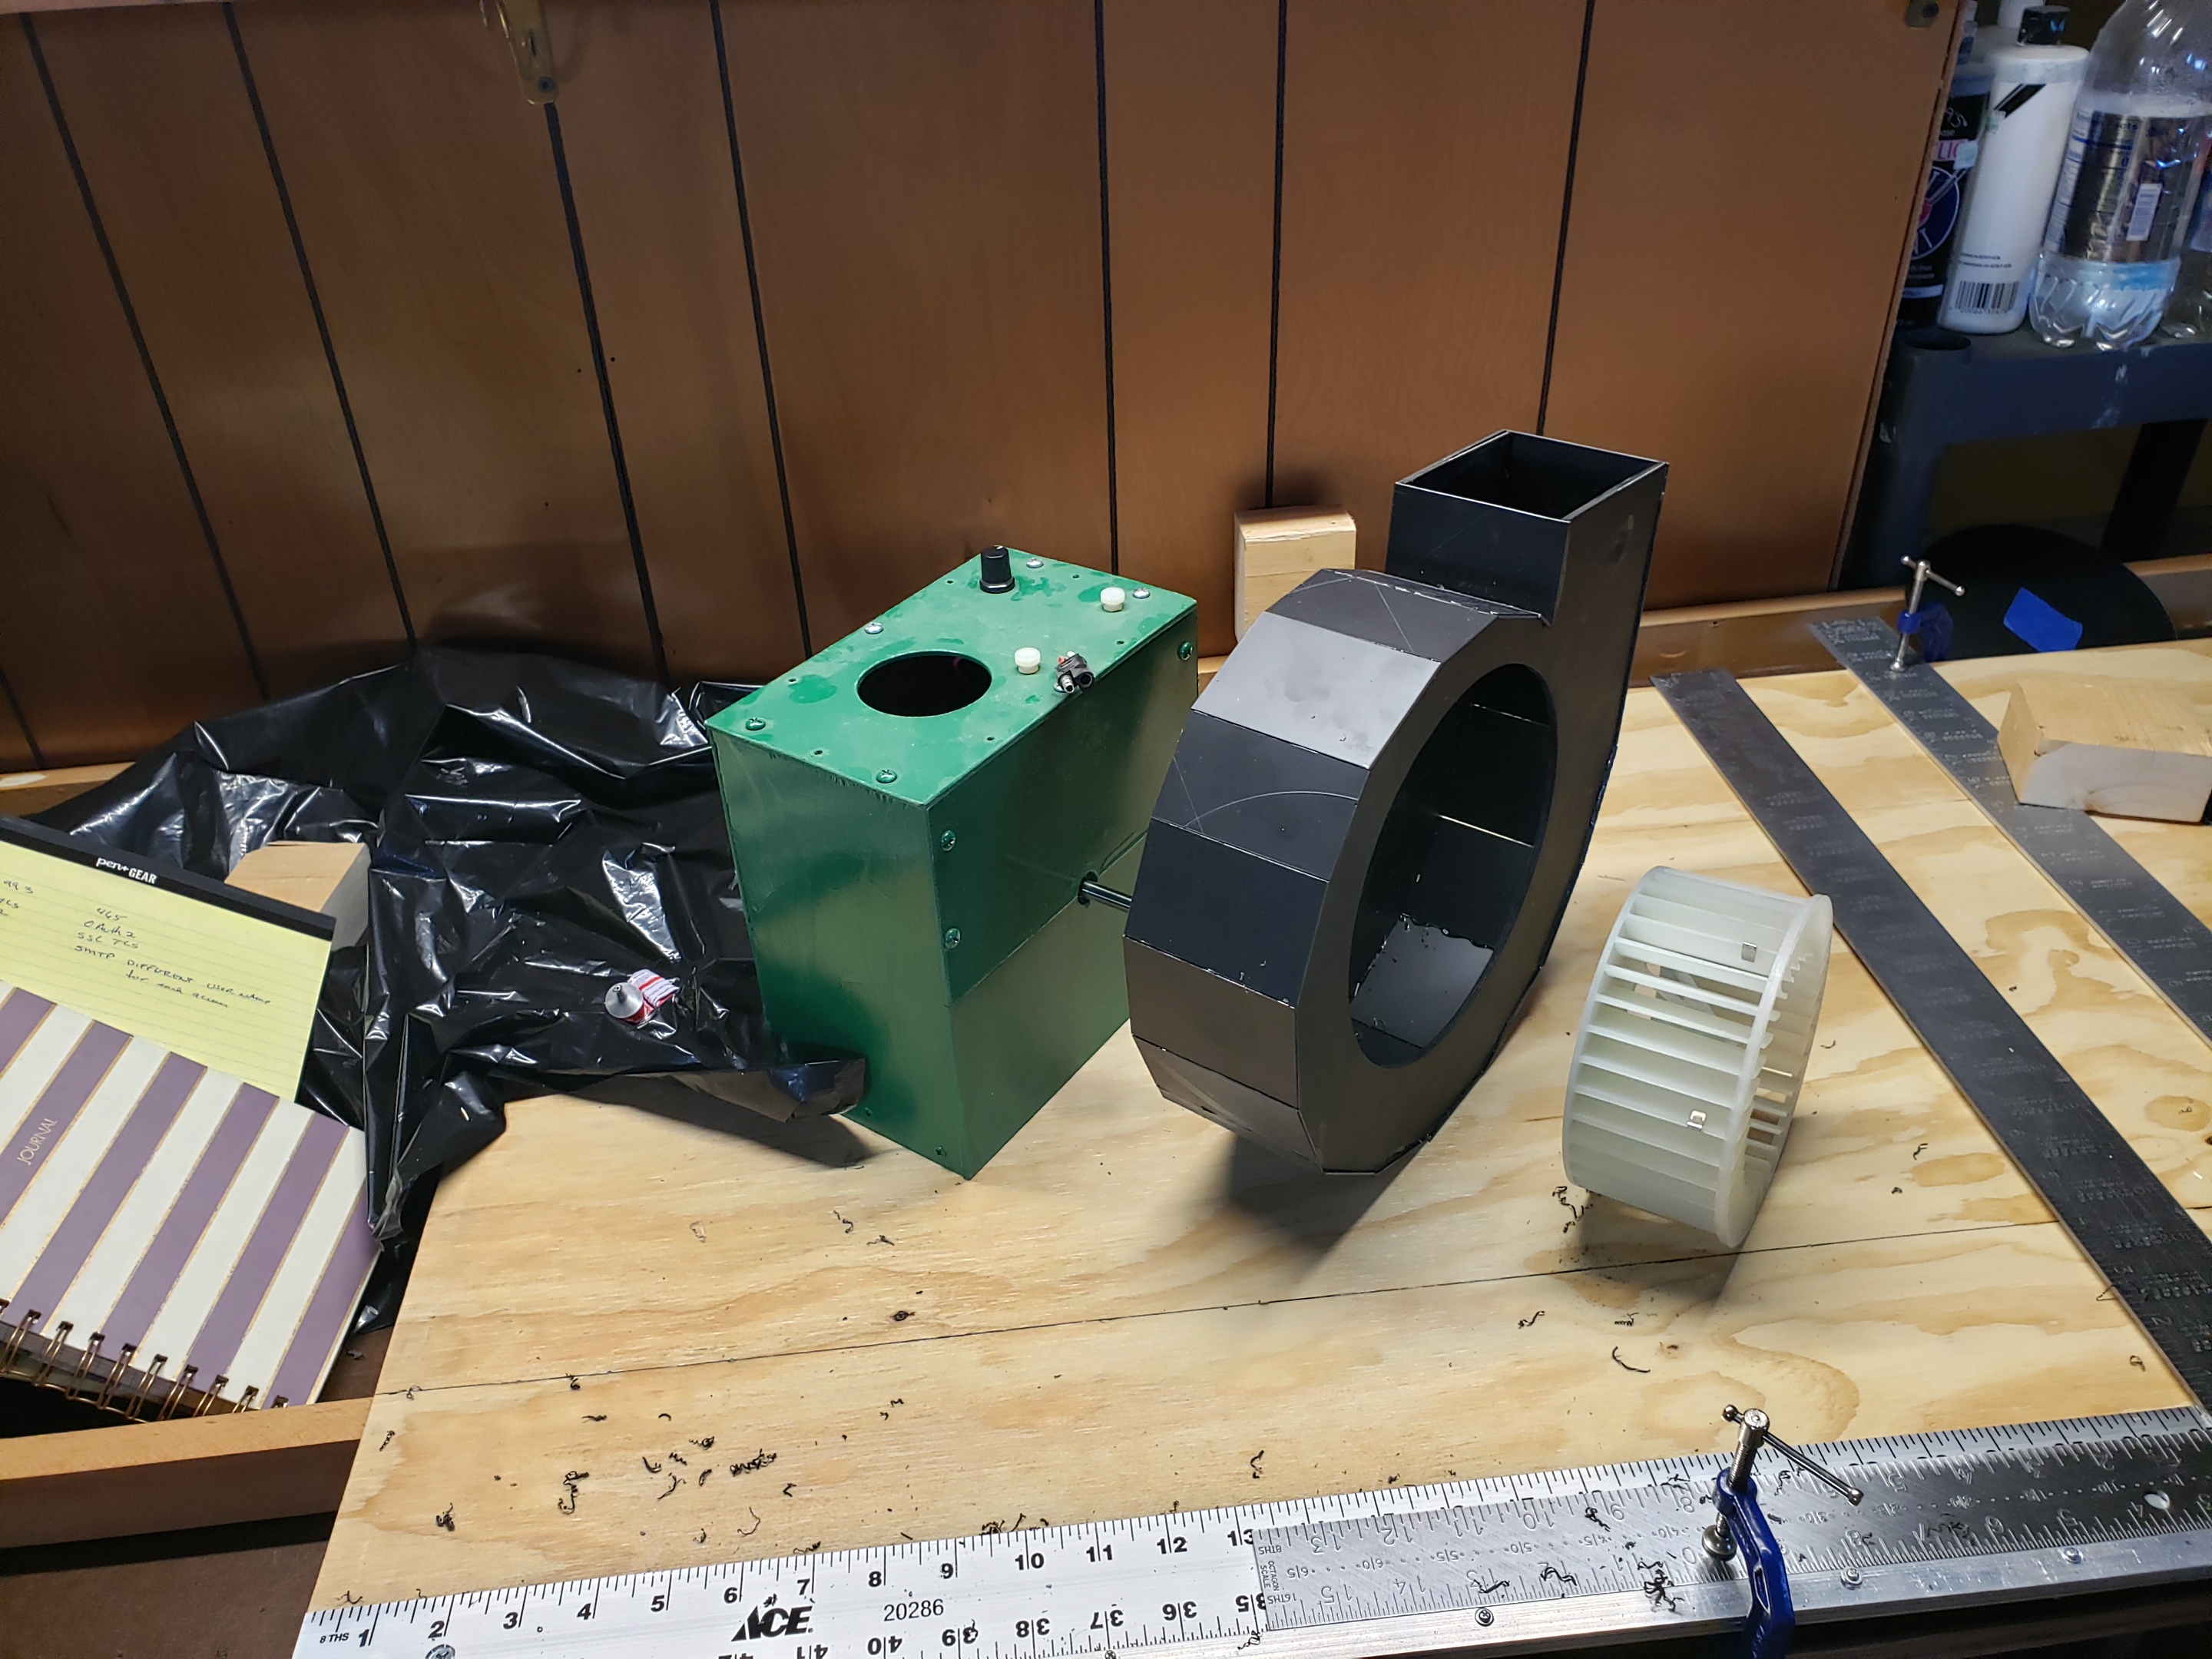
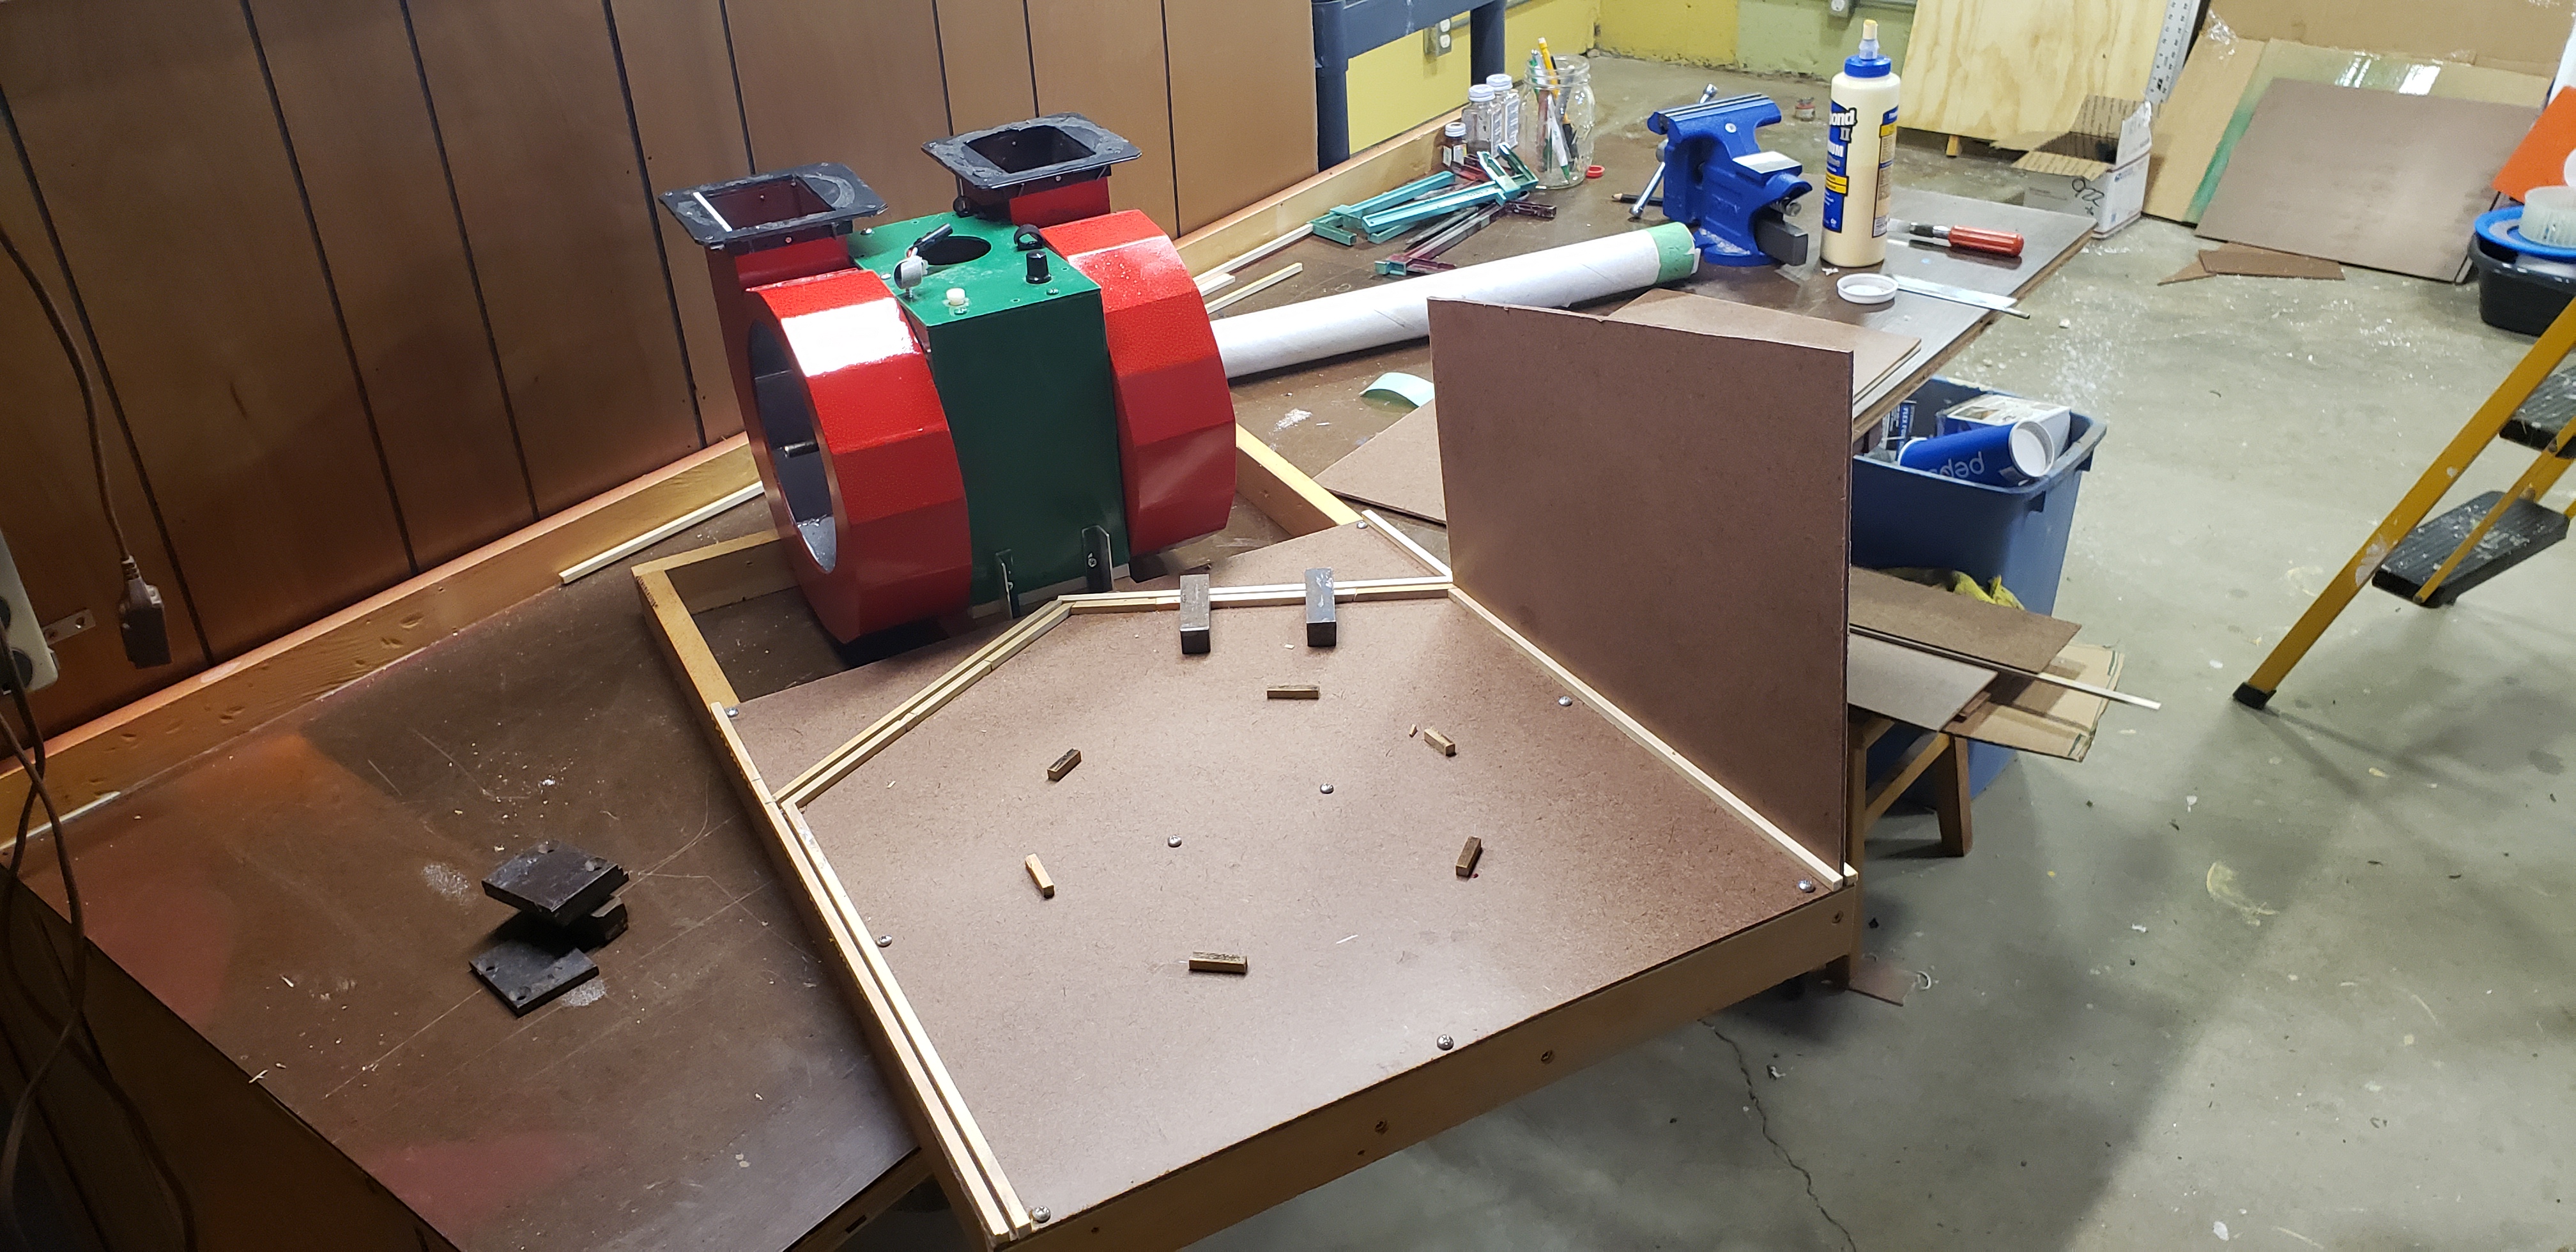
Showing the assembly order of shroud and fan.
The first test of the motor with the fans attached.
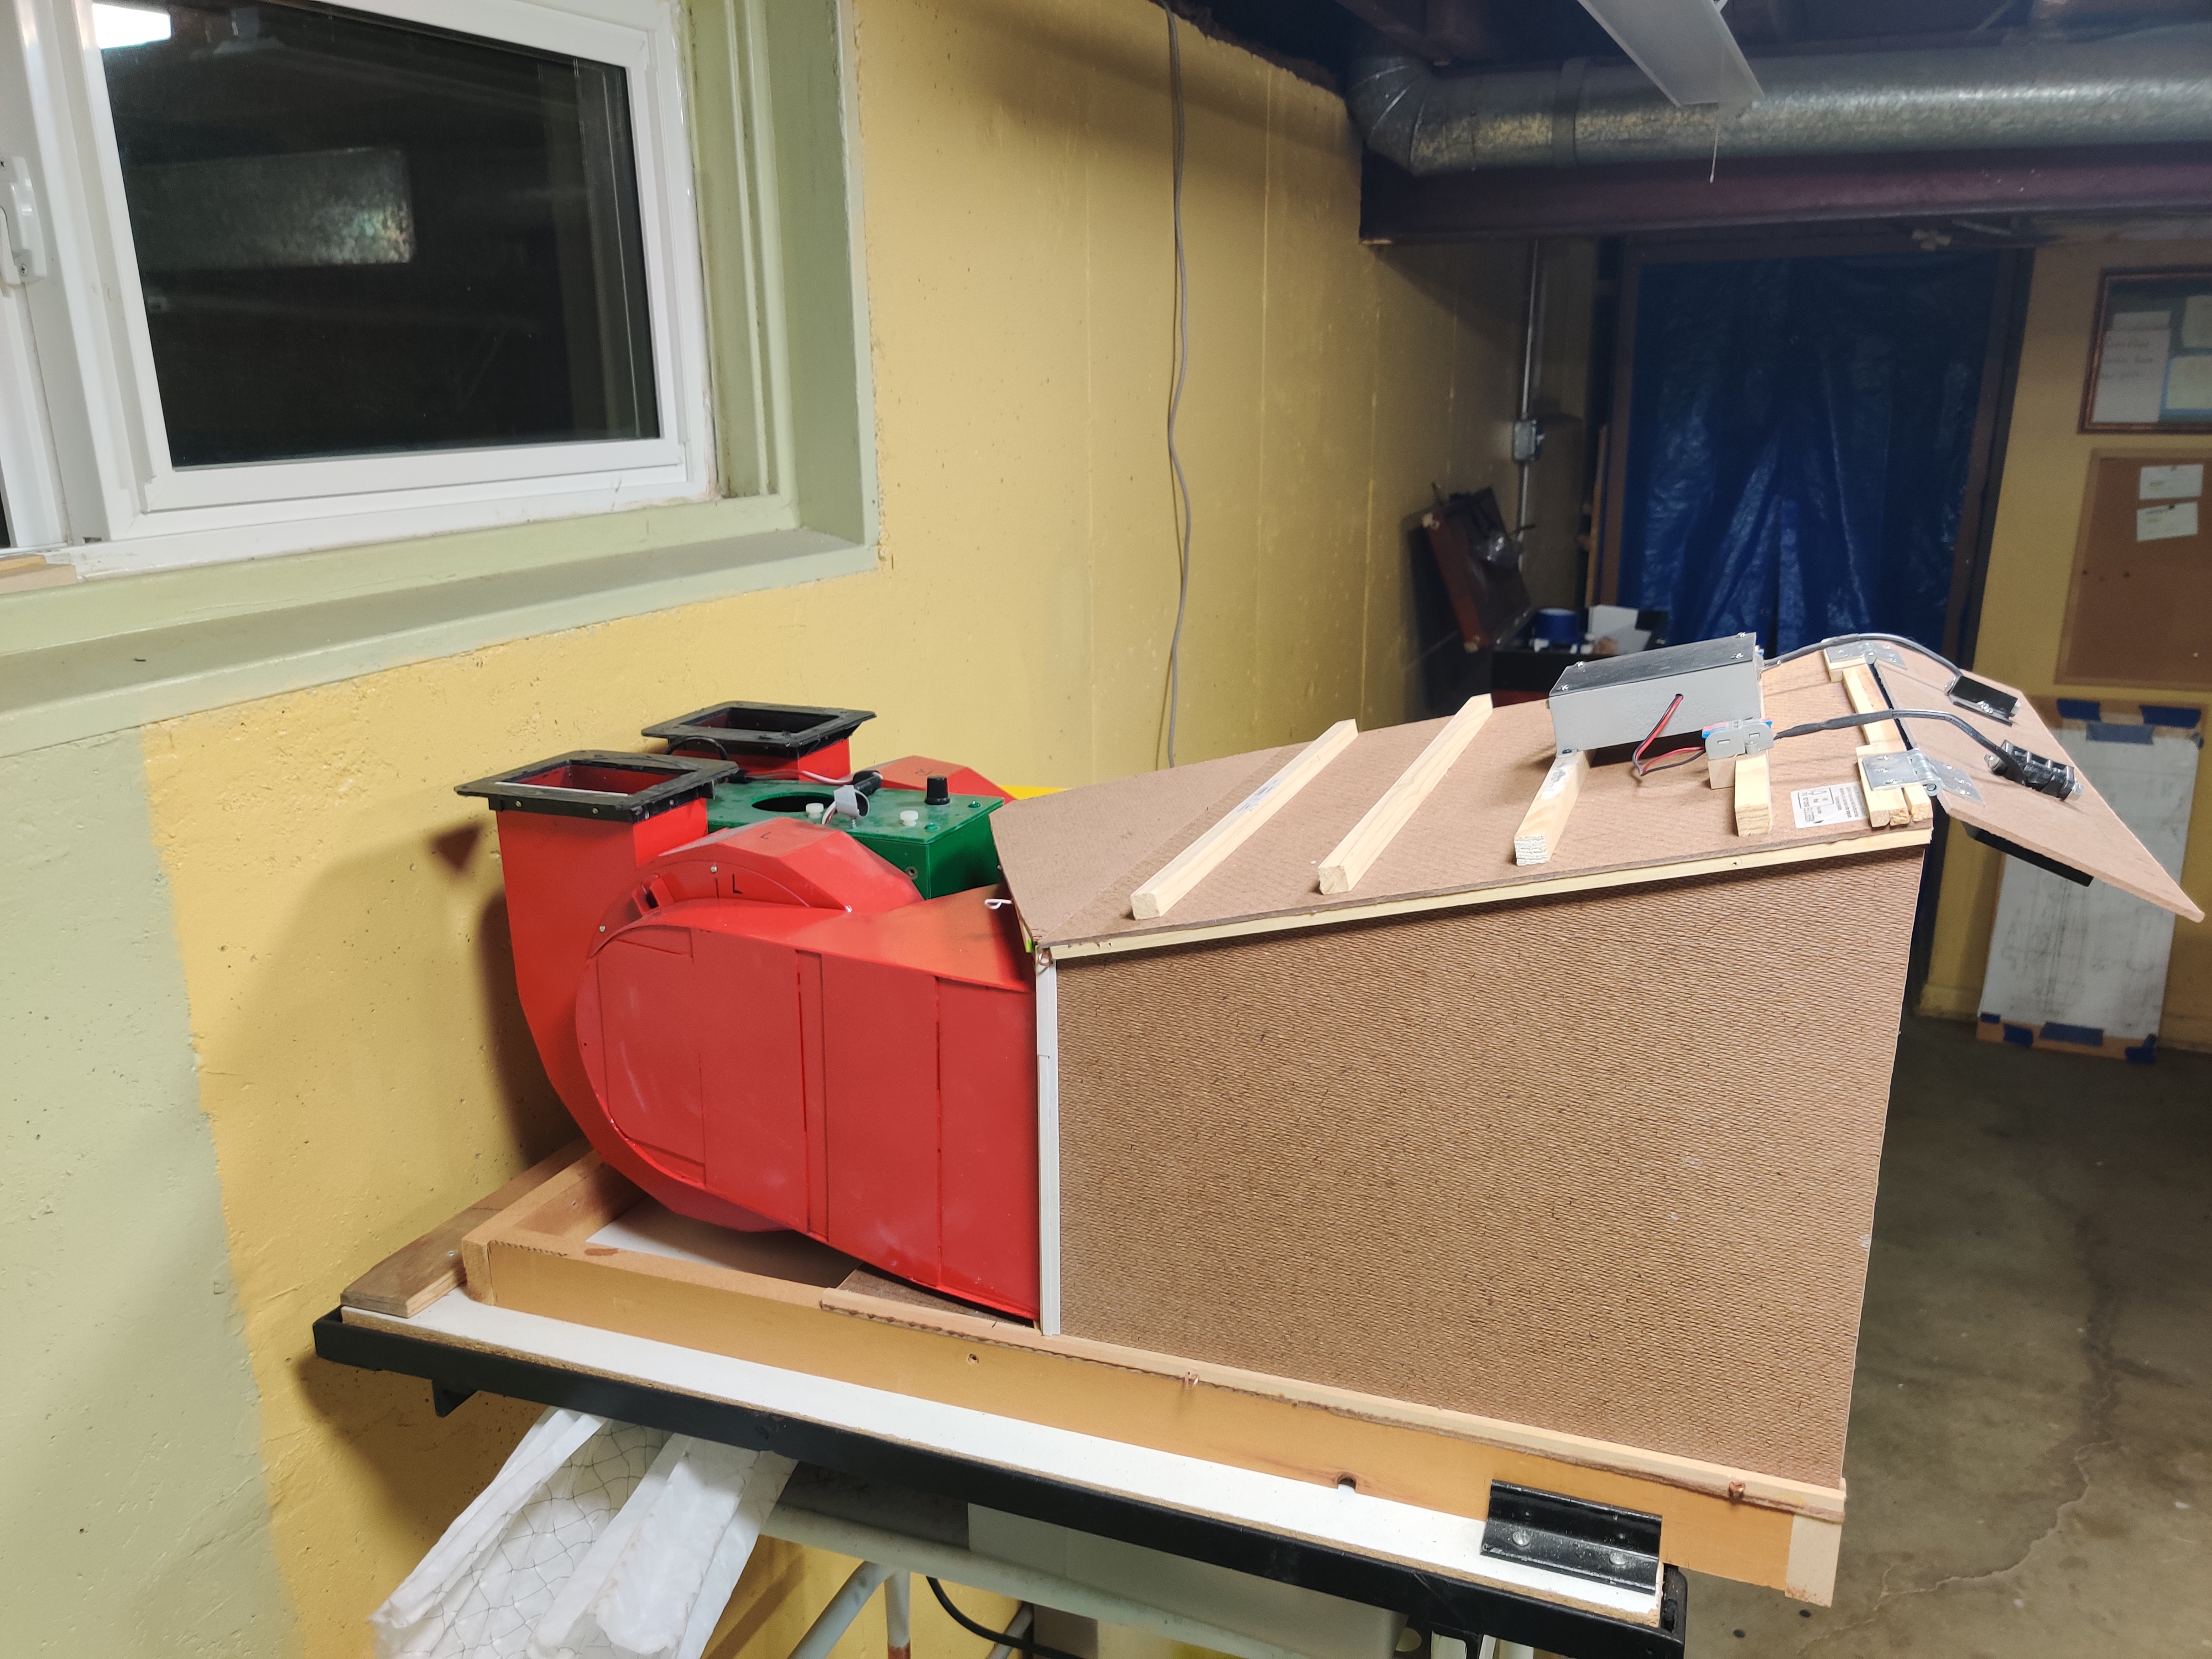
Both shrouds finished and attached to motorbox; motorbox attached to platform.
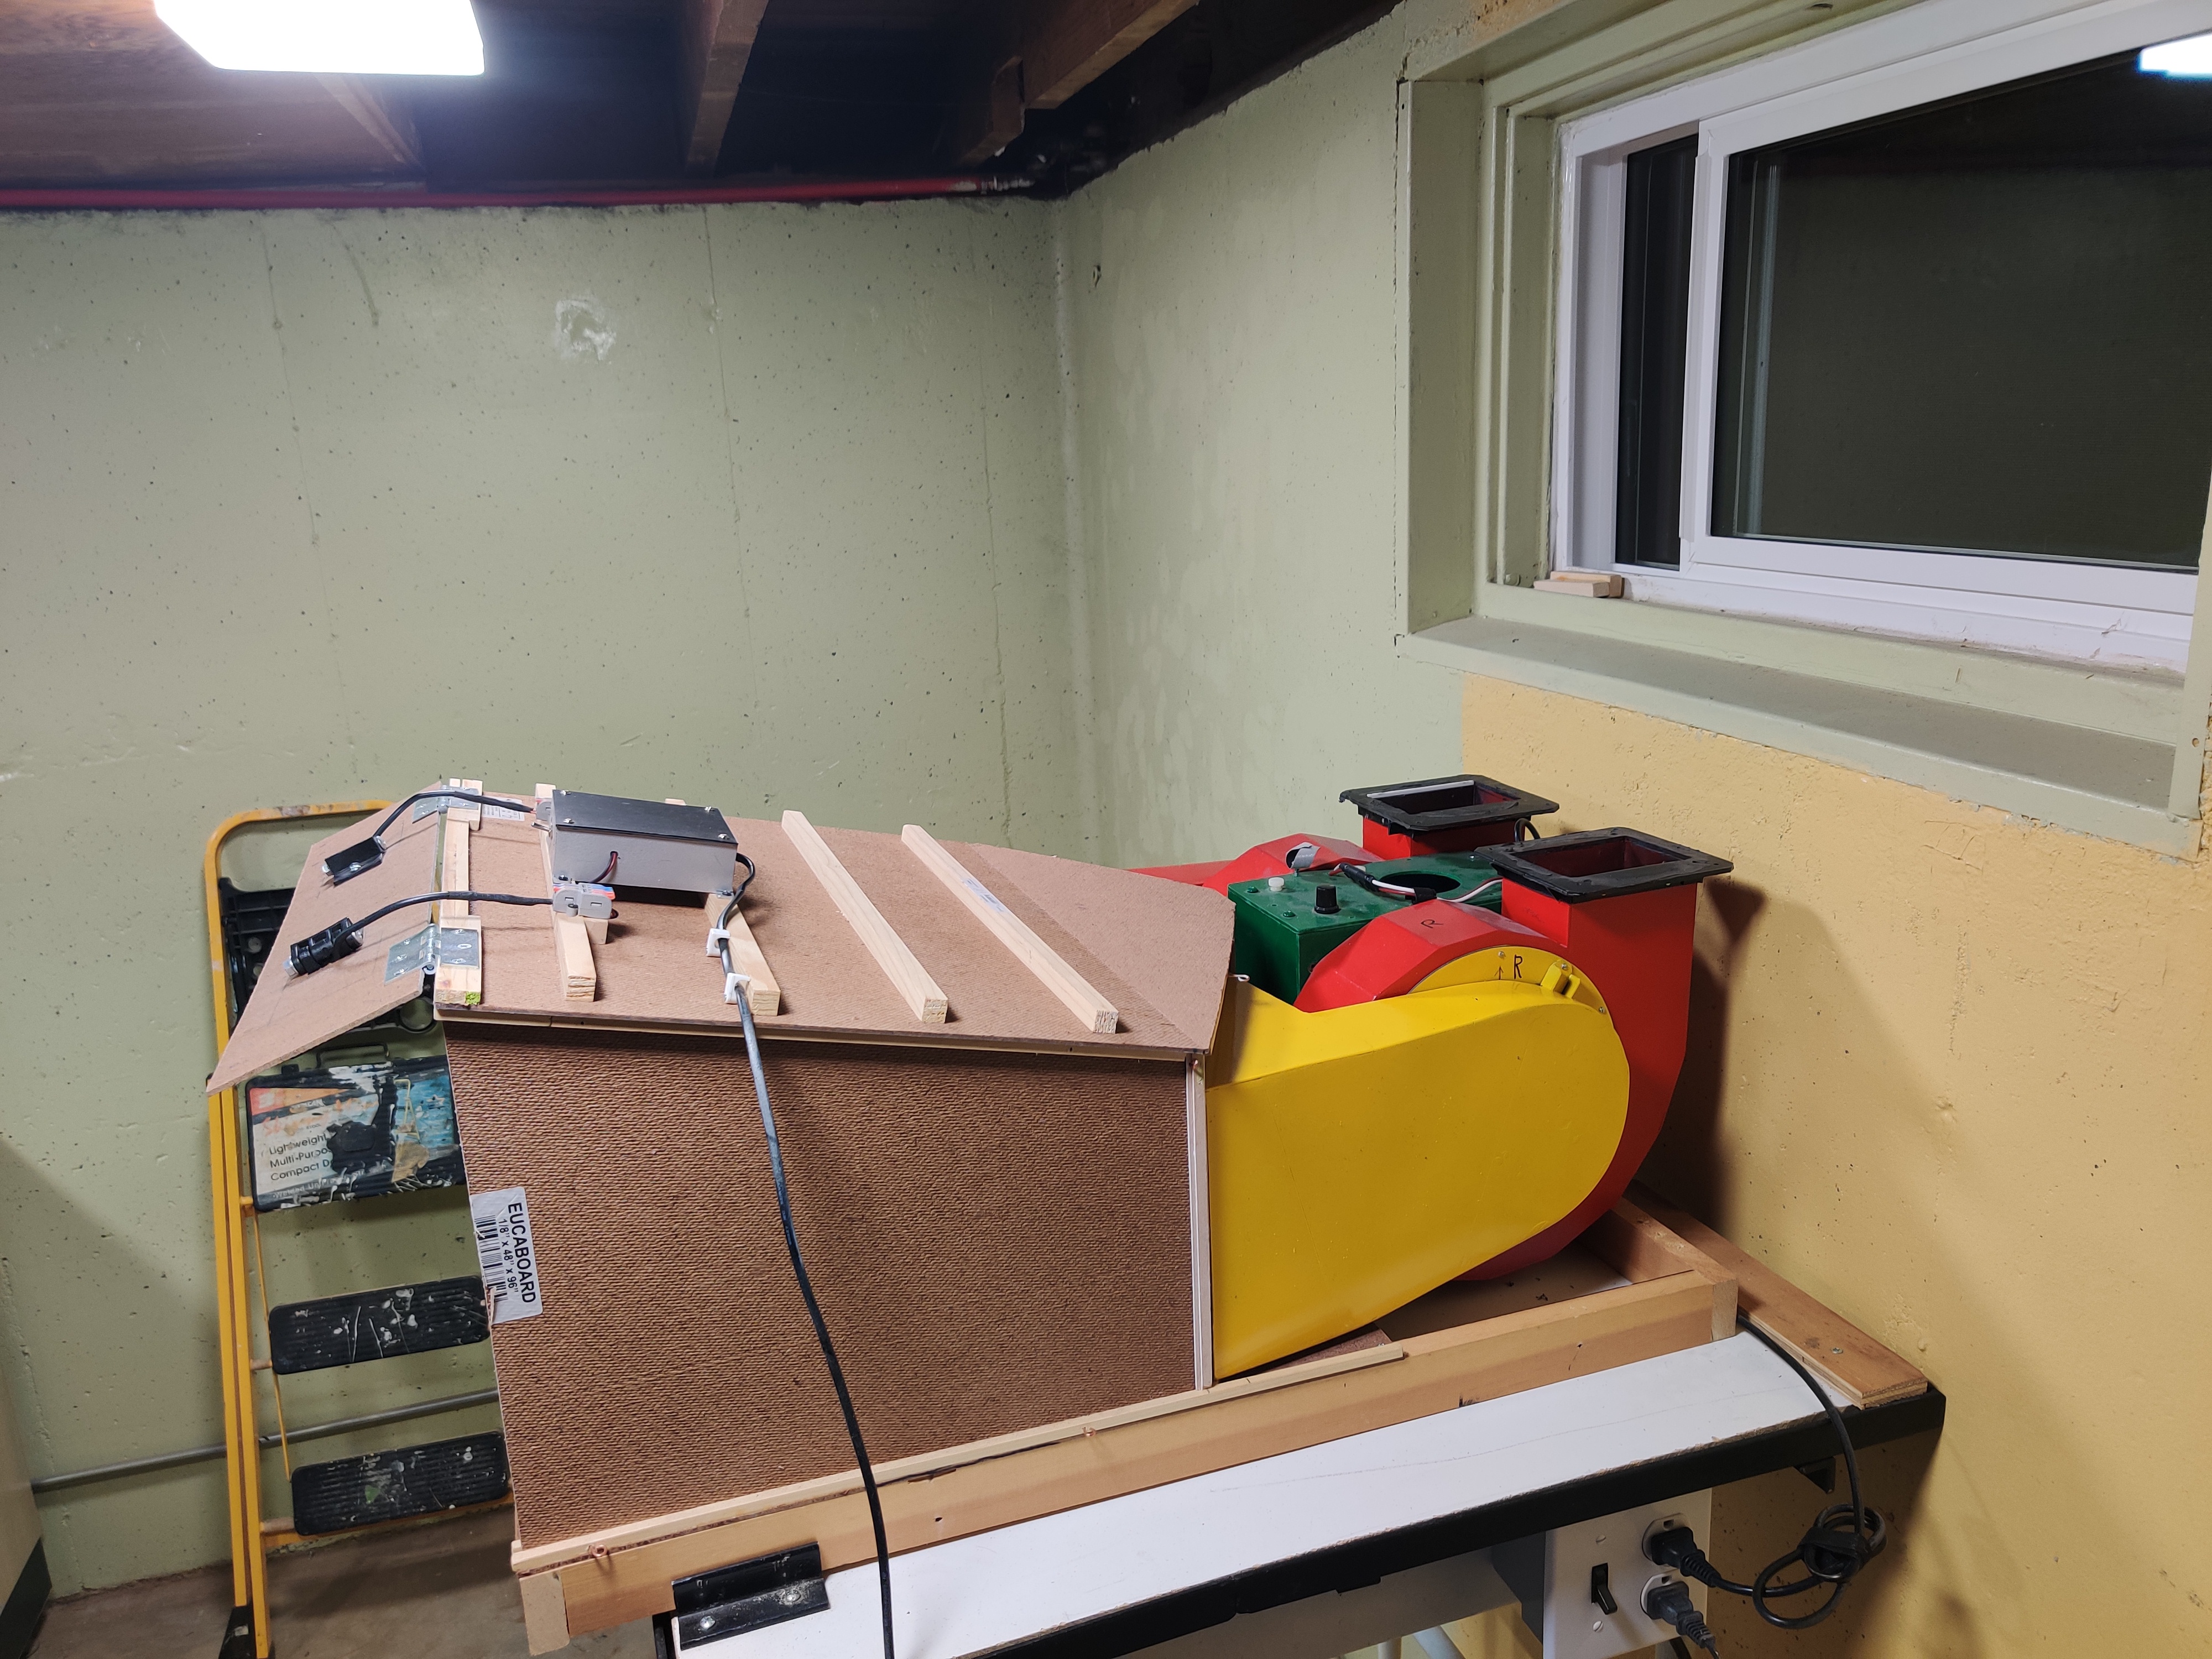
Duct work adapter.
Rough-in of the first duct.
Both ducts completed. They were painted different colors to distinguish them.